Sunglasses. Sunshades. Whatever you happen to call them, why do you wear them? The obvious answer is to shade your eyes from the sun. But why? Concerns about UV damage notwithstanding and without being coy or overly mysterious, we wear sunglasses to compensate for brightness that would otherwise cause us not to be able to see as we otherwise might prefer.
- Learn about the Must Have Filters for Landscape Photography
- Check out this Private Golden Circle Photo Tour with Kerid Crater Lake
- Find out How to Use the Graduated Filter Tool for Landscape Photography
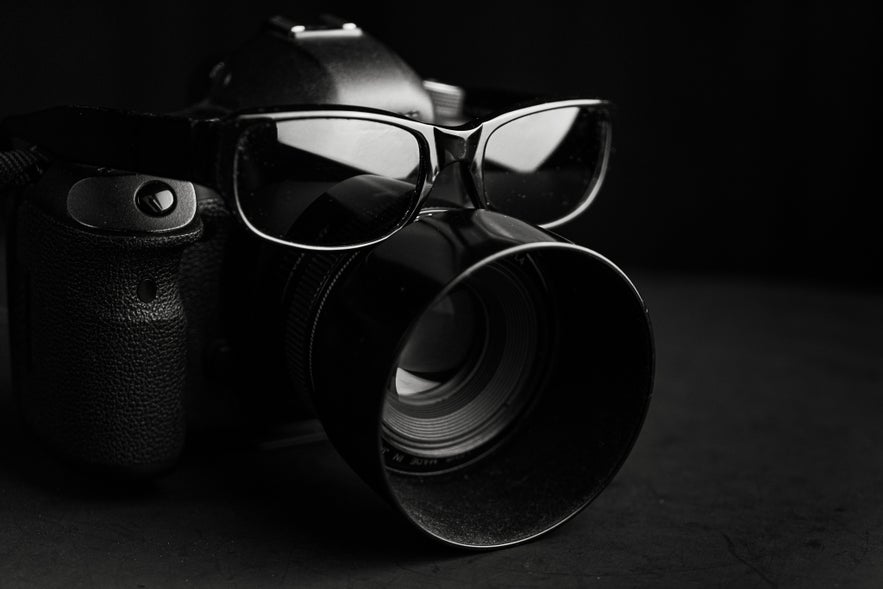
Digging a little deeper, even though we need to be able to block out a certain amount of light with our shades, we still need to be able to see. This is why blind folds aren’t very useful at most beaches. So, the best method we have concocted to be able to see as we should whilst still maintaining our vision in bright light is by placing some sort of filter in front of our eyes. Substitute the word “camera” for "eyes" and you’ve just read the best analogy anyone has ever made for the definition of a neutral density filter in photography. You’re welcome.
 Neutral density filters are like sunglasses for our cameras. Photo by: 'Adam Welch'.
Neutral density (ND) filters are sunglasses for our cameras. Yes, yes... I know that tired cliché has been made before but really, that’s exactly how ND filters work. The purpose of an ND filter is to allow for certain shutter speeds to be employed under lighting conditions that would otherwise be too luminous for a proper exposure.
 ND filters allow you to control your shutter speed in bright lighting situations. Photo by: 'Adam Welch'.
To this end, your reasons for needing an ND filter can vary greatly. Perhaps you want to impart a sense of movement or dynamic motion to a photograph which requires a relative shutter speed that will otherwise exceed the aperture and ISO capability of your particular lens or film speed. Maybe you need to precisely control your frames per second and shutter speed for a certain cinematic video effect.
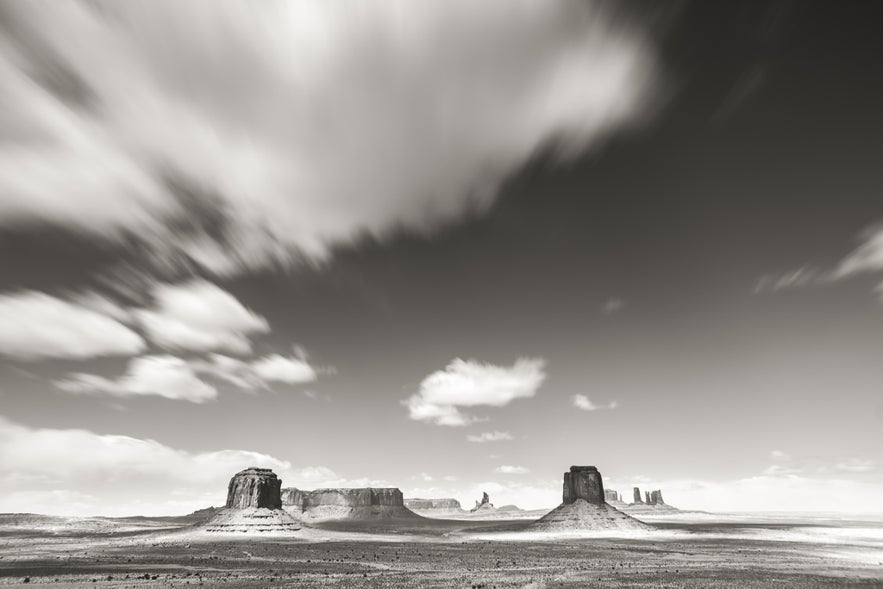 You can take control of the overall effect of your photography or videography with ND filters. Photo by: 'Adam Welch'.
Whatever your needs or reasons, when it comes to truly taking control of your photography or videography, ND filters can literally be the difference between success and failure with your work.
No pressure.
What Are Neutral Density Filters?
All clever comparisons about ND filters being sunglasses for your camera aside, there are in fact quite a few things you’ll need to understand about this most essential of photographic tools. ND filters come in a variety of forms, shapes and are made from a host of different materials.
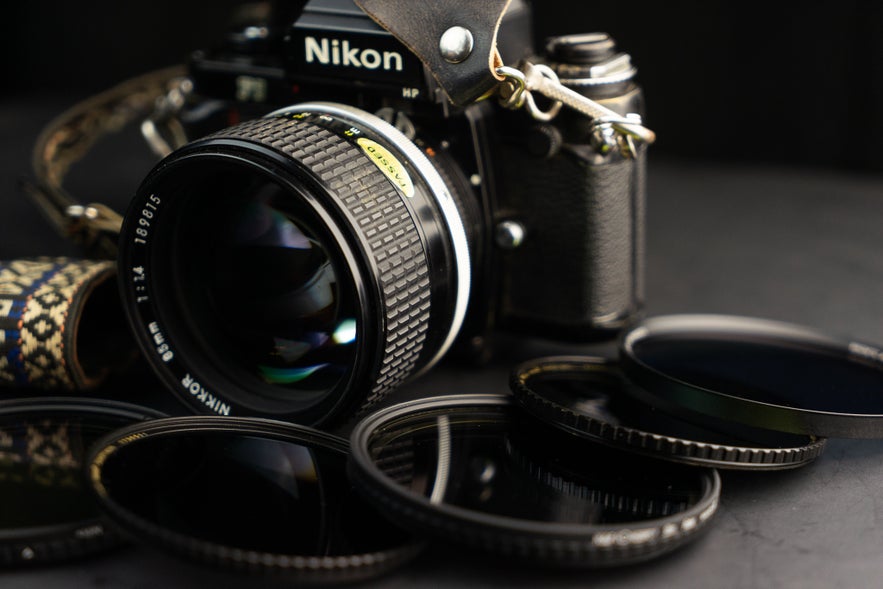 ND filters come in a variety of shapes and sizes. Photo by: 'Adam Welch'.
To begin, let’s have a look at one of the most obvious (and important) differences between neutral filters, which is the density.
Understanding Density Levels
No matter what ND filter you happen to be using, its operative function is quite a basic one and that is to reduce a predetermined amount of light from entering your camera. The way the ND does this is by blocking light by means of a darkened glass (sometimes plastic) element that is most often placed in front of the camera lens.
How much darkening is applied by a ND filter is referred to as its “density”. A high density ND filter will block out more light than a lower density ND filter. This sounds simple and it should be. However, not all manufacturers rate the density of their filters using the same terminology. This can be a bit confusing, especially if you’re new to photography or have just begun using ND filters in your work.
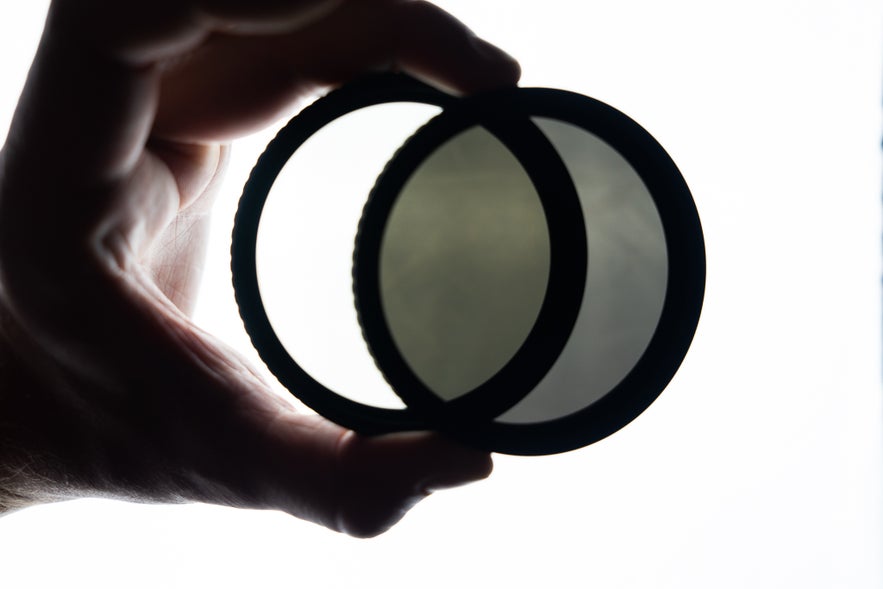 A high density filter blocks out more light than a low density filter. Photo by: 'Adam Welch'.
Here is a quick reference and explanation of some common ways the density of an ND might be rated. It’s important to note that your filter may be rated using a combination of the following designations.
Density by Stops
This is perhaps the most intuitive and most straightforward way of stating the density of an ND filter. When measured in stops, the density of the ND filter indicates that the filter will allow an extended exposure time of x-stops. An example would be a 3-stop ND filter. which will reduce the amount of light passing through the filter by, you guessed it... 3-stops.
 A 3-stop ND filter. Photo by: 'NiSi Filters'.
So, with a 3-stop ND filter, we should be capable of achieving the same exposure at 8 seconds as we would at 1 second with all else remaining equal.
Density by ND Number
This is where the ND filter waters become a bit murky but not overly so. The ND number of a filter is a three digit number which corresponds to a specific density. It’s simply the letters “ND” followed by a three digit number.
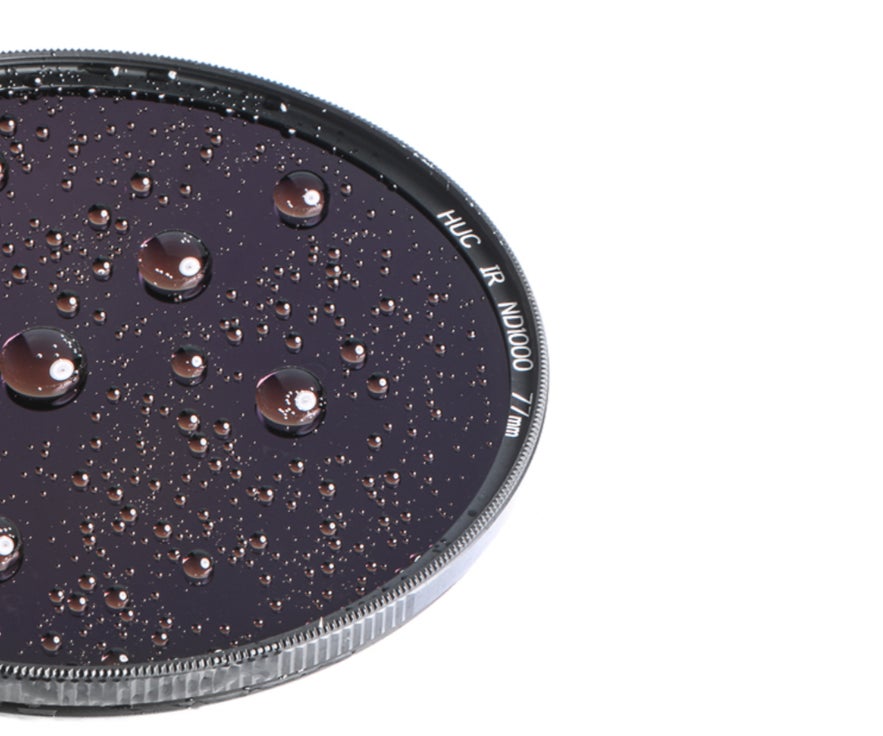 ND filters are all labelled differently. Photo by: 'NiSi Filters'.
As luck would have it, this three digit number is always “1” accompanied by the stop rating of the filter. Therefore, an ND 106 filter is the same as a 6-stop rating ND filter. An ND 110 is a 10-stop ND filter, ND 116 is a 15-stop ND filter and so on and so forth. So really, if you know the light reduction of an ND filter, you will also essentially know its ND number and vice versa.
Density by Optical Density Number (ODN)
The ODN of a ND filter is similar to the ND number in that it is a numerical designation preceded by the letters “ND”. The difference here is that the ODN relates to the reduction of light by a factor of 0.3. This means that an ND filter with an ODN of ND 0.3 is the same as a 1-stop ND filter in density. ND 0.6 is a 2-stop filter, ND 0.9 is a 3-stop filter... ND 3.0 is a 10-stop filter... you get the idea. When in doubt, simply divide the ODN by 0.3 and this will give you the density of your filter in stops.
Density by Filter Factor
Even I'll admit that at first appearance, determining the density of a ND filter by its filter factor (FF) can look a bit... complicated. While yes, a filter factor might not at first seem to relate to shutter speed or stops of light, in a way it actually does and for a not-so-obvious reason.
A filter factor represents the degree by which the amount of incoming light is reduced by the filter. An FF (also usually preceded by the letters “ND”) of ND 8* reduces the amount of incoming light by 1/8. An FF of ND 64 reduces the incoming light by 1/64 and ND 256 decreases the light by 1/256. Notice a pattern here? The FF corresponds to the denominator of the fractional reduction in light.
For more excellent information on ND filters check out this article from our friends at B&H Photo by Todd Vorenkamp. It features an incredibly useful chart for comparing filter densities across all of the methodologies listed here.
*Note: Since they both usually begin with an “ND” designation be careful you don’t confuse the filter factor number of a filter with its optical density number.
Types of ND Filters
ND filters come in all shapes and sizes. Well, almost all shapes and sizes. These days, the majority of consumer filters are circular and designed to be easily attached to the front of your lens. However, this isn’t to say that circular ND filters are the only game in town.
Let’s take a look at some types of ND filters that you’re likely to encounter.
Circular
These types of filters are commonly encountered when it comes to ND filters and many other photographic filters. Circular ND filters come in sizes that match the filter thread size of your lens in millimetres. You can find the filter size of your lens by looking for the small “O with a line” symbol, which represents diameter. It generally looks like this ⌀ and is followed by the filter size. It can be located on the front of your lens, beneath the lens cap or on the lens hood.
 This arrow points to the filter size of your lens. Photo by: 'Adam Welch'.
Circular filters provide an easy way to attach and remove your ND filters. They are also easy to stack with other filters.
Also worth mentioning are circular ND filters known as VND or, “variable neutral density” filters. As the name suggests, a VND filter allows you to adjust the density of your filter depending on the requirements of the photo.
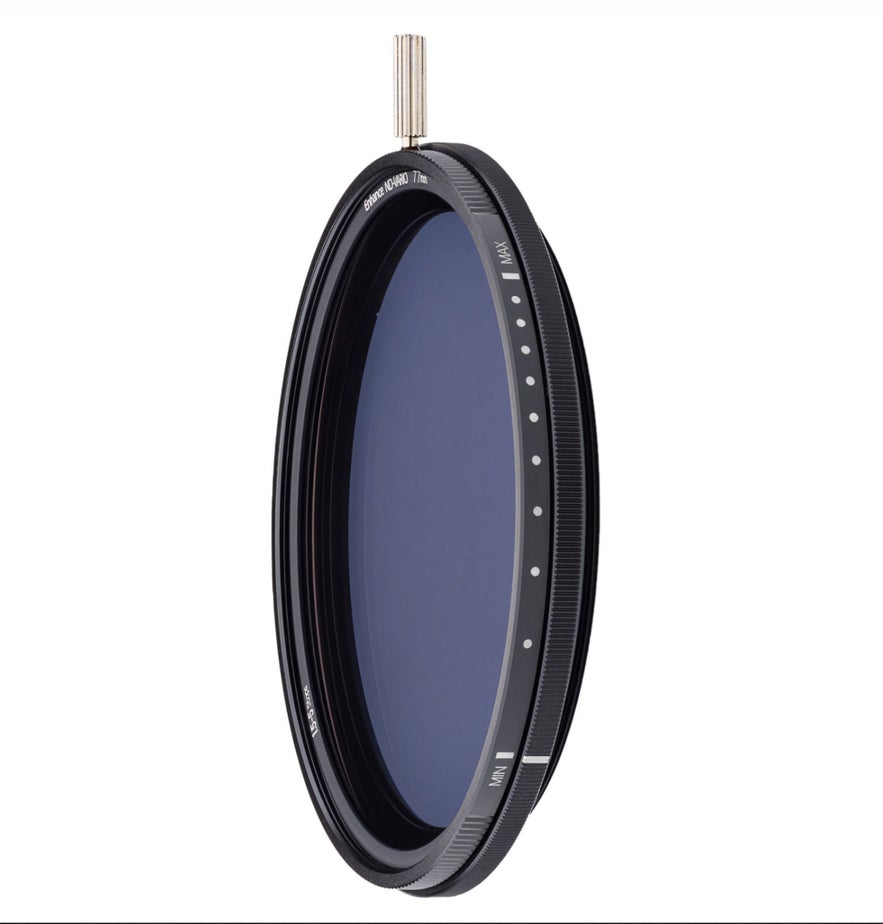 A variable neutral density filter. Photo by: 'NiSi Filters'.
VND filters can be a great way to reduce the number of filters you carry but there are a few things you’ll need to watch out for when using them. We’ll talk about these issues and more a bit later in the article.
Square or Rectangular
A less common yet still widely available type of ND filter is the square or rectangle variety.
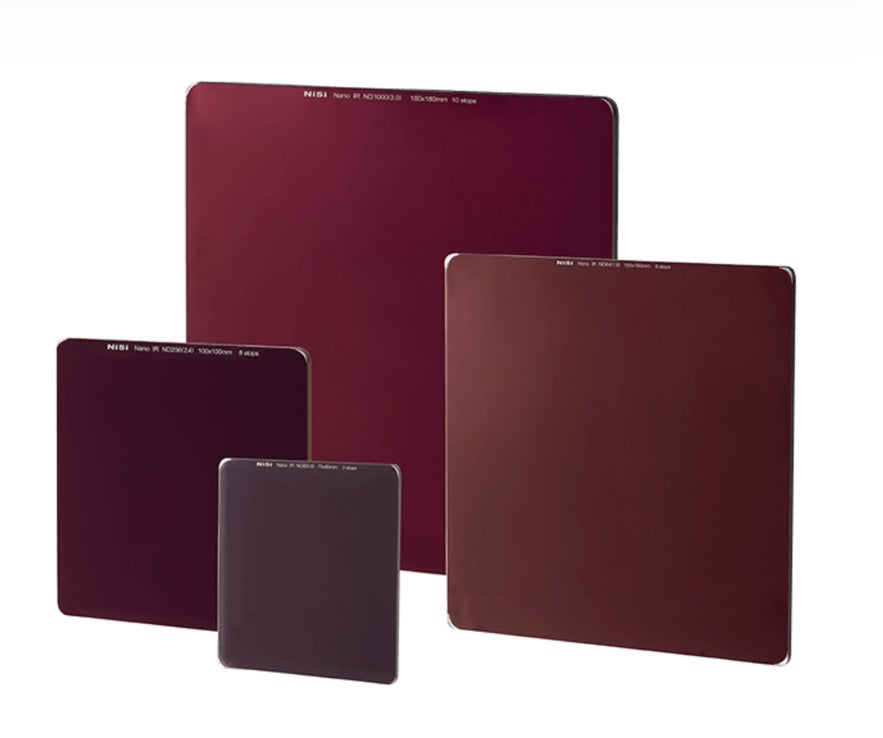 Square and rectangular ND filters. Photo by: 'NiSi Filters'.
These types of ND filters do not mount directly to your lens. Instead, they rely on a filter holder mechanism.
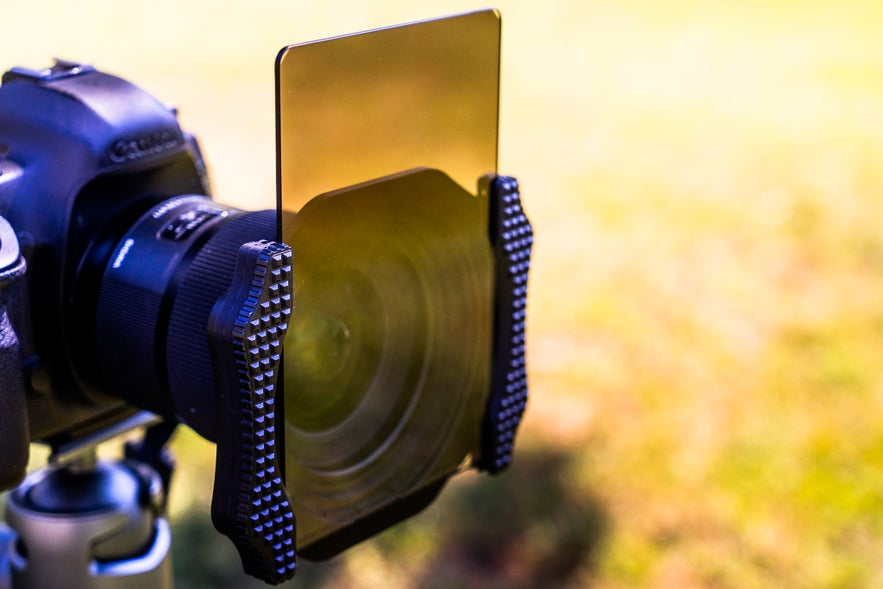 You need a filter holder to use these types of filters. Photo by: 'Adam Welch'.
These ND filters accomplish exactly the same result as circular filters but also require more involvement to attach and remove due to the need for the holder. If you’ve read our Ultimate Guide to Long Exposure, then you’ve already seen one version of this type of filter.
Rear Gel or Drop-In Filters
Some lenses, such as those which are super wide-angle or super-telephoto, offer challenges when it comes to using ND filters. Namely, these lenses sport relatively large front element diameters, which make attaching a screw-on circular filter or filter holder either impractical or impossible.
 Some lenses don't allow for the attachment of filters to the front element. Photo by: 'Adam Welch'.
This is why some lenses include a bayonet filter mount at the rear of the lens for attaching gel filters (think speedlight gel), such as on this SP 15-30mm F/2.8 Di VC USD G2.
 Instead, you can use gel filters at the rear of the lens. Photo by: 'Adam Welch'.
Similar to this, some lenses also feature something called a “drop-in” filter system, where small ND filters (and others) can be used via a drop-in holder slot. This can be seen here with the Canon EF 300mm f/2.8L IS II USM .
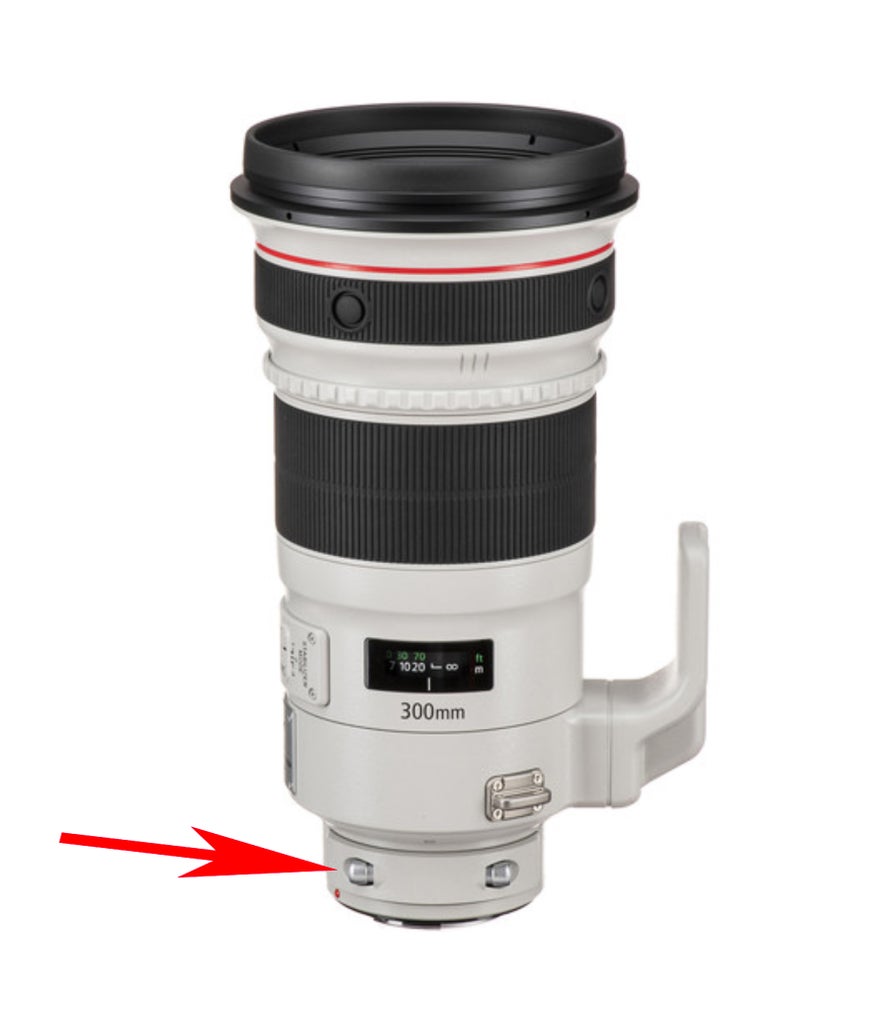 The arrow points to the drop-in holder slot. Photo by: 'B&H Photo'.
These sort of ND filter options aren’t common but can certainly be encountered depending on the lens you might be using.
Magnetic
In recent years, there has been a rise in magnetic filters. These types of ND filters also require a special magnetic filter holder in order to be used and rely on magnetic attraction to secure the filter to the holder.
Magnetic filters offer great convenience but oftentimes do not allow for the stacking of filters.
- See also: How to Get Creative with a Fisheye Lens
Considerations and Features of ND Filters
More often than not, in photography or videography, the strength of your work is dependent on the weakest link in the chain. This “weak link” can be anything from poor composition, bad lighting or as it relates to us today, a poorly executed ND filter. No matter how well-built your lens is or how beautiful the scene, if your ND filter doesn't match the task then you’re going to run into problems.
What should you look for in a quality ND filter? You probably already know there are many, many, MANY filter choices out there when it comes to ND filters. So, let’s have a look at a few things that you’ll want to keep in mind while if you happen to be looking for a new ND filter.
Element
Remember when I mentioned that your work, from an optical quality standpoint, is only as good as the weakest element in your lens? Well, this becomes even more important when we talk about ND filters. No matter how beautifully sharp your lens might be, it will only produce an image as good as the filter you happen to be using.
 Your lens is only as good as the filter that you use. Photo by: 'Adam Welch'.
This means that, for better or worse, you will usually get what you pay for when it comes to filters. Tempered glass and highly refined optics aren’t always cheap.
Coatings
Just like lenses, ND filters can often feature optical coatings which help to reduce glare and reflections as well as adding extra protection for the filter element against dirt and moisture. In most cases, if you don’t see optical coatings mentioned in the description for the filter, then it likely isn’t included in the construction.
Housing
Even though the element is the most crucial optical component of a ND filter, the housing in which the element is secured is also important. Things to keep in mind when examining the housing of an ND filter include traction for attaching and removing the filter and the material of the housing itself.
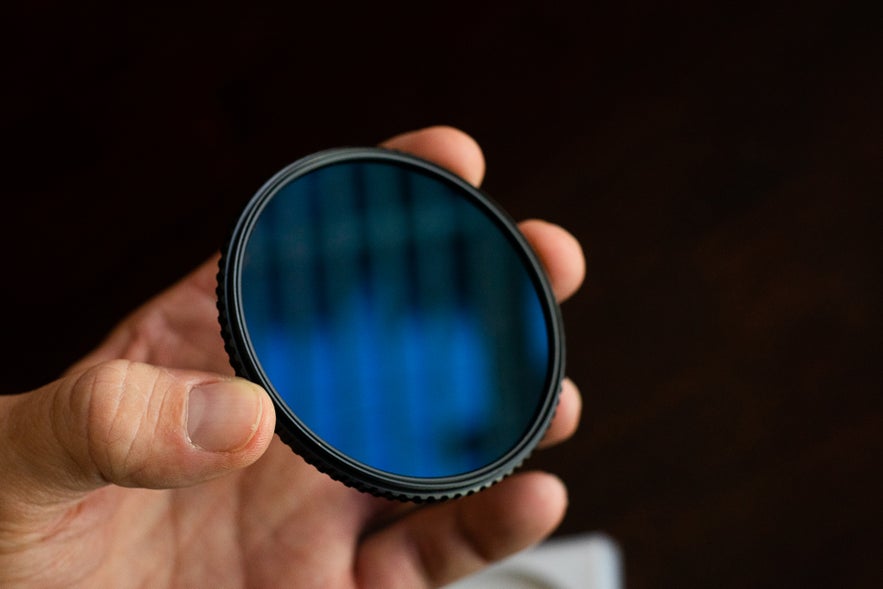 Examine the housing of the filter before you invest in the purchase. Photo by: 'Adam Welch'.
Some filter housings are made of aluminium or even titanium, both of which offer great strength to weight performance. You might also see ND filters with brass housings which, although heavier than aluminium or titanium, offer a possible benefit since brass is what is known as a non-galling metal. This means that it isn’t as apt to bind together with other metals should you happen to over-tighten your filters.
- See also: Best Lenses for Night Photography
Using ND Filters in Photography and Videography
Up until now, we’ve been discussing ND filters on their own and not how to actually use them in your work. That’s about to change because next, we’re going to go over a few tips that can help you get the most from using ND filters out in the real world. You'll also gain an understanding of a few things to watch out for while shooting photos and video with your filters.
Let’s get rolling.
To Stack or Not to Stack?
I’ve made mention in a few instances so far about how it’s possible to stack ND filters in order to achieve greater density. This is especially common when using circular ND filters but it is also possible to stack multiple square or rectangular filters as well. Stacking ND filters to create a more pronounced darkening effect is useful because it still allows us to use our ND filters separately as opposed to having a single, extremely dense filter.
 Stacking filters is useful in some situations. Photo by: 'Adam Welch'.
For example, during our last solar eclipse back in 2017, I stacked a 3-stop and 15-stop ND filter in order to capture the event. This provided a total of 18-stops of total filtration, which protected my camera’s sensor as well as my eyes.
 An example of stacked circular ND filters. Photo by: 'Adam Welch'.
While being able to stack filters is a huge benefit, it also comes with a few downsides when it comes to overall image quality. Seeing as we depend on light to make our photographs (and videos), we are also dependent on the quality of the barriers which the light must pass through before it enters our cameras. The more barriers you place between the light and the camera, the more pronounced any aberrations will more likely appear.
In short, the more filters stacked on top of one another, the more amplified any imperfections will become in your photos. This is why sharp filter elements are so important when using ND filters. There are also other considerations to take into account not only when stacking filters but when considering ND filters taken as a whole. We'll take a look at a couple of those considerations right now.
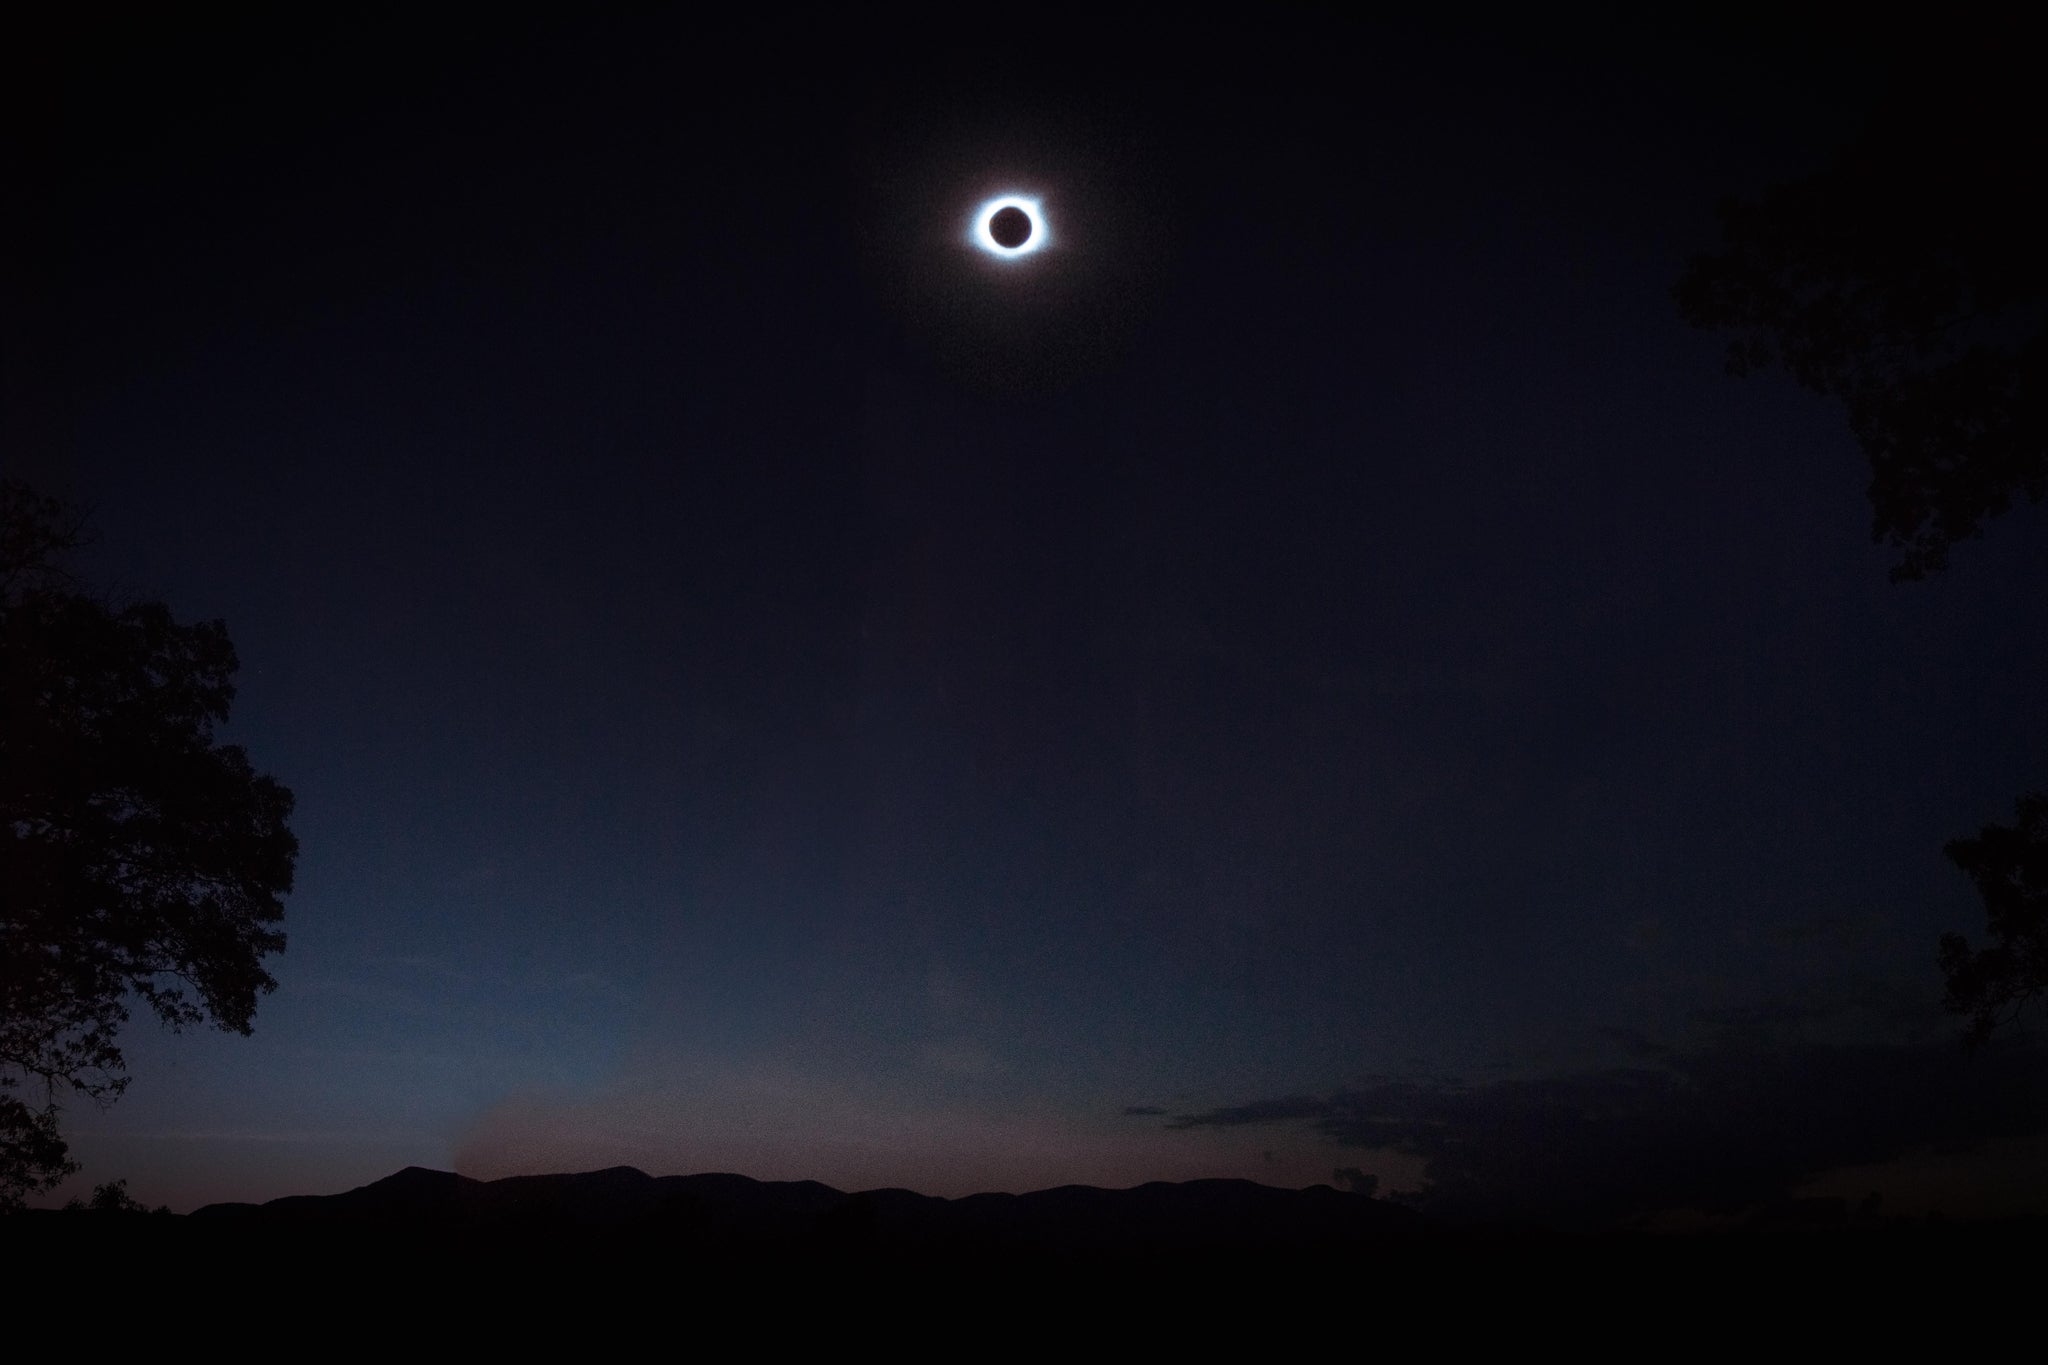 An image of the solar eclipse, made possible by the use of ND filters. Photo by: 'Adam Welch'.
Colour Cast and Vignetting
Aside from sharpness, there are two things you will need to battle most with your ND filters and any other filters: colour cast and vignetting. These are problems which can vex even a single filter but which of course become more and more pronounced should you choose to stack your ND filters.
- Colour Cast: The colour of light, at least as we perceive it, is dictated by its wavelength. While many things impact the wavelength of light, your ND filter should not be one of them. When your filter seems to impart a colour to your photos, it is called “colour cast”. If your ND filter seems to be causing colour cast in your photos, then there are a few ways to remedy the problem. For practical purposes in digital photography, a mild colour cast can easily be removed in post processing. However, heavy colour cast can be an enormous problem and is usually only able to be remedied by upgrading your ND filter.
 Colour cast is a problem that is often encountered with ND filters. Photo by: 'Adam Welch'.
- Vignetting: Just as with colour cast, peripheral edge darkening known as “vignetting”can arise from a variety of causes. In a weird paradox, a certain amount of vignetting can actually be desirable in some cases. To prove the case, many post-processing programs even offer the ability to add vignetting to our photos. The problem with vignetting arises when it is unintentionally introduced from external factors. ND filters can be one of these external factors simply due to their inherent darkening effect. To be fair, your lens also plays a large part in how much vignetting a filter introduces into your photos. Short-focal length (wide angle) lenses and shooting at large apertures only magnify the vignetting effect. One of the benefits of using square or rectangular filters is that they extend well beyond the periphery of your front lens element, thus reducing the enhancement of inherent lens vignetting caused by the ND filter.
 You can see vignetting here in the corners of the image. Photo by: 'Adam Welch'.
Understanding Step-Up Rings
A step-up filter ring allows you to use circular filters which are larger than your lens filter thread diameter. This means that an 82mm filter can be made to function with a 77mm lens filter thread or a 72mm or a 67mm; anything smaller than 82mm essentially. This is accomplished by a single adapter ring which accepts the filter on one side and the filter thread of your lens on the other.
Step-rings are an excellent and cost-effective solution which allow you to use your circular filters across a wider range of lenses. Of course, this will only apply if your filters are larger than your lens. There are no “step-down” rings.
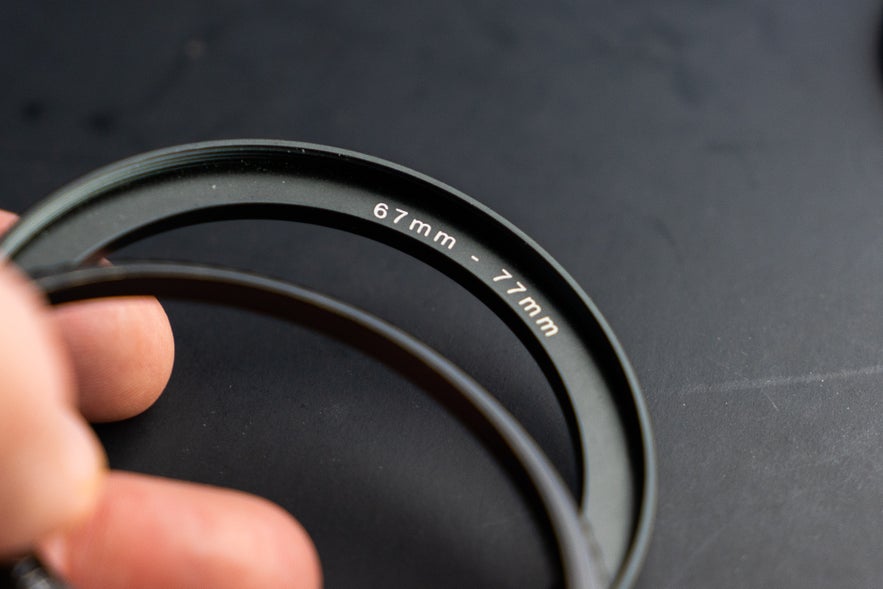 Step-up rings can be very useful for attaching filters across all of your lenses. Photo by: 'Adam Welch'.
A number of photographers (myself included) intentionally purchase ND filters larger than they need specifically to use them along with step-up rings. Aside from the obvious benefit of being able to use a single ND filter with a larger number of lenses, the use of larger filters helps to reduce possible vignetting effects caused by the ND filter. The reason for this is because you are essentially moving the field of view further towards the centre of the filter.
Step-up rings might be simple pieces of kit but they are a great way to stretch your gear budget while helping you produce better results.
Tips for Avoiding Reflections and Light Leaks
Anytime that you use filters, you will increase your chances of introducing glare and reflections into your images. Of course, these chances tend to lessen with better engineered filter systems and proper handling. However, no matter how good your ND filters may be, chances are that you will still occasionally experience some negative effects.
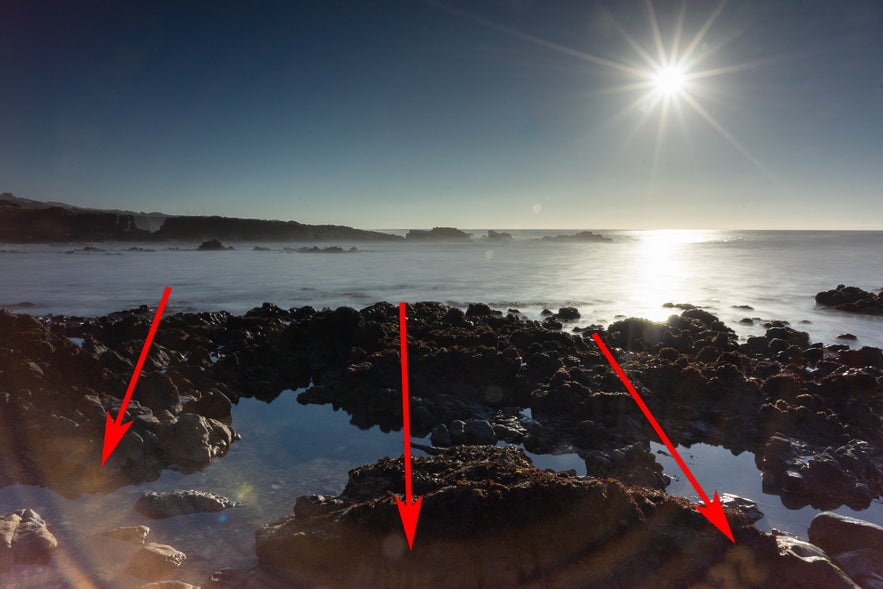 Light leaks are the bane of photographers who practice long exposure photography. Photo by: 'Adam Welch'.
But take heart! There are a few ways we can limit the amount of pain caused from reflections and glare when using our ND filters. Here are a few tips I’ve learned over the years that will help mitigate some of the ill effects you might encounter.
Tip #1. Place the filter as close to the lens as possible.
This is especially helpful when using square or rectangular filters. Make sure you place the filter in the slots of the holder closest to the front lens element.
Tip #2. Try not to shoot directly towards the sun.
Perpendicular light rays are more likely to bounce around between the filter element and your lens, causing glare and reflections.
Tip #3. Small apertures make reflections and glare worse.
Many landscape shooters shoot at relatively small apertures to obtain greater depth of focus. If you are shooting with a smaller aperture and experience reflections, then try opening up the aperture a couple of stops to see if it will help.
Tip #4. Reduce reflective surfaces.
Some lenses have white lettering around the front bezel, which can be a huge pain when using filters. Use a black marker or black gaffer tape to cover the white lettering and other reflective surfaces.
Tip #5. Cover any gaps in your filter holder.
This may be overkill for some but if you are experiencing a large amount of glare or reflections when using square or rectangular ND filters, then you can try sealing off the areas around the holder with black gaffer tape.
How to Deal with a Stuck Filter
From time to time, you will likely have to combat the frustration which comes from a stuck filter. This is common when stacking multiple circular ND filters. There are a couple ways to free filters which are either jammed together or stuck on the front of your lens.
Filter Wrenches
Without a doubt, this is the most efficient and relatively inexpensive way to free stuck filters from each other or from your lenses. These unassuming little tools are filter wrenches.
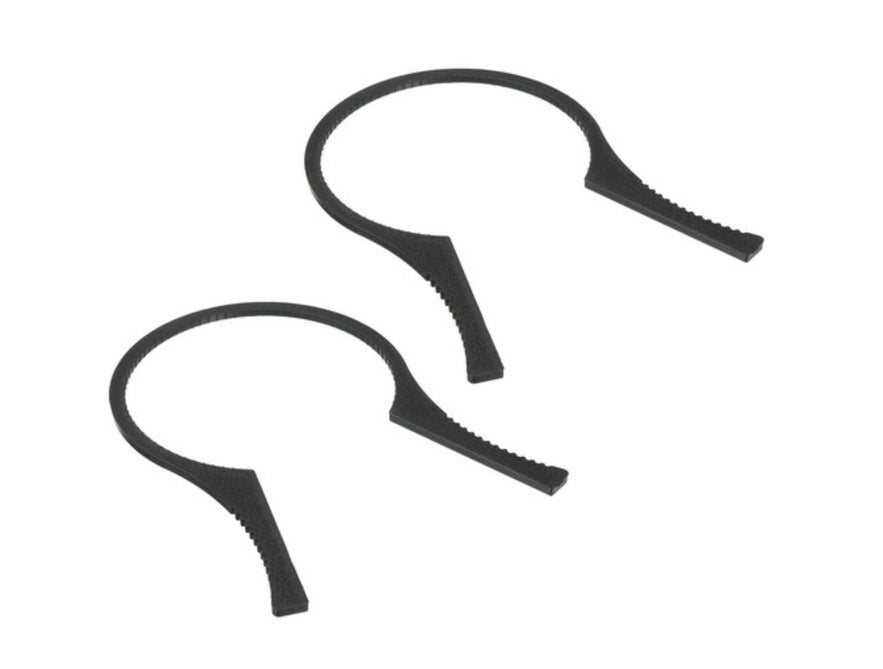 These nifty tools are filter wrenches. Photo by: 'B&H Photo'.
They offer a secure way to easily grip most sized filters, so you can easily separate them should they get jammed up.
Rubber
Whereas filter wrenches may be a streamlined solution to stuck filters, this next trick is certainly the most frugal. In fact, you probably have something in your home that will do the job already. Since the biggest issue with separating stuck filters is to apply a large amount of even pressure, all you need to do is find a way to do both. What could be better than a simple piece of rubber? Rubber bands!
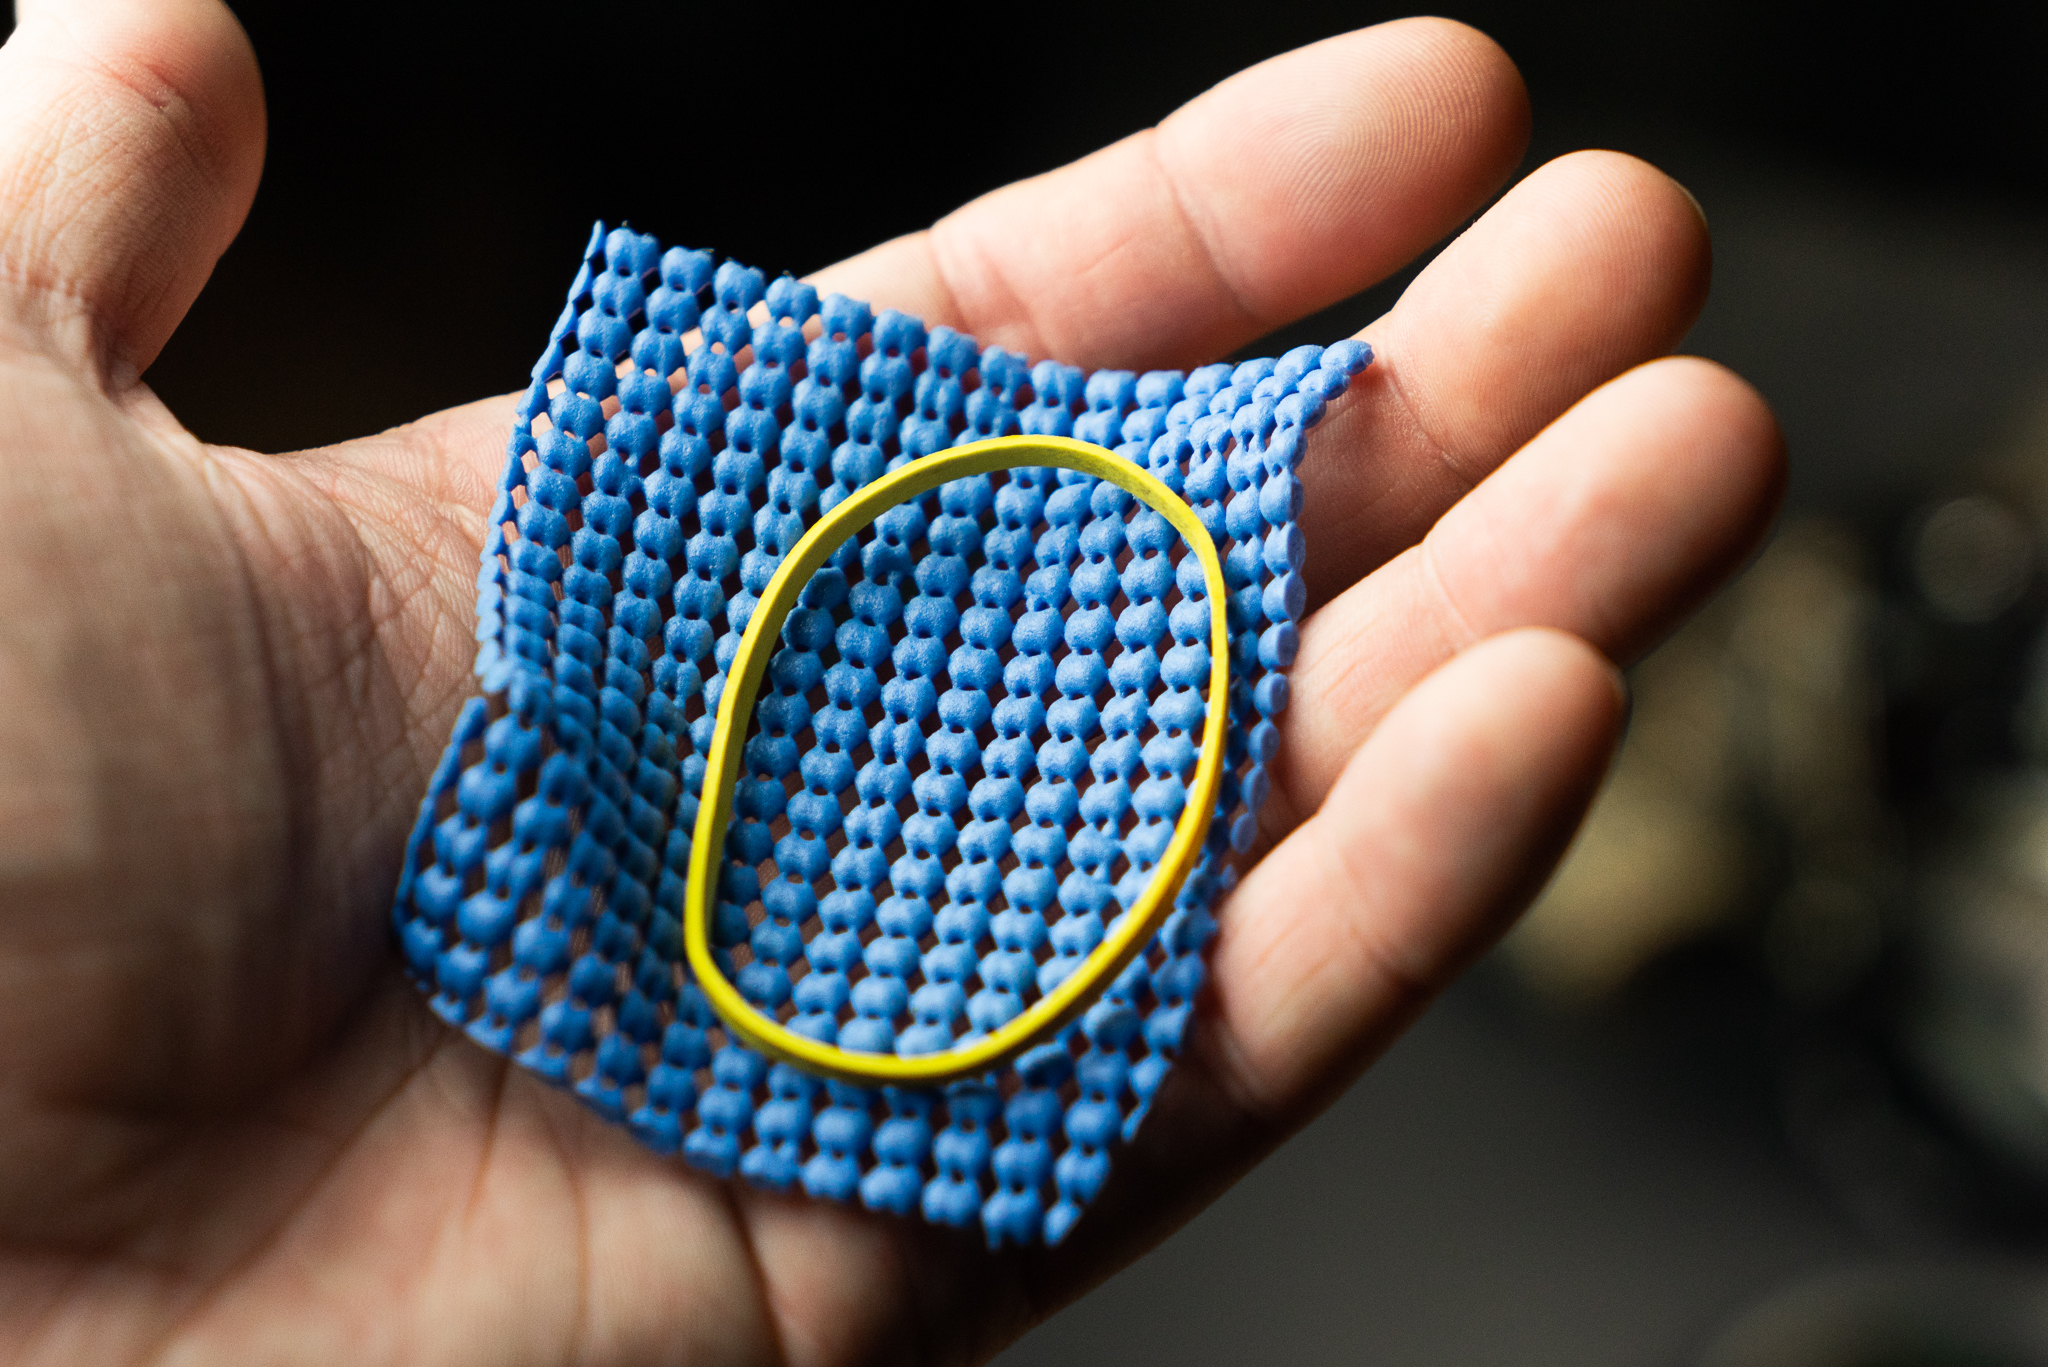 Rubber bands and foam. Photo by: 'Adam Welch'.
Rubber bands or foam rubber kitchen mats work wonderfully. Use the foam rubber to grip the filter or wrap the rubber band (wide ones work best) around the filter and twist gently but firmly, allowing the friction between your hand and the rubber to do most of the work.
 Rubber bands work pretty well for getting filters unstuck. Photo by: 'Adam Welch'.
The Cold Treatment
Of all the methods we’ve talked about so far... this is the one I recommend the LEAST. Still, if for whatever reason you find yourself in a situation where you absolutely must get those stuck filters apart, then the cold treatment is worth a shot.
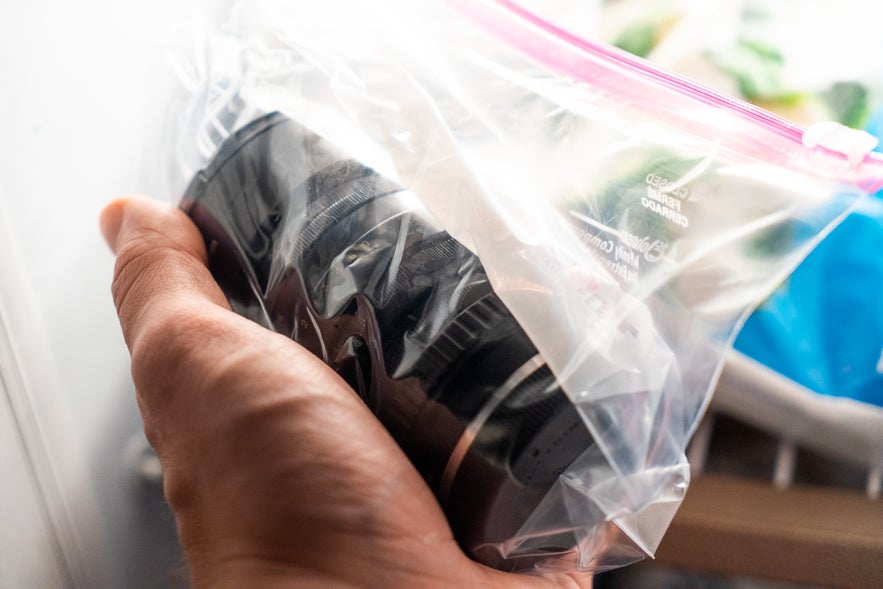 This is a risky treatment for getting filters unstuck. Photo by: 'Adam Welch'.
Place your stuck filters or the entire stuck filter (with lens attached) inside a plastic bag and place them in the freezer for half an hour or so. The minute shrinkage caused by the cold tends to be enough to allow easier separation of the filters.
Again, I truthfully would advise against this route, especially the part where you place your entire lens inside the freezer. It can introduce fogging as the lens warms back up and can even damage the lens itself. So, if you attempt the cold treatment method, then please do so at your own risk.
- See also: The Best Lenses for Wildlife Photography
A Final Word on Using ND Filters…
At the risk of sounding a bit hyperbolically dramatic, without ND filters there would be an enormous creative vacuum in the world of photography. Quite literally speaking, many long exposure photographs we know and love simply would not have been possible without these wonderful little filters taming the light for us. For videographers, ND filters are perhaps even more important when it comes to tailoring the light in order to achieve desired frame rate or shutter speed combinations.
In closing, ND filters are a necessity for any serious practitioner of photography. With a little knowledge and understanding of how ND filters operate, you can make sure that you'll have the right filters to fit your particular needs. Hopefully, we’ve given you a little more knowledge to help you make the most out of your ND filters – or at least enough to ensure that you'll never miss a shot.
About the author: Adam Welch is an adventurer, photographer and author based in the USA. You can find more of his work on his website or by following him on Facebook and YouTube.
Which brand of ND filters do you use? What do you like about them in particular? Is there a certain stop or hardness that you go back to using time and time again? Share your thoughts by leaving a comment below!


