It's a crazy time to be alive, let alone to be alive in the film industry. Digital content in the form of video is more relevant than ever.
- Explore these articles on Aerial and Drone Photography
- Discover these Bright Ideas for Shooting in Daylight
Since the birth of motion picture projection in 1877 by Eadweard Muybridge and Thomas Edison, the film industry has changed drastically and will continue to do so. Even the final destination of the video content has changed.
In the past, films were meant to be screened on a large format projection screen in a theatre. Now we are absorbing content on our smartphones, laptops, tablets, televisions, and even in airplanes. With access to video content being so easily acceptable, companies are taking advantage of it. Marketing strategies have changed over the course of the last decade. People’s ability to shoot video is in the palm of their hand. Smartphones today have the ability to shoot 4K high resolution video. All of this has made filmmaking available to most people.
A beginner filmmaker's only concern is usually the type of gear they are using. You might see other people filming on $10,000+ equipment and think that just because the camera is better, that your footage will be better. This might be true in some cases, but when you are starting out, use what you have and educate yourself. Once you become educated on the rules of filmmaking, techniques, and specifications, then you can move up the ladder and purchase more expensive gear.
Until then, educate yourself, read, and SHOOT. One of the best ways to get familiar with anything new is to do it over and over again. Experiment, take risks, and grow from your mistakes. In this article, we'll go over the camera equipment you'll need as well as the basic camera settings to get you started on making your own videos.
Cinematography vs. Videography vs. Filmmaking
These days, it seems like everyone wants to be a “filmmaker”, but what exactly does that mean? Why don’t they want to be a cinematographer or a videographer? What is the difference?
Personally, I like to either be called a cinematographer or a filmmaker. I believe anyone can be a videographer, but you have to become a cinematographer. How do you become a cinematographer? Through the type of work you produce and the respect you gain from other filmmakers.
Classifying a cinematographer, videographer and filmmaker is a very interesting topic in the film industry. In the end, it all comes down to how you prefer to classify yourself, as all three are involved in the making of videos.
The Best Cameras for Videography
Now, the moment that most people have been waiting for. These days, technology is constantly advancing and becoming more relevant than ever. The most popular cameras for beginners in videography are DSLR (Digital Single Lens Reflex). DSLRs are very versatile and suitable for many situations. But, the big question is which one should you get?
Some of the most popular DSLRs on the market today are the Nikon D3300, Canon EOS Rebel T6, Canon 70D, and Canon 80D. The Canon 70D and 80D are both on the higher price range when it comes to this group (around $1000). There are other cameras on the market but in my opinion, the two that I've listed below are the best for beginners.
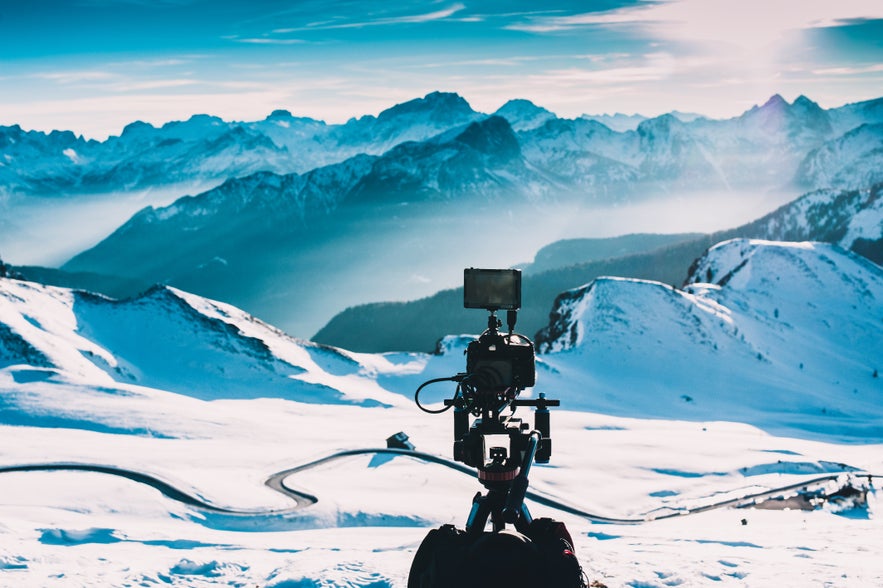
 DSLRs are the best cameras for videography. Photo by: 'Unsplash'.
Nikon D3300
This camera is a good first option for beginner videographers. With a price range of around $450, you get more than what you pay for. It has capabilities of shooting Full HD (1920 x 1080) at 23.976p/25p/29.97p/50p/59.94p and HD (1280 x 720) at 50p/59.94p.
The Nikon D3300 has the option for interchangeable lenses, so if you want to upgrade the lens you can. I would also suggest that you research online to get a better understanding of all the features. It is also capable of shooting photos, so if you would like to practice your photography skills, then go for it!
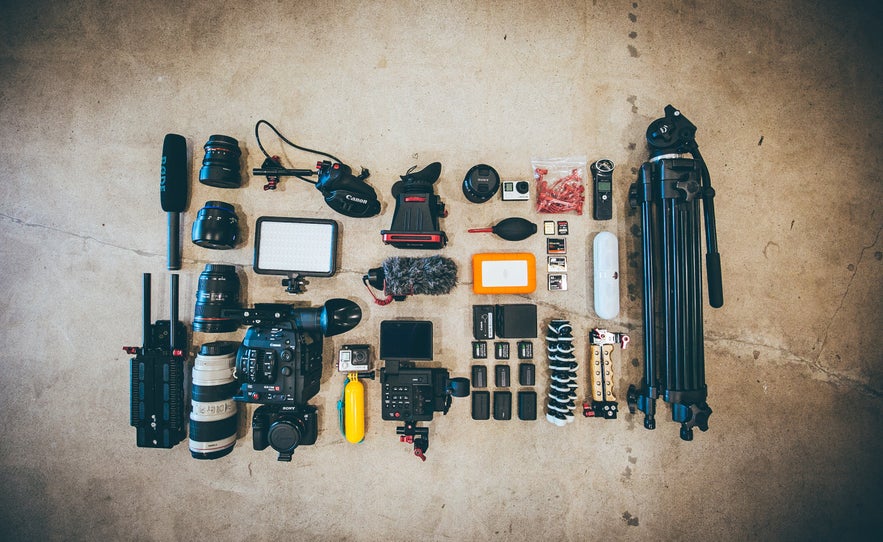 You'll need more equipment than just a camera to get started in videography. Photo by: 'Unsplash'.
Canon EOS Rebel T6
This camera kit is also very reliable for beginners. This kit comes with the Canon EOS Rebel T6 body, as well as the 18-55mm and 75-300mm lenses.
This is a solid bundle kit with some amazing specs/features. It shoots Full HD (1920 x 1080) at 23.976p/29.97p , HD (1280 x 720) at 59.94p , and SD (640 x 480) at 29.97p .
In my opinion, at a price range of $450, this is the best bang for your buck when talking about starting out.
How to Become a Cinematographer?
Step 1: Educate Yourself
The first step you should take in order to become a cinematographer is to educate yourself. There are so many resources (Youtube, books, articles, workshops, etc.) where you can learn the basics of filmmaking. Once you get an understanding of the basic concepts, then you can begin to start filming.
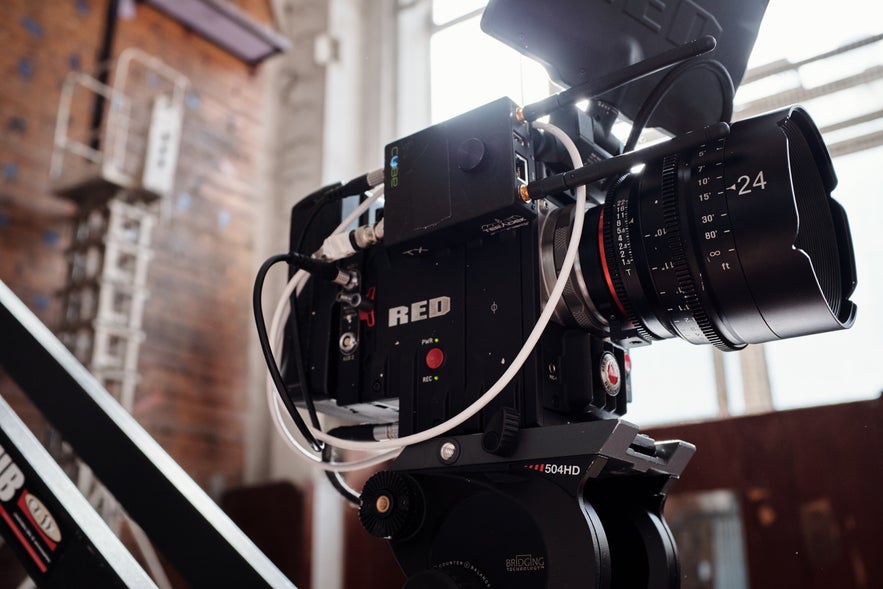 Educating yourself is very important in videography. Photo by: 'Unsplash'.
Step 2: Shoot Anything and Everything
The only way to learn how to use a camera and understand how it works is to use it. However, being a cinematographer is not only understanding how to compose a shot or to use a camera – it is about having complete knowledge of the entire production from start to finish.
Step 3: Plan Your Shoot (Pre-Production)
As a cinematographer, you should be able to plan a shoot prior to the day of filming. Pre-production is one of the most useful aspects of the filmmaking process. It ensures you are organised and prepared to make every minute count when it comes to the day of the shoot.
When you are on a paid film production with a budget, it is all about the money. Time really means money. The producer/assistant director are working hard to keep everyone on track and to stay on budget. So, it is your job to adhere to the time restraint as best as possible.
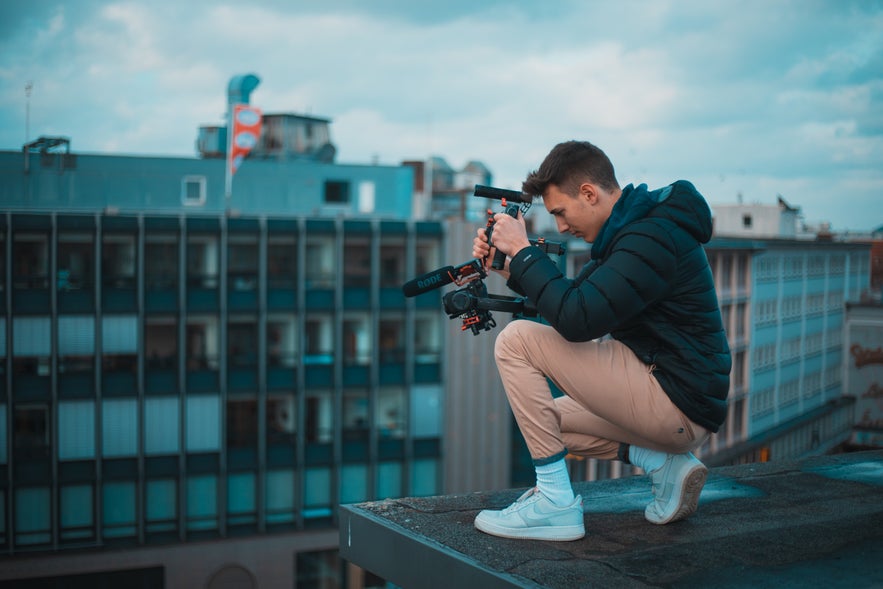 Shooting anything and everything will get you on your way to making your first video. Photo by: 'Unsplash'.
Step 4: Be Professional
This brings me to another filmmaking tip, which is to act professional. There is usually no time for games when filming. Everyone has a job to do and they don't need someone joking around getting in their way. You can have fun, but the job comes first and if you don't set your priorities straight people will just ask you to leave.
Different film productions have different styles. I have been on jobs where it is very strict and you can not stop moving or talking to anyone. On the other hand, I have been on some where we have music playing while we work on the video. It all depends on the people you are working with. You should always be respectful and professional with others, even when you are having fun and joking around.
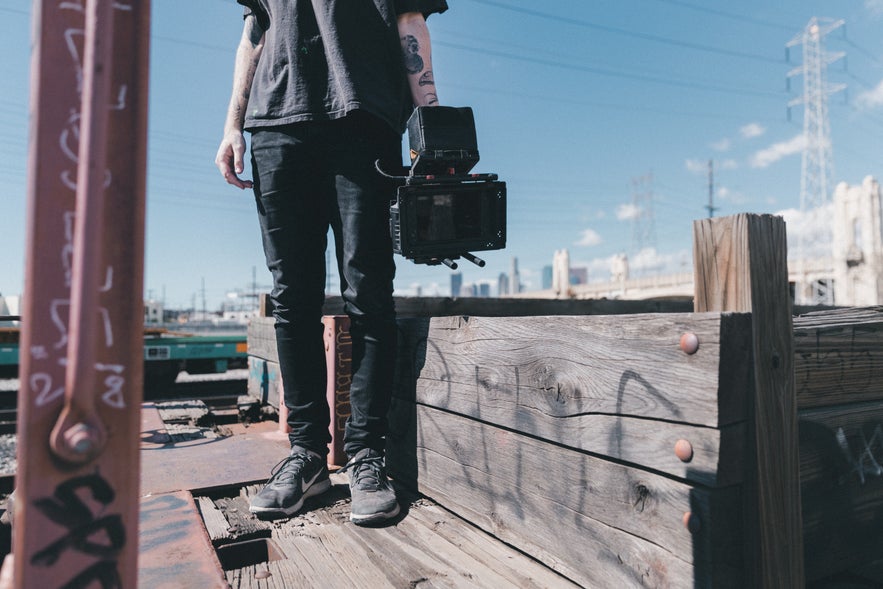
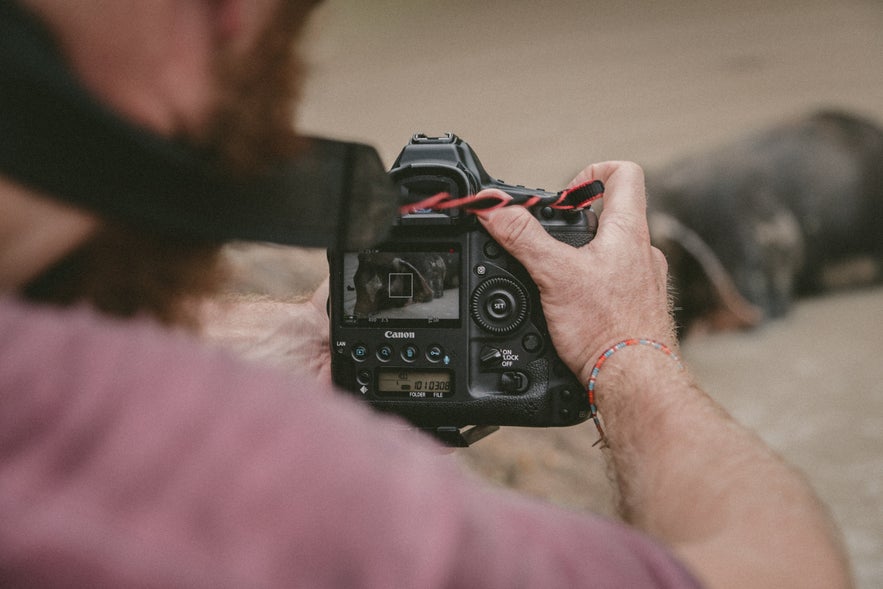 It's important to be professional on-set. Photo by: 'Unsplash'.
Step 5: Learn to Edit
Additionally, I believe every aspiring cinematographer should also learn how to be an editor. I say this because what happens after you are done shooting? It enters post-production and is cut together to form the story.
You do not know how thankful you will be later on if you shoot cohesively and in a way that can tell a story. I always shoot my projects while thinking to myself how it will cut together to form a complete piece. Shoot your projects while staying a couple of steps ahead and think to yourself, “will this cut together and make sense?” If the answer is no or maybe, then you need to step back and rethink what you are shooting.
A common saying in the film industry is “we will just fix it in post”. This is one of the worst mindsets someone in production can have. You should never have to “fix” something in post. Post-production or editing is supposed to help enhance your film, not fix the mistakes. Yes, all films have some mistakes but you do not intentionally make mistakes and plan to fix them later. You should create a solution to the problem and then develop the film further in editing.
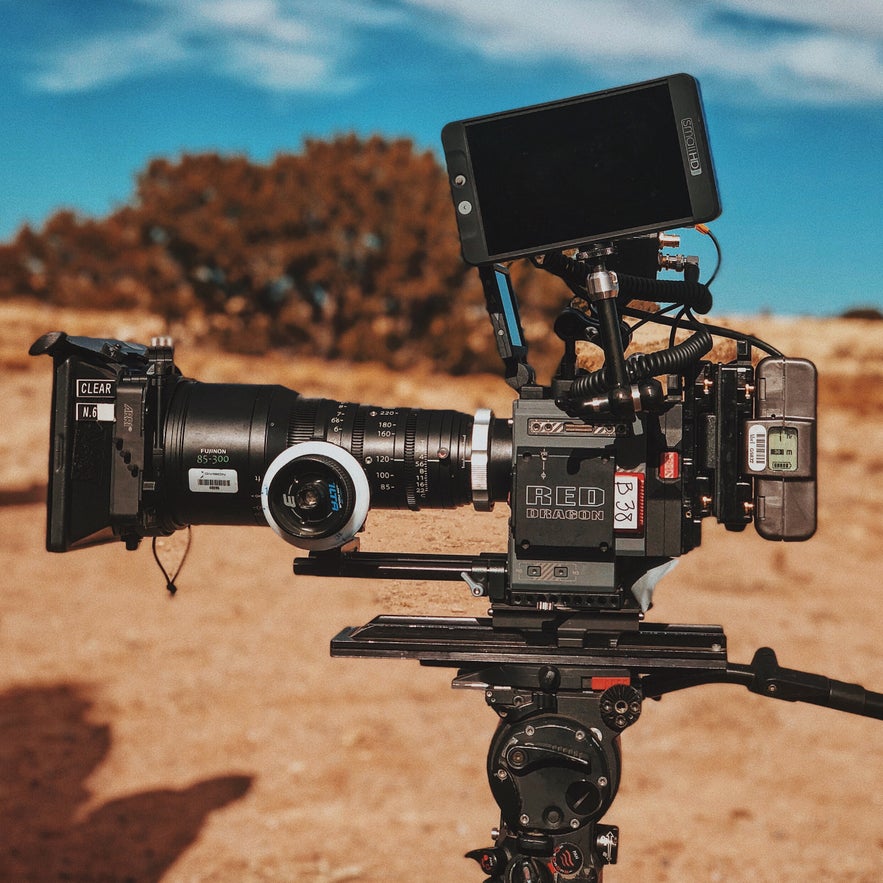 Learning to edit is a must when creating your own videos. Photo by: 'Unsplash'.
Step 6: Lighting
Finally, one of my favourite aspects of filmmaking is lighting. I love how you can tell a story simply by changing the lighting. But, the important part is to understand what light is and how to use it.
One of my favourite quotes from David Landau in his book Lighting for Cinematography: A Practical Guide to the Art and Craft of Lighting for the Moving Image is “good lighting makes things look real, while real lighting often makes things look fake”. What David means is that when lighting a scene, it is important to create a look or style that is believable to the audience.
When talking about lighting in films, it is important to know that light does not just illuminate the scene – it also adds shadows, colour, texture, and depth to give the audience the illusion that they are inside the scene.
Shadows are also a part of the lightning process, as counteractive as it sounds. You need to control the spill of light to add contrast and fool the audience. This applies even when you are shooting outdoors in the landscape.
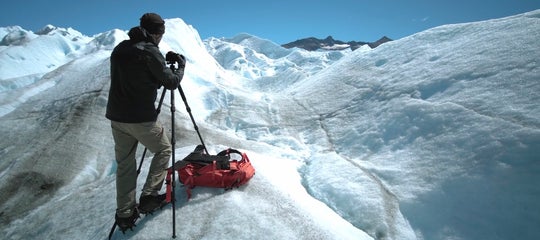
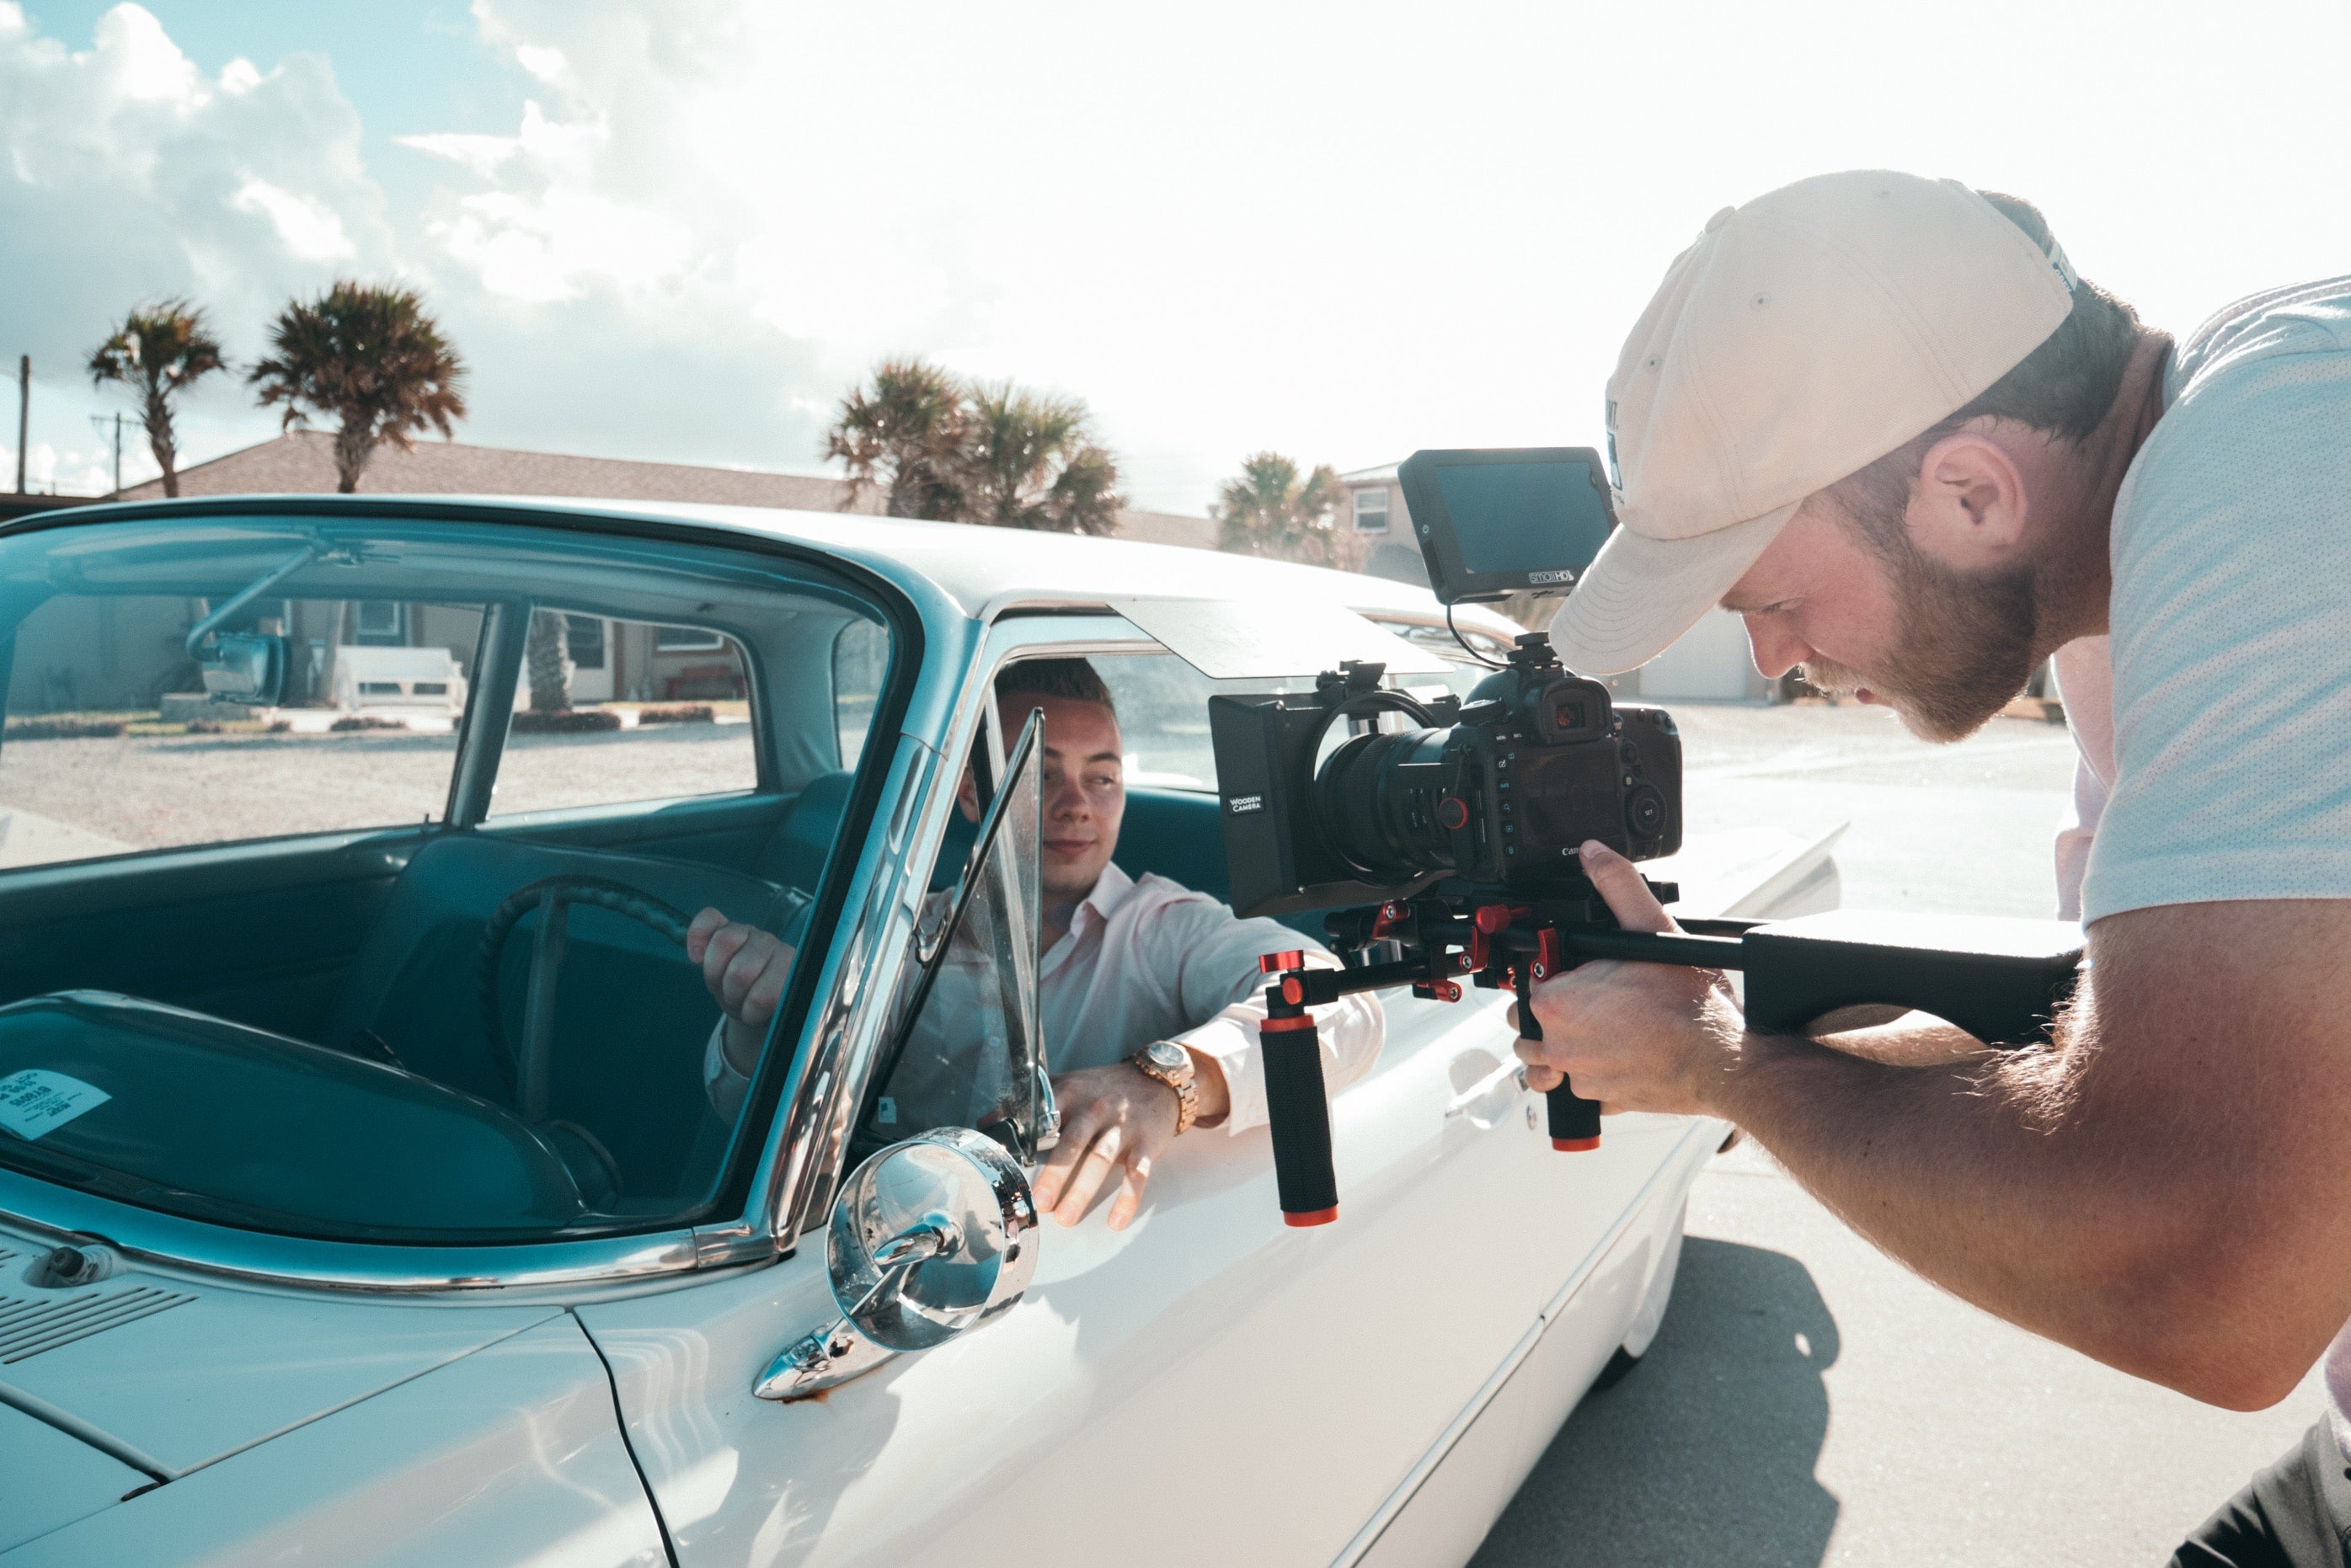 You'll need good lighting even when outdoors. Photo by: 'Unsplash'.
- See also: Ultimate Guide to Time-Lapse Photography
Aspect Ratios in Videography
Aspect ratios are one of the most underrated aspects in storytelling for film. Different stories require different aspect ratios.
Aspect Ratio is the size of the screen based on the shot ratio of length/width. Standard ratios in film are 1.33:1, 1.78:1, 1.85:1, and 2.35:1. For beginners, the majority of the time you will be shooting 1.78:1 or 16:9, which is widescreen HDTV.
Aspect Ratios can actually become a complex situation when dealing with anamorphic lenses and having to de-squeeze footage, but we are only going to focus on basics. For now, I would suggest going through your camera settings and testing out different aspect ratios. Watch films with different aspect ratios and you will begin to notice how the different sizes create different effects.
Compression
Compression reduces the file size of the videos into more manageable or workable sizes. It is a necessity when it comes to filmmaking. All forms of video are compressed to some extent. Even high end cameras that shoot RAW have compression. This is because cameras see way more information than the human-eye can see.
There are 3 main types of compression that amateur or professional filmmakers use.
-
Spatial Compression: When you reduce the amount of pixels in an image. (ex: 4K footage to 1080p Footage)
-
Temporal Compression: When you reduce the frame rate of the video.
-
Image Compression: When some areas of the image are “predicted” in order to record at a lower bit-rate.
Bit Rates
Another term that goes hand-and-hand with compression is Bit Rates. Bit rate is the movement of information per second. Therefore, higher Bit-Rates result in more information being gathered, which means a larger file will come from it.
This can cause issues for filmmakers starting out. Shooting at a higher bit-rate you will be required to have more space to store the footage and more processing power in your computer to handle the large file sizes. Bit-Rate size depends on the format the footage is being shot at.
The Exposure Triangle
Now, one of the most important aspects of filmmaking for beginners to remember, The Exposure Triangle. This includes the 3 ways to either add or reduce light entering the camera. These are ISO, shutter speed, and aperture.
ISO
The standard ISO numbers are 100, 200, 400, 800, 1600, 3200, 6400 and so on. Each time you increase or decrease the ISO you add or take away half the amount of light.
ISO is the camera sensors sensitivity to light. The higher the ISO the more sensitive to light the sensor will become. But, if you increase the ISO too much your footage will develop grain or noise.
Noise in film is the actual pixels being shown, creating a smeared look in the shadows (shown in the image to the right). Typically, you shoot at a lower ISO when in a bright situation and a higher ISO when you are in need of light. But, you should never use ISO to achieve proper exposure. You should decide on an ISO in pre-production and light your subject in order to get proper exposure.

Shutter Speed
Shutter speed is the amount of time the shutter is open to allow light on the sensor. However, in videography, there are some rules that are unlike photography.
You need to maintain a 180-degree shutter angle. You achieve this by always making sure your shutter speed is double the frame rate being shot. For instance, if you are shooting a film at 24fps (standard), then your shutter speed should be 1/48 per second. Maintaining a 180-degree shutter angle will allow for the most realistic motion blur when there is movement within the scene.
Aperture
Aperture is the size of the iris inside the lens, allowing light to enter the camera. The standard aperture numbers are 1, 1.4, 2, 2.8, 4, 5.6, 8, 11, 16, 22.
Just like ISO, whenever you increase or decrease the aperture, you are adding or subtracting half the amount of light.
Aperture does not only affect the amount of light coming through the lens, it also determines depth of field. Depth of field is the amount of acceptable focus in front of and behind the subject. This means that if you are shooting with a larger aperture (also known as F/Stop), then you will have a greater depth of field and more of the background will be in focus.

Frame Rate
Finally, we have frame rate. This is the amount of times an individual image appears in succession per second.
The industry standard for filmmaking is 24fps (23.976fps). This is because it creates the most realistic motion blur.
Frame rate is sort of like a flip book. Each page of the flip book is equivalent to a frame captured by the camera. When those slightly different frames are shown in succession at a particular speed, it gives it “motion”.
Our minds see a smooth moving picture when in reality, we are only seeing multiple images playing back to back. Different frame rates give different outcomes.
There is no perfect frame rate to use in videography. They all create different outcomes. You can shoot at a higher frame rate when trying to capture slow-motion of a subject. But, always remember when you are planning for a film shoot and deciding upon what frame rate to use, that you should pick the best one that will allow you to tell the story most efficiently.
As you can see, getting started in videography involves a lot more than just buying the right camera gear. You'll need to educate yourself on how to use your equipment to the best of your ability, while shooting as often as you can. So take your new camera out with you on your travels! Document as much of your trips as possible and think ahead to plan out your shoots. This will get you familiar with your new craft and before you know it, you'll be improving your videography skills rapidly.
About the author: Patrick Clark is a cinematographer based in the USA. You can find more of his work on his website or by following him on Instagram.
Put your newfound videography skills to the test! Join us on a Winter Workshop in Iceland with your camera, drone or other filming device. We've got the best guides to help you take your photography and videography skills to the next level.


