You may have heard other photographers suggesting that you use the lowest ISO setting possible for landscape photography. Although the lowest ISO setting will work in most situations, there are some circumstances in Iceland when you will benefit from it being higher.
- Here are 5 Reasons Why Iceland is the Best Destination For Aerial Photography
- Travel through time with A Brief History of Photography
- Discover the The Exposure Triangle: Aperture, ISO & Shutter Speed Explained
Knowing when to increase your ISO camera setting will improve your experience in-field and lead to better landscape photography during your Arctic adventure. To make sure that you’re using your camera effectively, let’s take a closer look at what ISO really is. Once you have a base understanding of the concept, we’ll explore a few scenarios in Iceland during which you may want to shoot with a higher ISO.
What is ISO?
ISO is one of the most important factors for exposing correctly in landscape photography. It is part of the ‘exposure triangle’ and is a measurement of how sensitive your camera’s image sensor is to the light. When you adjust the ISO, it changes the sensor’s reading of the available light.
Put very simply, ISO is a camera setting that will help to brighten or darken your photo. A lower ISO, such as ISO 100, means that the sensor will be less sensitive to light. As you increase the ISO number, your sensor will become more sensitive, meaning that its reading of the available light is amplified. This is what will make your images brighter.
Each camera sensor’s reading is able to be amplified a certain amount within a range that the manufacturer deems the images to be of an acceptable quality. This is known as the ‘native ISO range’. Most cameras these days have a native ISO range of between 100 to 6400. Some even go higher, while others go lower.
In landscape photography, you’ll often hear people talking about the ‘base ISO’. This is the default lowest ISO setting that you can dial in on your camera, which for most people will be ISO 100. Some cameras will allow you to extend your ISO settings beyond the native range. For example, your camera may have a native ISO range from 100 to 6400, though it may also have a function within your menu settings that will allow you to set the lowest ISO to 50 and the highest to 12,800. While this may seem like a great function at first, the extended ISO values actually push your camera sensor to its minimum or maximum native ISO, before taking it even further with inbuilt software.
It is not a good idea to use these extended ISO options, as they are basically the equivalent of adjusting the exposure with post-processing software – the outcome being that image quality may be negatively affected.
The Relationship Between ISO and Noise
Just to recap – whenever you raise the ISO setting on your camera, you will increase your image sensor’s sensitivity to light. This means that the sensor will amplify the signals of light that it receives, making them appear brighter.
However, depending on the lighting conditions, not every part of the sensor will receive a light signal. Some parts may receive very strong signals of light, whereas others may receive weaker signals. As a result, wherever the light doesn’t touch the sensor, or wherever only a weak signal of light is received, you will notice what is referred to as ‘noise’ – an uneven, speckled and grainy look that can make your photos seem soft or even ruin the detail, rendering them practically useless for printing.
While dealing with noise when using a higher ISO has always been an issue in photography, improvements in camera technology have made it possible to push the boundaries and to shoot at higher ISO ranges without sacrificing too much in terms of image quality. Noise may still be evident in your photos when shooting with a digital camera, though these days it is much less noticeable than it used to be.
Why Most Landscape Photographers Shoot at Lowest ISO
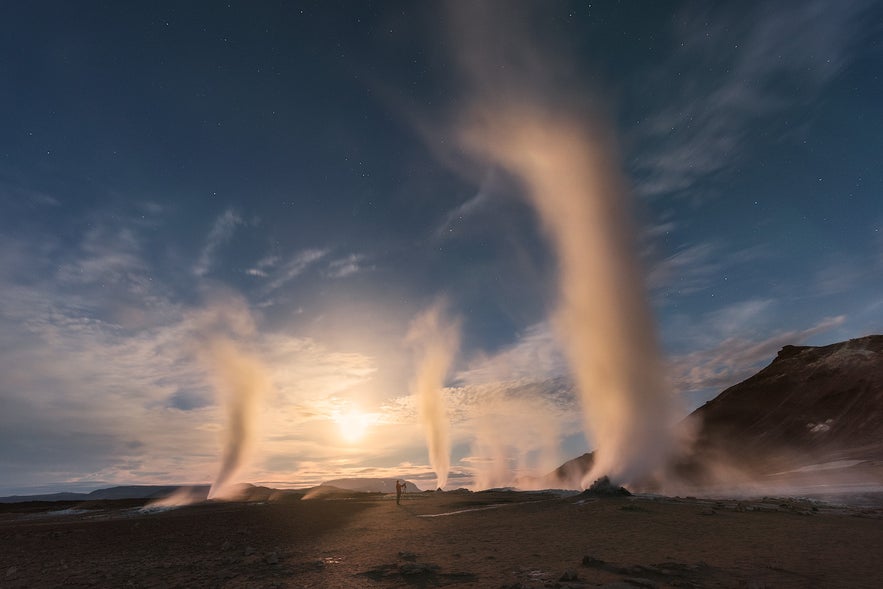
 There will be situations in Iceland when you'll need to shoot with a higher ISO. Photo by: 'Iurie Belegurschi'.
In landscape photography, most people mount their cameras on a tripod. The benefit of using a tripod is that your camera will stay still for the duration that your shutter is open for a photo. This means that you can take longer exposures without having to raise the ISO, thereby resulting in less noise.
This is particularly useful when shooting in low-light environments such as during blue hour, or for creating longer exposures without having to make any sacrifice in terms of image quality. With a lower ISO in situations like these, you will be able to increase the amount of time during which the light is able to hit your camera’s image sensor, resulting in an extended shutter speed and a brighter image.
In contrast, shooting at the lowest ISO is also useful when there is very bright, natural light within the environment and you want to shoot with a faster shutter speed, as it will allow you to minimise the amount of light hitting the sensor, thereby preventing the risk of ending up with over-exposed shots.
- See also: Camera & Gear Reviews
Situations When You’ll Need a Higher ISO
There are certain moments during your time in Iceland when you’ll notice that shooting at the lowest ISO won’t always be possible if you want to capture beautiful images – namely when there is movement or when shooting the Northern Lights.
Camera Movement
How many times have you decided to leave your tripod in the car when you’ve been travelling, just because it’s been too heavy or burdensome to carry? We’re all guilty of this at some point or another.
While a tripod can help to provide stability when shooting the landscape in Iceland, it’s not always practical to bring one along, depending on the conditions as well as your subject matter and the terrain. For example, wildlife in Iceland can pop up when you least expect it, more often than not when you’re without a tripod and not entirely ready to take a shot.
 A higher ISO is useful for shooting handheld when you're surprised by wildlife. Photo by: 'Iurie Belegurschi'.
It can also get very windy at certain places, such as on the Snæfellsnes Peninsula, so shooting with a tripod can be near impossible or even a tad risky. No matter how heavy your set-up may be, it can still fall over or fly away. So rather than risking your tripod tumbling over the edge of a cliff, try shooting handheld instead at a higher ISO.
Shooting at a higher ISO is useful for minimising camera shake or movement when you’re handholding your camera. By increasing your ISO, your camera sensor will be more sensitive to the available light, meaning that it will need a shorter amount of time to obtain the correct exposure. This minimises the period during which camera shake and movement can have an effect on the shot. As such, you’ll end up with much sharper handheld landscape photos.
Other times when you may encounter camera movement include when you’re trying to shoot out of a moving car, on a plane or helicopter for aerial photography, or on a boat whilst whale-watching. During these moments, raising the ISO will allow you to use a faster shutter speed that will minimise the effect that the movement will have on your shots.
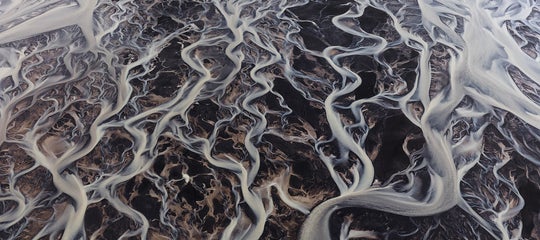
 A higher ISO can minimise camera movement for aerial photography. Photo by: 'Iurie Belegurschi'.
An added benefit of shooting at a higher ISO lies in depth of field, as you’ll be able to shoot at a smaller aperture (such as f/11) to get the entire landscape in focus from front to back, without sacrificing image brightness or compromising on your selected shutter speed.
Subject Movement
This refers to when the main subject matter of your shot is moving, as opposed to your camera itself. You may be using a tripod to shoot but this won’t have any effect on movement occurring within the environment around you.
Subject movement can include grass and leaves being blown about by the wind, or even flowers swaying slightly to and fro in the foreground of your shot. It also applies to wildlife, such as Icelandic horses, reindeer, Arctic foxes, seals, whales, puffins in the Westfjords and other birds in flight.
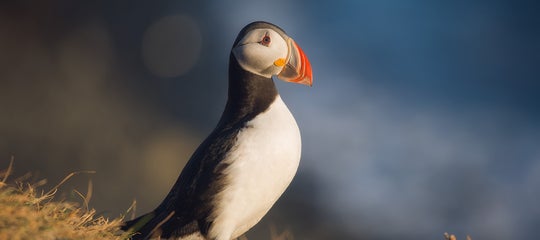
 Puffins move quickly, so be sure to raise your ISO for a faster shutter speed! Photo by: 'Iurie Belegurschi'.
When you use a lower ISO (such as 100-200) in a situation where your subject is not perfectly still, the camera sensor will be less sensitive to the available light, which means that it will need a longer time to produce an image that is bright enough. In the time that it takes to produce a properly exposed image, your subject likely be moving, resulting in it being blurred.
To freeze-frame the subject in motion, you’ll need to reduce the amount of time needed for the exposure. You can do this by simply raising the ISO for a faster shutter speed and adjust your aperture accordingly.
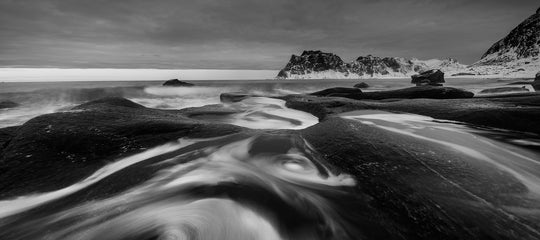
Raising the ISO setting on your camera is also useful for capturing the thundering waterfalls of Iceland’s south coast frozen in time, as it will allow you to increase the shutter speed for a shorter exposure. This is a great way of encapsulating the drama and power as the heavy water tumbles forth from sheer, rocky cliffs, dropping with immense force towards the ground below. It is completely different to the dreamy effect that you’ll get when shooting with a longer exposure.
Perhaps the most obvious situation in which you’ll be faced with a moving subject in Iceland is when photographing icebergs washing ashore onto the Diamond Ice Beach with the waves. This can be a high-action environment that involves camera movement as you lift your tripod to keep your gear safe, as well as when the waves draw away the sand beneath your feet, creating an unsteady surface.
Added to this, the icebergs will be constantly moving!
Raising your ISO setting at the Ice Beach can help you to capture a sharp and usable image that is properly exposed.
 Using a higher ISO at the Diamond Ice Beach can allow you to capture the moment successfully. Photo by: 'Iurie Belegurschi'.
While it may seem a little more peaceful at the nearby Jökulsárlón Glacier Lagoon, don’t be fooled. This is a tidal lagoon and although the icebergs drifting upon its still waters may appear to be perfectly still, they are actually also on the move.
Northern Lights Photography
If you’ll be visiting Iceland during the autumn or winter months, then no doubt you’ll be excited about photographing the Aurora Borealis. Iceland is one of the best places in the world to capture the Northern Lights, due to the diversity of the landscape which makes for a multitude of fascinating compositions.
However, shooting at night can be difficult, particularly when the Northern Lights and the stars are moving across the sky. The aim is to expose properly for your foreground and the stars as well as the Aurora, so how can you do this when there is not enough light?
Your camera can capture a lot more light than the human eye can see, particularly when shooting at a wider aperture such as f/1.4. This is why we open up the aperture to shoot the Northern Lights. Although this will allow for a longer exposure time, you’ll probably need to restrict it to less than 30 seconds, or you’ll end up with star trail movement. In order to balance these two needs, you can increase the ISO to 1600 or even beyond, depending on how dark it is.
 A higher ISO is a must for Northern Lights photography, especially at the glacier lagoon where the icebergs constantly move. Photo by: 'Iurie Belegurschi'.
As you can see, using a higher ISO can help you to capture images of the Northern Lights, despite the fact that you’ll be in a darker environment, as you’ll be able to be more flexible with your aperture and shutter speed settings. What’s even more incredible is that by increasing the ISO, a larger amount of light will be amplified by your camera’s sensor – even the faint light of the stars, shining millions of light years away!
While shooting at a higher ISO is not beneficial in every scenario, there are quite a few situations in Iceland when it can be useful in your landscape photography. This technique can help you to freeze movement within the environment, reduce camera shake and allow you to extend your depth of field. It will also let you capture stunning photos of the Diamond Ice Beach and the Northern Lights. However, keep in mind that whenever you increase the ISO, you’ll also be gradually adding to the level of noise within your photographs so whenever possible, use the lowest ISO that will allow you to expose correctly for the lighting conditions and the situation at hand.
About the author: Serena Dzenis is a landscape photographer based in Iceland. You can find more of her work on her website or by following her on Facebook and Instagram.
Hone your landscape photography skills in the wild and wonderful nature of Iceland! This 11 Day Iceland in Autumn Photography Workshop will take you to all the best locations at all the right times to make use of fall colours amidst the spectacular light.


