You’ve finally invested in a trip to Iceland! You have your camera packed and you’re ready to go, but with such an action-packed itinerary, it’s easy to make photography mistakes – particularly if you’re just starting out.
- Learn all about Aperture and F-Stop in Landscape Photography for Beginners
- Check out these 5 Reasons Why Iceland is the Best Destination For Aerial Photography
- Join us on this 11 Day Namibia Photography Tour
At Iceland Photo Tours, we have spent years teaching photography, so we are very familiar with some of the common mistakes that photographers make in landscape photography. Luckily, these mistakes can be easily fixed with a bit of prior knowledge. From horizon lines not being straight to poor focusing, here are some of the most common photography mistakes that people make whilst visiting Iceland and our advice on how to avoid them.
Mistake #1 - Unsharp Focus
One of the most common mistakes that people make when photographing in Iceland (and one that you definitely don’t want to realise later on when you get home to look at your images) is taking photos that are unsharp. Missing the focus point and creating a blurry shot is unfortunately something that you can’t fix during post-processing! So while you’re in Iceland, make sure to nail the focus in-field for super sharp images that you’ll enjoy processing when you get home.
A simple way to make sure that your focus is accurate is to not rely on your camera’s autofocus to choose your focal points. Instead, switch your camera and lens to manual focus.
This method is particularly suited for landscape photography in Iceland, especially when you are out shooting the stars or Aurora Borealis at night. This is because many cameras struggle to focus on very close subjects or when using a shallow depth of field. When this occurs, the lens ends up hunting for a focus point every time that the shutter release button is pressed, rather than finding a focal point to lock onto. This is very noticeable, as you’ll find your lens moving in and out of focus as it does so.
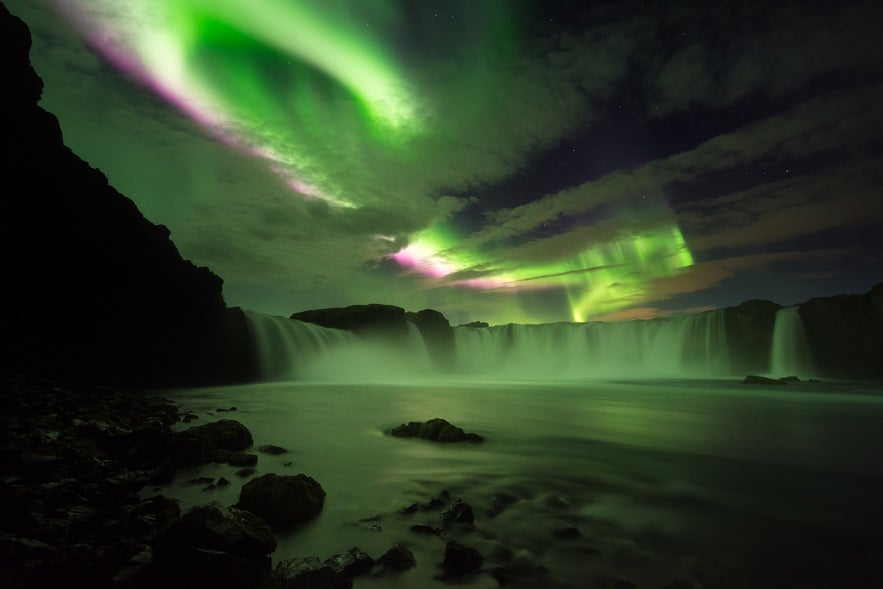 Getting your focus right can be difficult, particularly at night. Photo by: 'Iceland Photo Tours'.
To avoid this, simply use the manual focus option to quickly and more accurately lock a focus point before taking a shot. Don’t be concerned about getting the focus right manually… there’s an easy trick to do that too. If you’ve recoiled from using Live View technology in the past (don’t deny it, there are some of you out there!), then now is the time to make the most of it. Live View makes manual focusing a breeze, as it allows you to enlarge the scene on the screen so that you can see the precise spot that you want to focus on. You can then adjust the focus until the area is perfectly sharp. So now there’s no need to complain about unsharp photos ever again… or at least not while you’re in Iceland.
Mistake #2 - Dull Colours
When photographing the landscape in Iceland, dull colours can lead to uninteresting images that fail to capture your audience. The last thing you’ll want to do is to ‘paint-in’ or oversaturate the colours later on during post-processing, which may result in photos that look completely unrealistic.
So while you’re in-field, the trick is to capture the landscape with the best light. This means that you need to pay attention to the time of day during which you shoot.
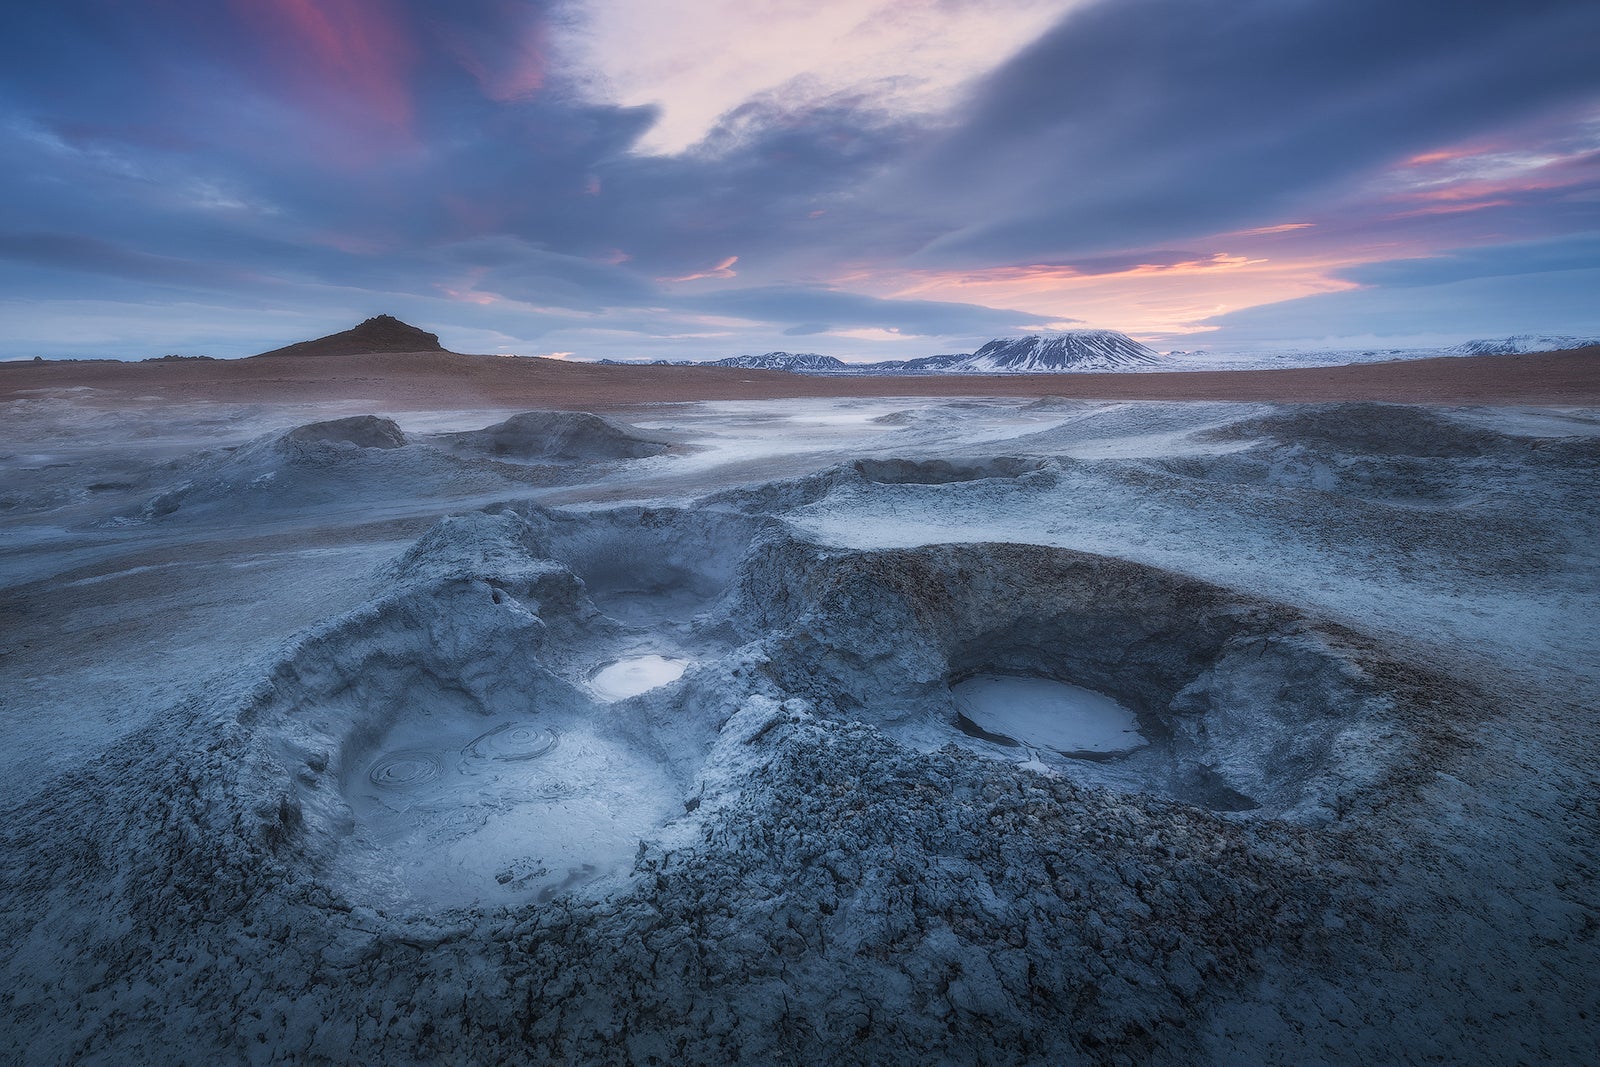
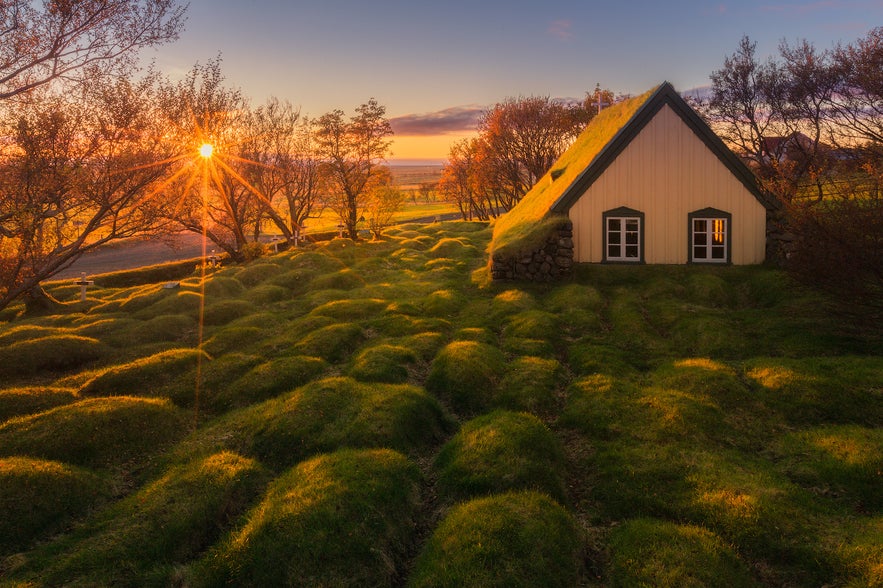 Aim to shoot in the best light. Photo by: 'Iurie Belegurschi'.
The sun is at its highest point in the sky during the middle of the day. This is when the lighting is harsh and can lead to desaturated skies. To get around this, shoot during sunrise or sunset, when the light in the atmosphere is infused with a warm, golden tone. This time of day is generally referred to as the ‘Golden Hour’. In Iceland, the Golden Hour casts a brilliant glow that lasts for several hours during the Midnight Sun season in summer, or it can be softer during the winter, resulting in beautiful illuminative tones.
When the Golden Hour takes hold, the colours in the landscape can reach gorgeous levels of intensity, giving your photos the kind of ‘pop’ that landscape photographers are always chasing. During this moment, you can shoot so that the sun is behind you, bringing out the electric blue of the sky. You can also shoot directly into the sun for amazing sun-star effects, though this photography technique is a little trickier and will require you to exposure blend. However you choose to shoot, the Golden Hour is a wonderful time of day that will enhance the colours in your photos, making for truly interesting scenes.
Mistake #3 - Noise
Another common photography mistake that we often see in Iceland is when people shoot at a much higher ISO than is required for the scene. This often results in unwanted noise – something that you don’t normally see when viewing the image on the back of your camera, but which you will definitely notice when you bring up your photo on a computer screen. Noise appears as a spattering of incorrectly-tinted pixels throughout an image. Although most photos will have some amount of noise when viewed on a computer screen, larger amounts can impact the print quality of a photo and how it is viewed by others. However, with the right settings, your photos can be almost completely noise-free.
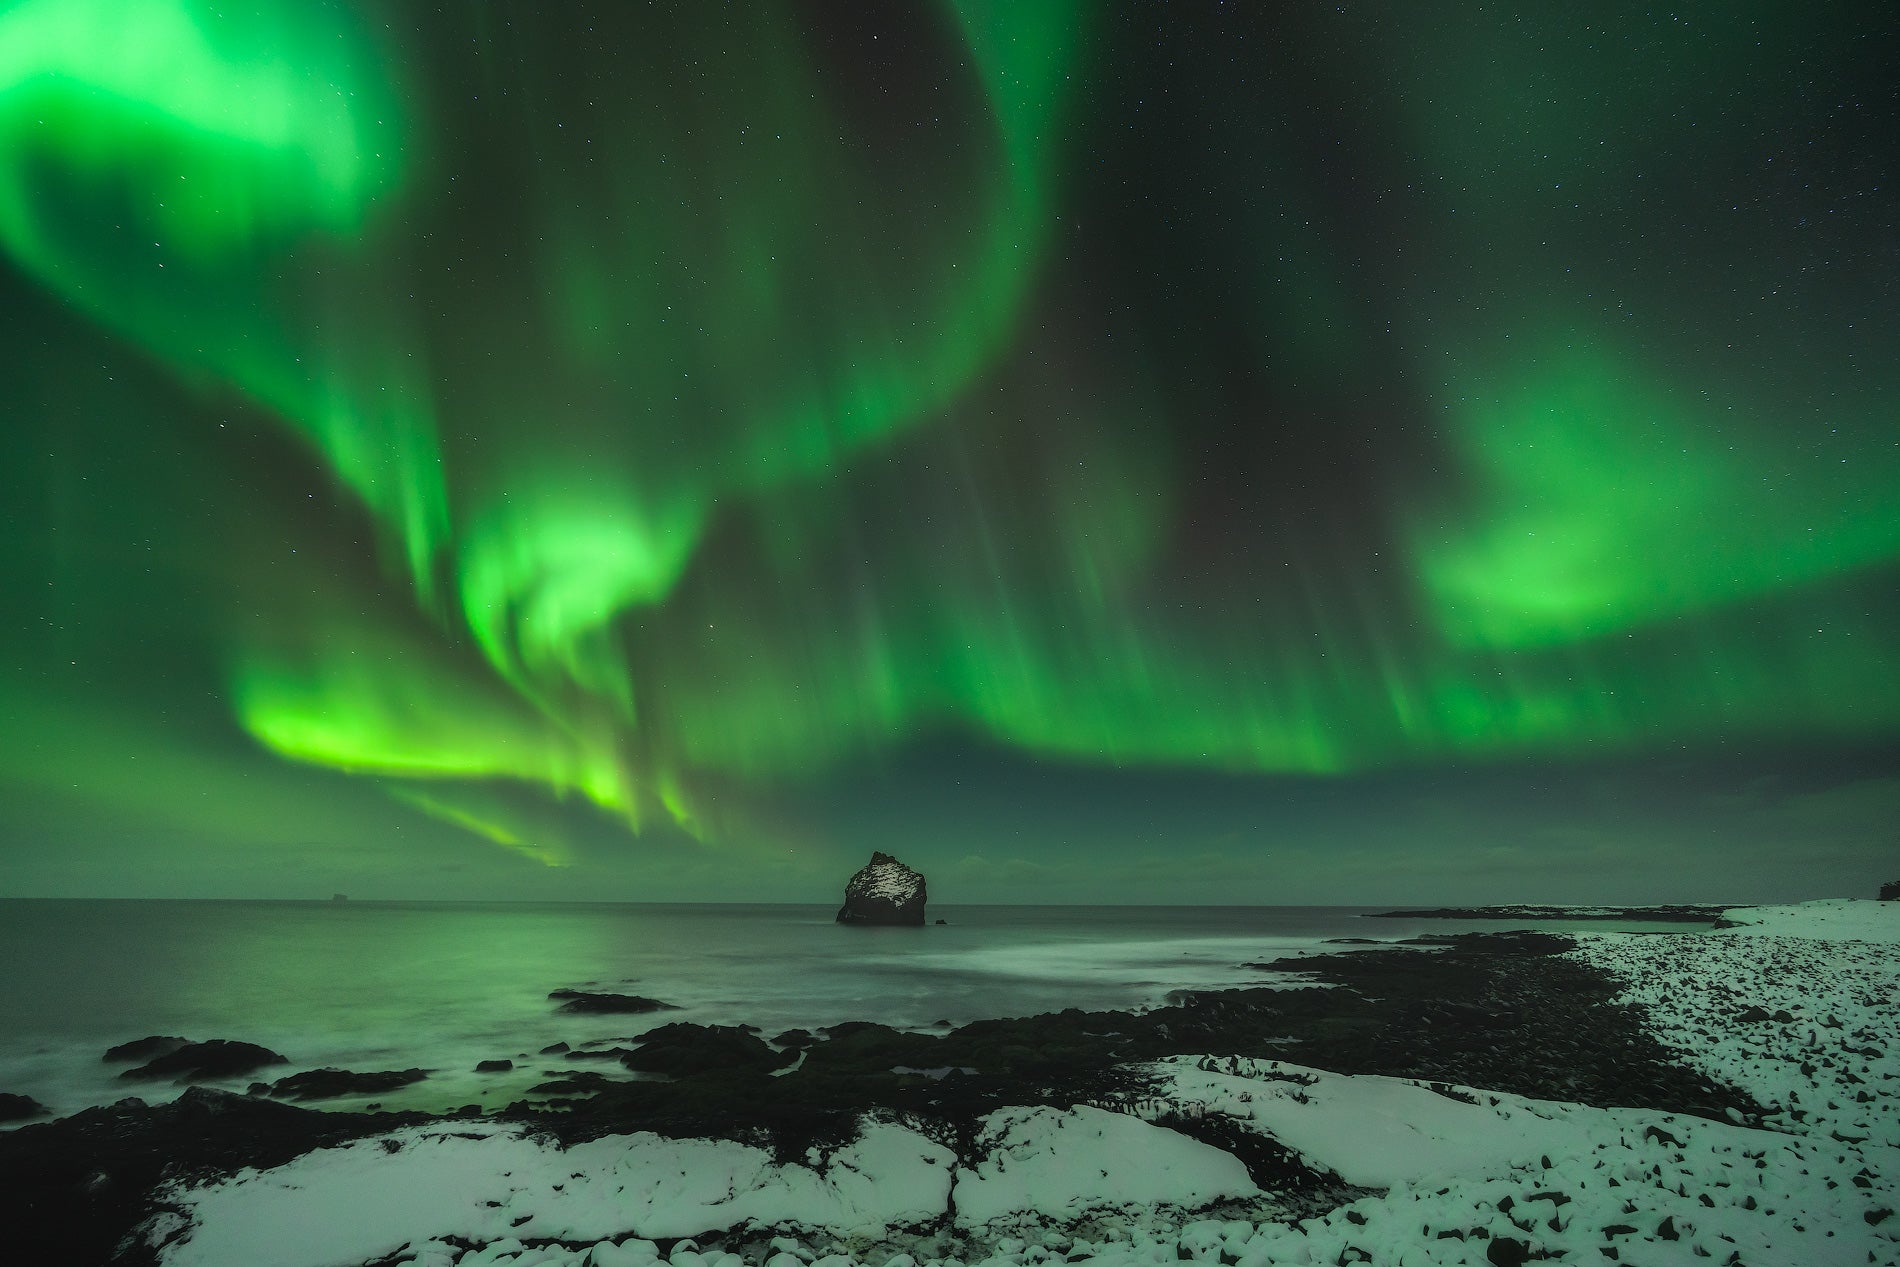 Noise is particularly noticeable at higher ISOs. Photo by: 'Iurie Belegurschi'.
When shooting in Iceland, pay attention to your ISO settings. Although a higher ISO allows you to work with faster shutter speeds or smaller apertures in low-light situations, increasing your ISO settings too much can result in an increase in noise. Try shooting at the lowest ISO settings that will allow you to use a fast enough shutter speed to capture the scene at hand.
Keep in mind that unwanted noise can sometimes occur as a complete accident, such as when you forget to change a higher ISO for one that is lower when transitioning from night time to shooting during the day. So before you shoot, always check your settings!
Other ways to avoid a lot of noise in your landscape photos of Iceland include opening up your aperture, slowing down your shutter speed, locking the ISO at the lowest level that your camera can handle without producing too much noise, and using a tripod for longer exposures.
Mistake #4 - Too Much Cropping
A big mistake that we often see people making when shooting in-field is zooming in too far on a subject – that is, cropping out too much of the scene. This might be by cropping out too much sky or even too much of the foreground. Cropping out too much of a landscape can make a huge difference to the visual impact of your photograph. It can make your image seem too busy or worse still, too empty if you fail to fill the frame. Although it might take a lot of trial and error before you figure out how much is too much to crop from a landscape, there are actually a few golden rules that you can follow to make sure that you don’t cut out too much.
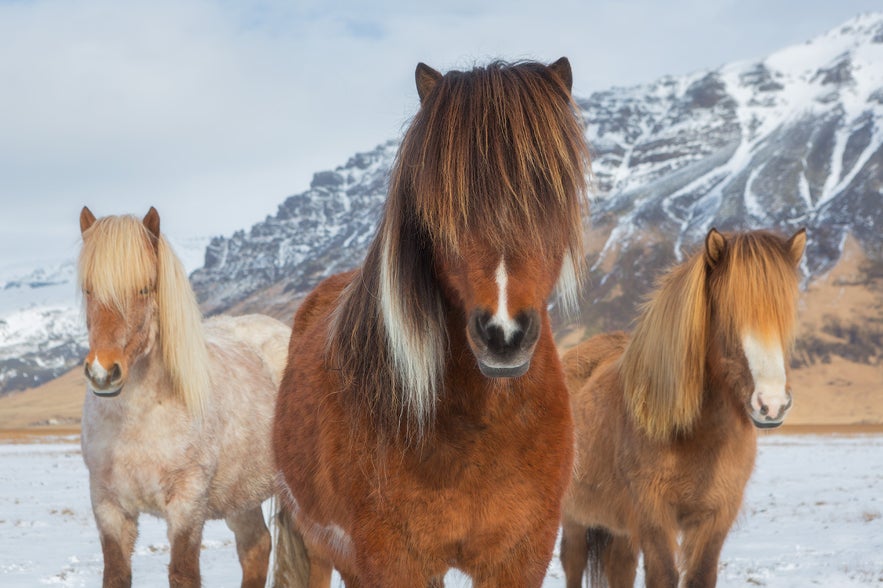 Use your feet to get closer to your subject rather than cropping. Photo by: 'Iurie Belegurschi'.
One easy way to make sure you haven’t cut out too much of the sky or the foreground is to follow the Rule of Thirds. This rule is actually quite simple when placed into practice in-field. Basically, imagine that your photo has a grid over it, with two horizontal lines and two vertical lines, making nine equally sized squares. Then just make sure that your horizon aligns with one of the horizontal lines, or that your subject sits where two lines intersect. This will ensure that your composition is well-balanced and draws the viewer’s eye into the scene towards the subject or the focal point of your image.
If you don’t manage to achieve this while you are out shooting, then be sure to follow this rule when you are cropping during post-processing to adjust the proportions of the subjects within your frame and to minimise distractions. Always keep an eye on where the horizon is placed within the frame, as well as the subject or focal point. If there are too many things at the edge of your frame, then you won’t be able to crop them all out, as the resulting horizon line, subject or focal point may end up unbalanced.
When photographing the landscape in Iceland, you should also make allowances in your cropping for vertical, square and horizontal images. Try the same composition in different forms before deciding how much you will crop. You’ll never quite know at the time how you might want to use your photo later on, especially if you decide to upload it to social media!
Mistake #5 - Missing The Moment
We’ve taken you through 4 common photography mistakes whilst shooting in Iceland and how to avoid them, but the biggest one that people seem to encounter is missing the moment. How many times have you set your alarm to wake up early for sunrise, then stayed in bed and snoozed until the sunrise has well and truly finished? Or how about all the times you’ve not had a location in mind when the sunset is about to happen, then found yourself racing fervently to some place as the sunset has begun?
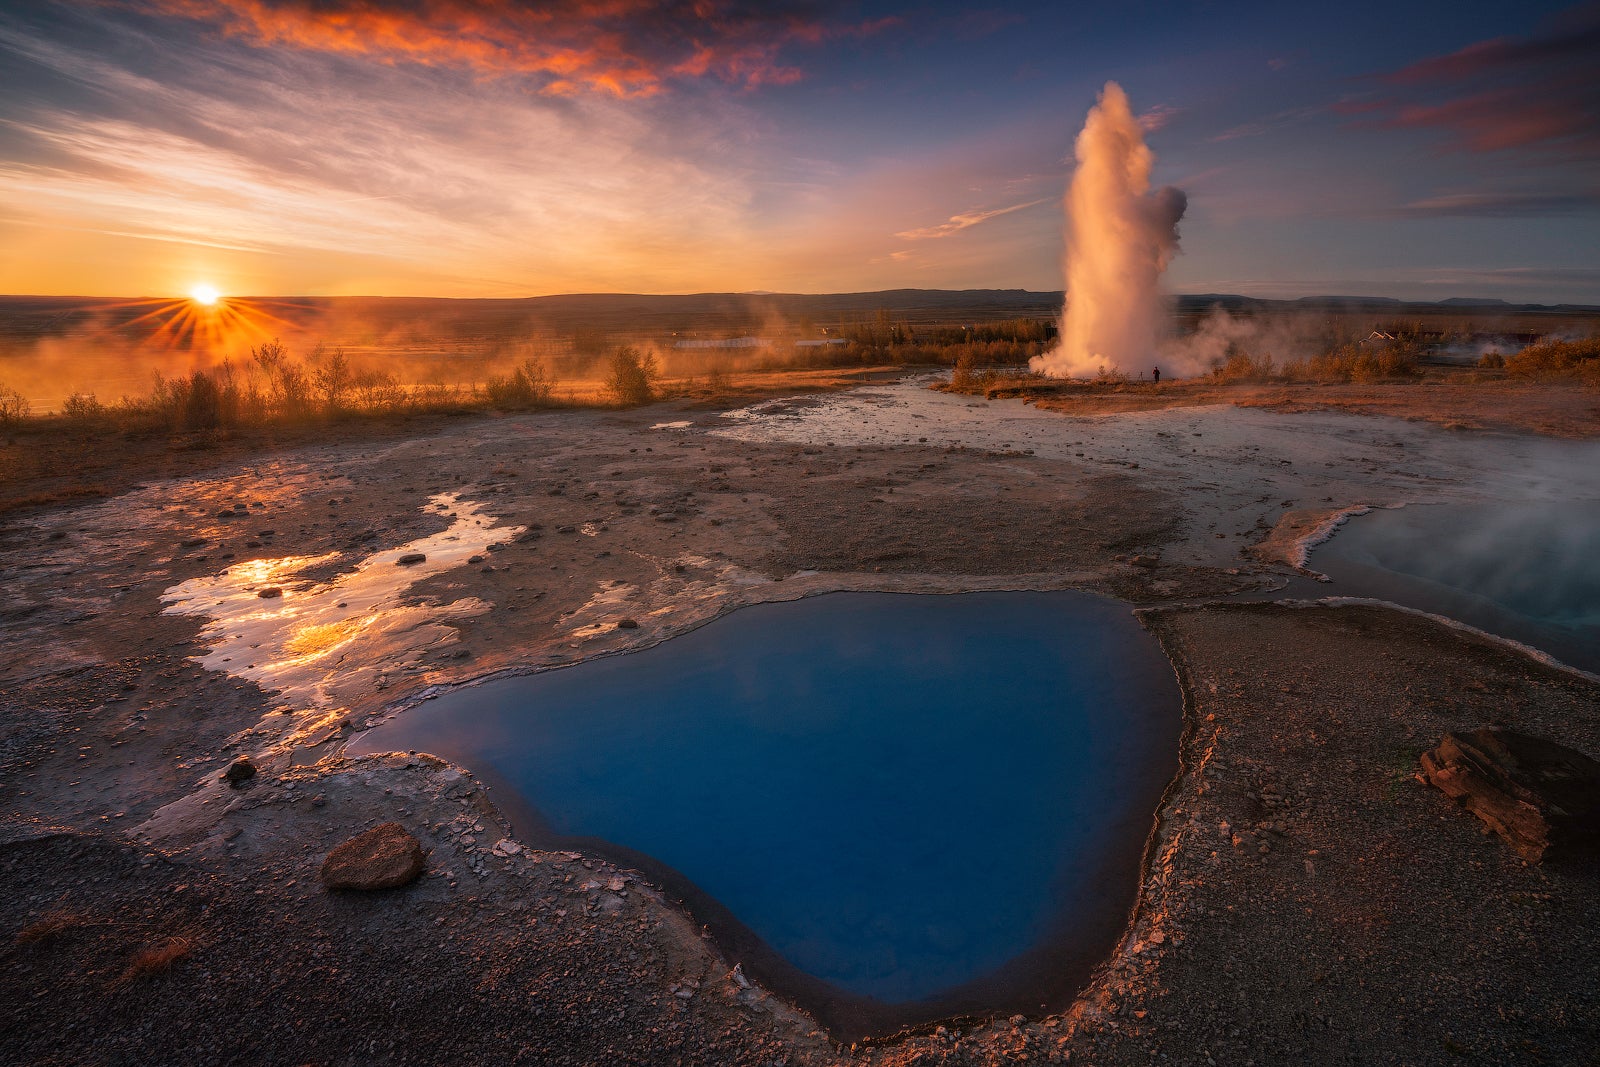 Be ready for the decisive moment! Photo by: 'Iurie Belegurschi'.
To make sure that you are always ready to shoot, make sure to charge your batteries and pack your bag the evening beforehand. Then, plan where you want to go before you even head to sleep! Aim to be at your sunrise or sunset location an hour before the moment itself, to ensure that you are happy with your composition before the show begins. This extends to getting the season right. If you want to shoot the Northern Lights, then there is no use showing up during the summer, when the sun never sets. By doing your research as to when the magical moments are set to occur, you will be able to ensure that you show up to the right place during the right time in order to capture the landscape of Iceland while it is looking its absolute best.
About the author: Serena Dzenis is a landscape photographer based in Iceland. You can find more of her work on her website or by following her on Facebook and Instagram.
Make sure that you will always be in the right place at the right time to photograph the wonders of Iceland! Avoid missing the moment by joining one of our photography workshops in Iceland, where we will teach you everything you need to know about landscape photography!


