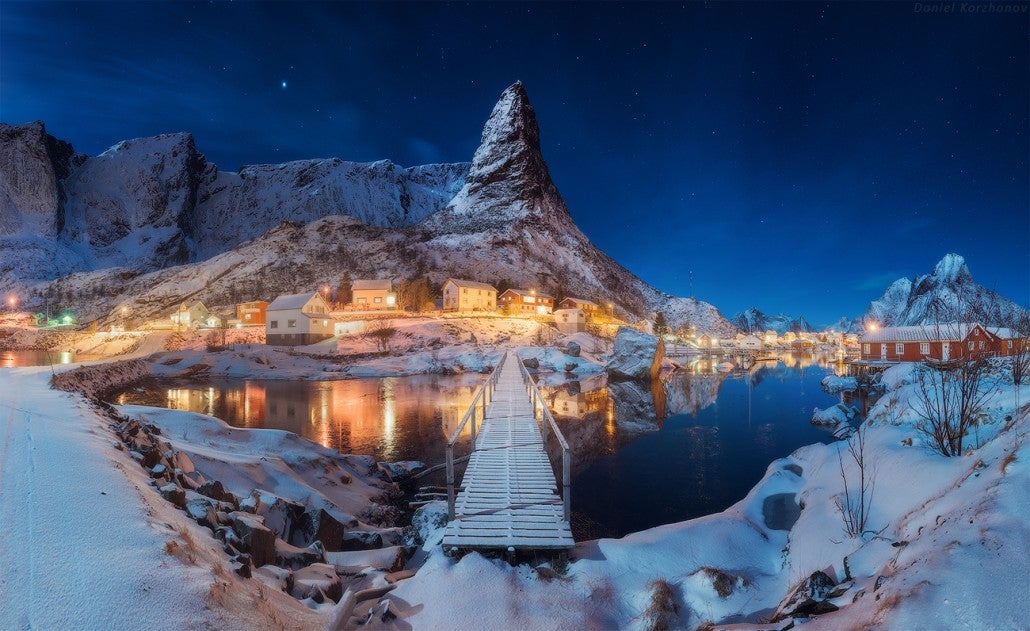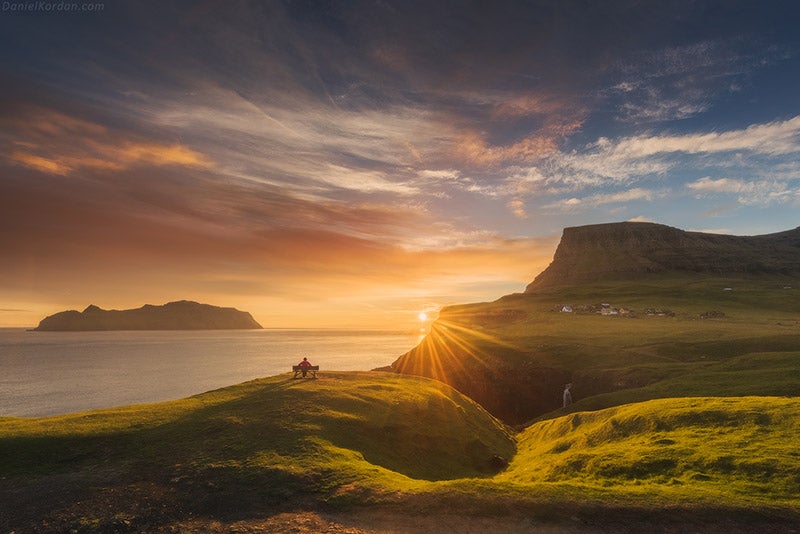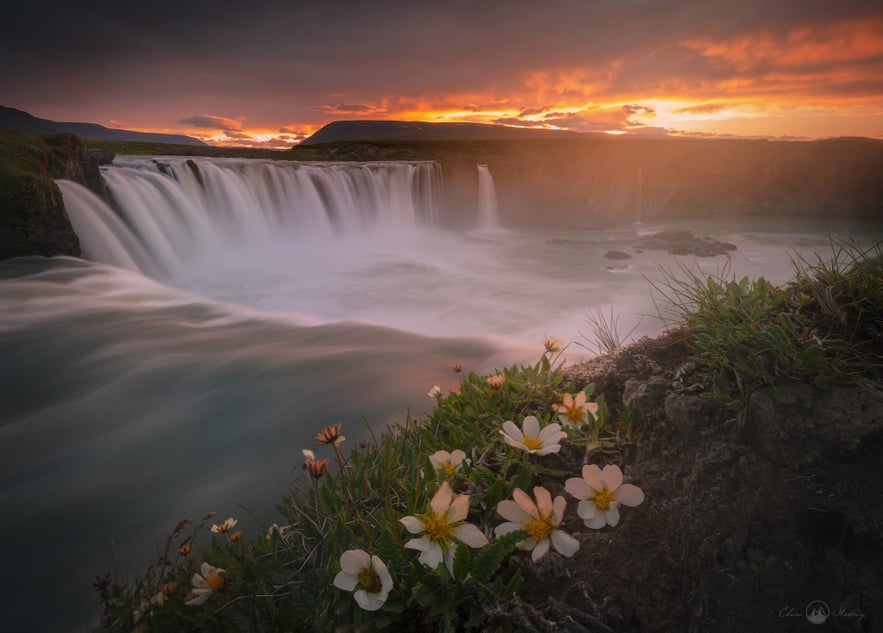
So you’ve booked your photography tour in Iceland and you’re ready to start taking photos but you really want to harness your creativity, rather than returning home with just snapshots. To truly make the most of the incredible landscape in Iceland, photographers can employ a range of tools and skills to help them to create uniquely interesting shots. That’s where the technique of making a longer exposure can come into play.
- Learn about HDR Photography in Iceland | Exposure Blending for Beginners
- Travel through time with A Brief History of Photography
- Discover the Ultimate Guide to Long Exposure
Long exposure photography is a style that really turns what you’re photographing into a true work of art. Bland and uninteresting scenes can become breathtaking masterpieces, simply by leaving the shutter of your camera open. The reason for this is that long exposure photography allows you to capture mood and movement – two elements that can make your pictures more dynamic. In Iceland, the tumultuous waves of the North Atlantic Ocean might become a churning whirlpool, whereas at the Diamond Ice Beach, they might take on the drawn out elegance of a symphony as they recede from delivering icebergs onto the shore.
 Icebergs rushing in with the waves at the Diamond Ice Beach. Photo by: 'Raymond Hoffman'.
Capturing the beauty of the landscape in Iceland with long exposure photography can be challenging for photographers, though results may end up sweeping you off your feet. This is a situation where what you see in nature around you does not necessarily look like what you’ll end up with in your final image. So to help you achieve amazing photos in Iceland with long exposure photography, just focus on our seven easy steps below!
Step #1 - Picking a Location
There is a lot to shoot in Iceland, from waterfalls to volcanoes, rugged seascapes, glistening ice caps and more. There’s just too much to name, though if you’ve been flicking through images of Iceland on the web, then you’ll probably already have a good idea of the places that you would like to visit.
The first thing that you’ll need to do when planning your long exposure shot is to decide where you’ll be shooting. Some locations are better for long exposure photography than others. Remember – the aim of using this technique is to allow you to capture moods and to translate movement within the landscape. So before you even get around to taking your shot, you’ll need to decide what your subject will be, the overall atmosphere that you’re going for, and the type of movement that you would like to accentuate.
 Movement can be accentuated in water and clouds. Photo by: 'Iurie Belegurschi'.
What Kind of Location is Best?
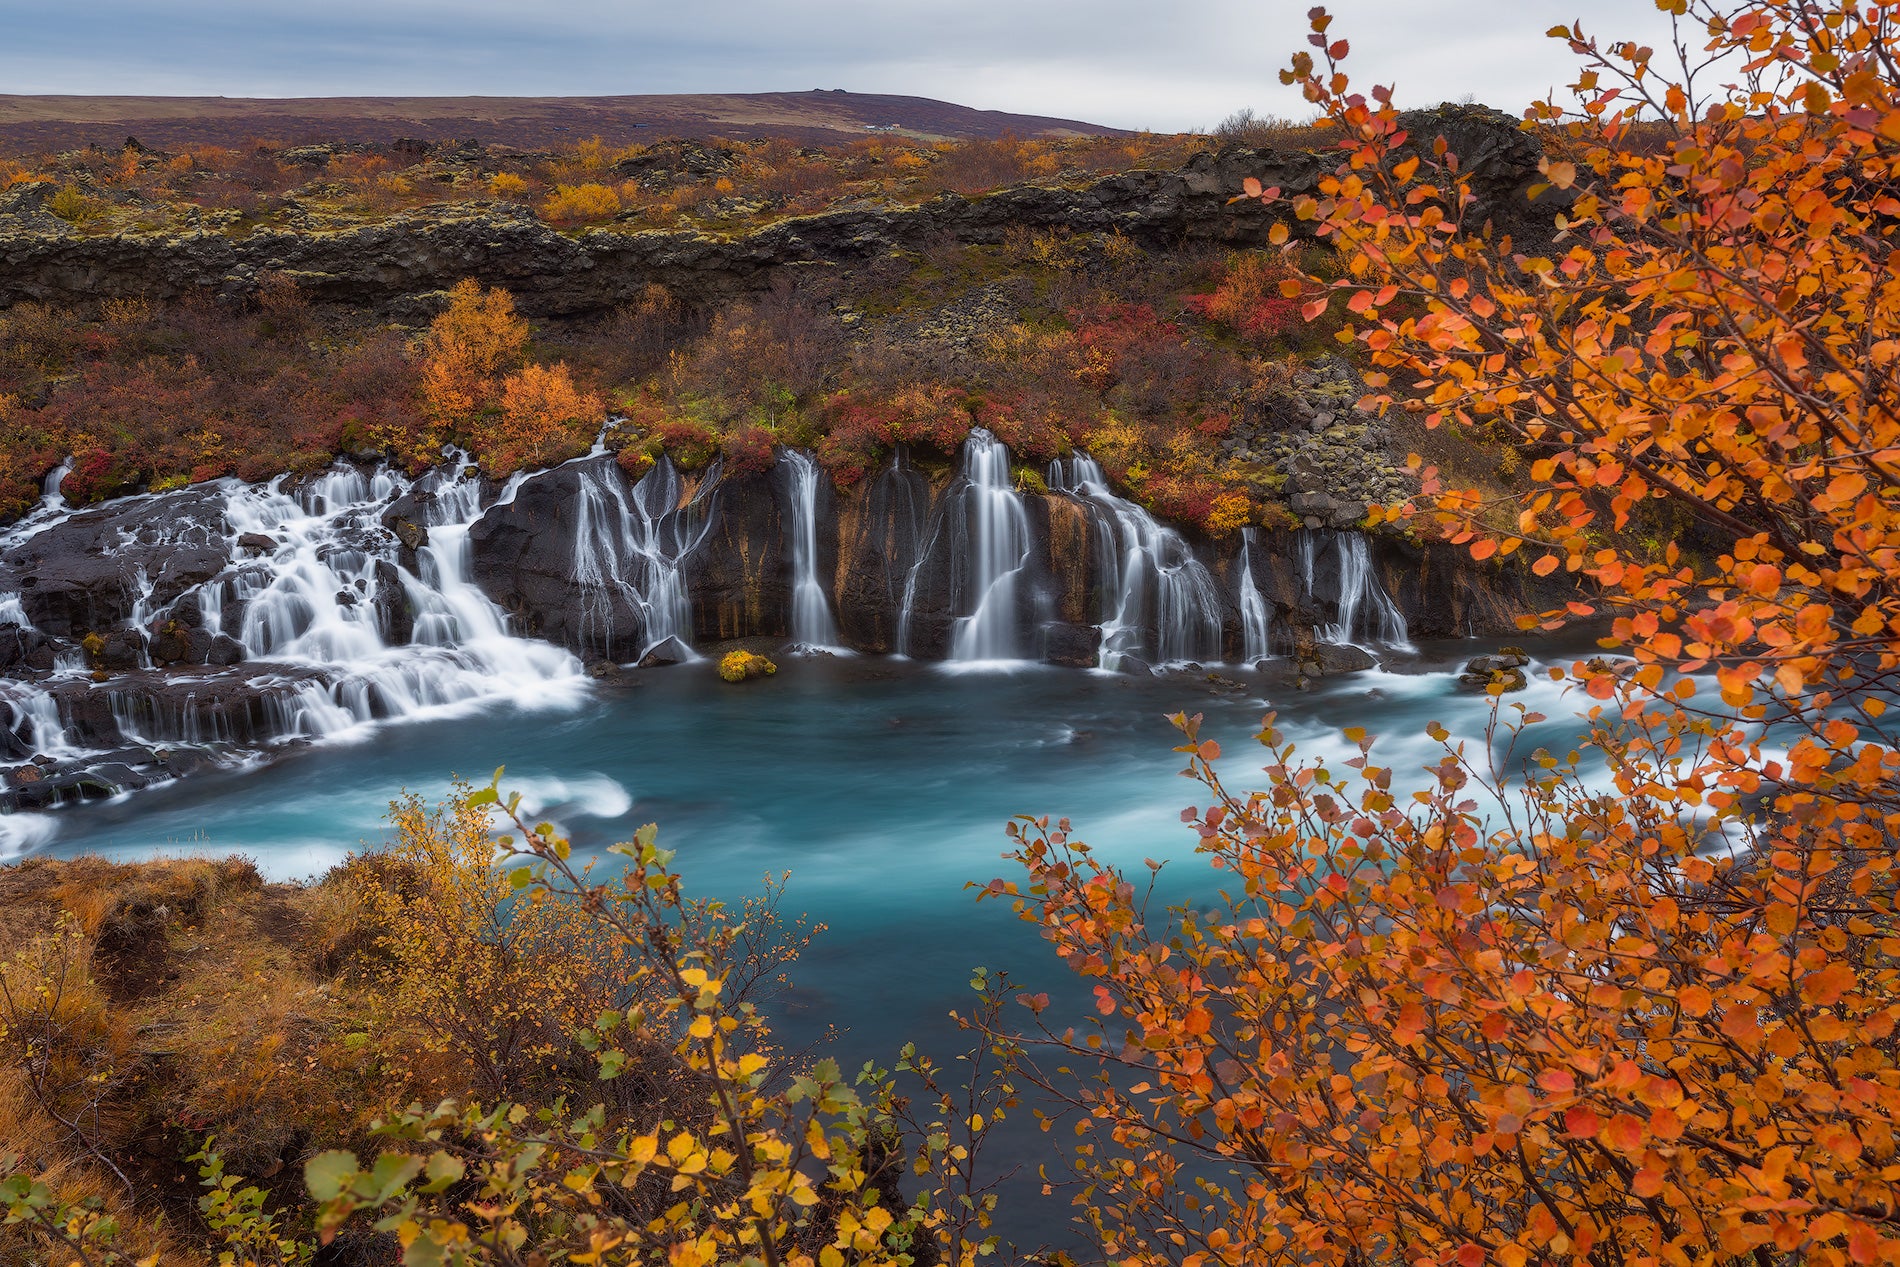
Seascapes will allow you to capture swirls of water and the dramatic movement of clouds in the sky. On the other hand, a long exposure at a waterfall has the power to turn the heavy force of water into a dreamy and soft effect.
Whatever you choose, there needs to be some element of movement that is able to be accentuated in your shoot. For example, a lava field is not the best place to be practicing your long exposure photography, as the lava rocks and structures are stagnant and mostly at ground level. However, the black church of Búðir makes for an incredible subject, standing steadfast within the Búðahraun lava field with clouds or the Northern Lights sweeping in overhead.
 Northern Lights over the Black Church of Budir. Photo by: 'Iurie Belegurschi'.
Step #2 - Waiting for the Right Light
Now that you’ve picked your location, you’ll need to take lighting into consideration. Long exposures work best when there is little light in the environment, such as at the beginning and end of the day. Golden hour in Iceland, whether it is in the middle of winter or during the long drawn out summers of the Midnight Sun season, is the perfect time for making long exposure photographs.
 Golden hour is one of the best times for long exposure photography. Photo by: 'Iurie Belegurschi'.
If it’s too bright outside, then you can use neutral density filters to help you reduce the amount of light entering your camera by 6 to 10 stops or more. Doing so will also allow you to shoot during the middle of the day, when you normally have overhead light that is harsh, making for unappealing shots.
Keep in mind that the less bright it is outside, the longer that you’ll be able to leave the shutter of your camera open, meaning that you’ll be able to capture the type of long exposure shots that you’re after in the landscape of Iceland.
Step #3 - What Type of Lens to Use?
Ultimately, what type of lens you use for your landscape photography in Iceland is up to you, though different lengths work for different effects. When shooting the landscape in Iceland, we suggest using a wide angle lens, as it will allow you to capture more of the scenery. In turn, this will help you to convey the sense of expanse and vastness of the landscape. By fitting more into the frame, you’ll also be able to capture a lot more of the movement within the landscape, such as in the sky or sea.
Step #4 - Picking the Right Equipment
When you’re making long exposure photographs of several seconds or more, needless to say, you’re going to need a steady base for your camera. A tripod is an essential part of long exposure photography, particularly in Iceland where the winds are strong and can sometimes knock you off your feet.
However, even if you have your camera on a tripod, the slightest amount of movement can cause the parts of the scene that you want to remain sharp to become otherwise blurry. You’ll need to ensure that you don’t bump your tripod when you press the shutter. The easiest way to do this is by using a remote shutter release.
A remote shutter release allows you to activate the shutter control without you having to touch it. This will allow you to keep shake and vibration to an absolute minimum, thereby increasing your chances of a crisp and sharp image.
Step #5 - Camera Settings for Long Exposures
For long exposure photography in Iceland, you’ll want to close your aperture down as far as possible whilst still retaining sharpness and to use the lowest ISO setting that your camera allows. Doing so will increase your exposure time long enough to capture motion without being under or over exposed. The benefit of using the lowest ISO setting is that you’ll also be able to keep noise to a minimum – an important factor when you’re making long exposures.
 A long exposure of the Harpa Concert Hall in Reykjavik. Photo by: 'Iurie Belegurschi'.
For a nice depth of field throughout your frame that keeps most parts of the landscape sharp and in focus, pick an aperture within the range of f/8, f/11 or f/16. Also, make sure that you shoot in RAW rather than JPEG, in order to capture as much data as possible so that you’ll be able to make non-destructive edits during post-processing later on. This also means that you’ll be able to create better prints with higher quality for hanging on your wall.
You can choose to adjust your white balance at the time that you take the photograph, or you can edit it during post-processing if you’ve shot in RAW. If you would like to tweak it while you are shooting though, then try Daylight mode, as it usually works best.
Step #6 - Composition is the Key
Even though you’ll be capturing movement, having an interesting and well-balanced composition is what will make your long exposure photographs of Iceland stand out in the end!
When deciding on a composition, think about what lies in front of you within the landscape. Is it a river flowing towards you? Or perhaps a structure with only sky and clouds floating past slowly in the background?
 Follow the Rule of Thirds for a great composition. Photo by: 'Iurie Belegurschi'.
An easy way to compose your landscape photos of Iceland is to follow the rule of thirds. However, when making long exposures, allow your composition to include more of the movement, whether that’s in the sky or the foreground. Essentially, filling the frame with the movement will accentuate it and help to make your final image more dynamic.
Step #7 - Visualise the Movement
Last but not least, when you’re planning a long exposure photograph, you need to visualise the movement; not just what the moving element in your photograph is about to do, but where it will be by the time you finish taking your shot.
In the case of clouds… are they moving towards you or away from you? Are they sweeping in from one side of the image and exiting out of the other? Will they draw the viewer’s eye out of your frame?
How about waves crashing in to the shoreline? Will they even reach the shoreline by the time your exposure is finished?
 Anticipate where the movement is going to achieve your creative vision. Photo by: 'Iurie Belegurschi'.
To properly compose a frame in long exposure photography, you need to anticipate where the movement is going and how long the exposure needs to be in order to create the effect that you’re going for.
So as you’re setting up your shot, keep in mind which parts of your photo will remain still and which parts will be fluid with movement. Next, think about how the movement will appear in your final image. By following our seven easy steps above and taking the time to plan your shots, you’ll be on your way to improving your skills and achieving amazing long exposure photographs in Iceland in no time!
About the author: Serena Dzenis is a landscape photographer based in Iceland. You can find more of her work on her website or by following her on Facebook and Instagram.
Have you tried your hand at long exposure photography, either in Iceland or abroad? How was your experience? Tell us in the comments below!


