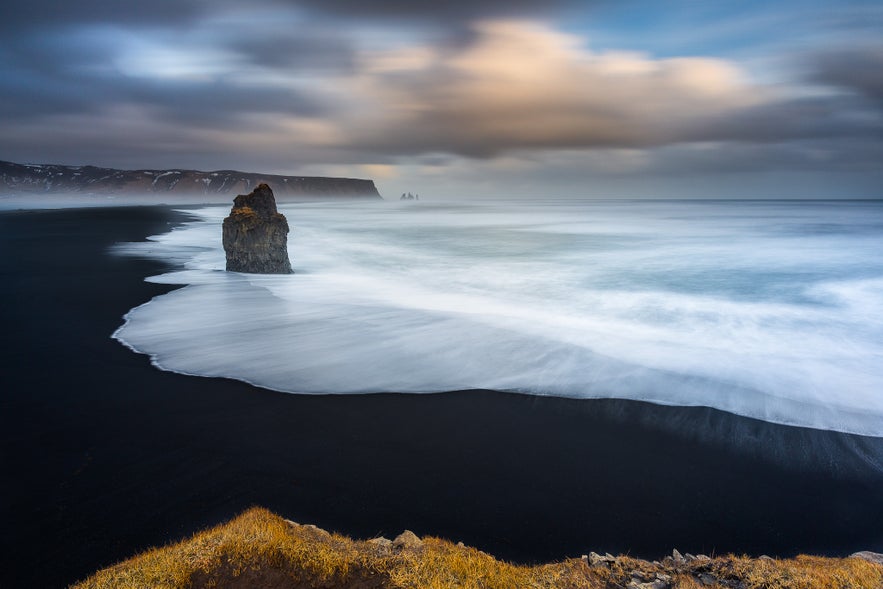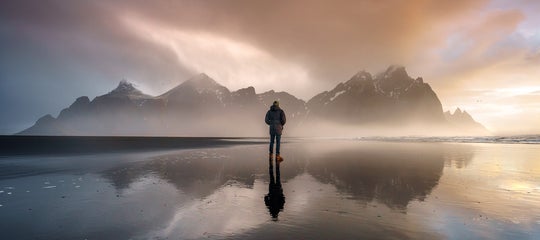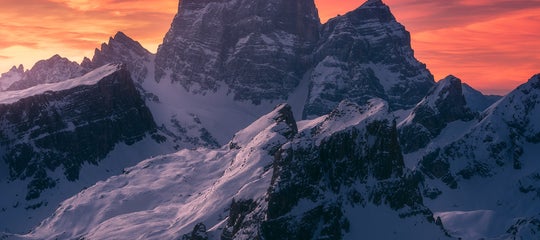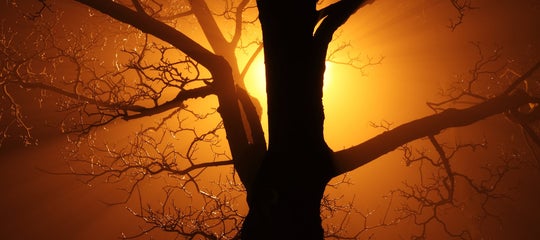
Even if almost 10 years have now passed, I remember my first trip to Iceland as if it were yesterday. I remember the emotion that I felt even before landing, when I looked out of the window and all I could make out was the snowy coast through the clouds. By then, I was already dreaming of being out there and taking photos. I remember the silence, the infinite spaces, the scents. I remember the Nature, everywhere.
- Learn all about Aperture and F-Stop in Landscape Photography for Beginners
- Check out these 5 Reasons Why Iceland is the Best Destination For Aerial Photography
- Join us on this 11 Day Namibia Photography Tour
It really didn’t take much for me to fall in love with Iceland, and it took even less to realise that I would return once again, year after year. And so it happened, and trip after trip we have come to know and to understand a little bit more of one another
Yes, because Iceland, like all beautiful things, takes time.
Iceland has always represented an inevitable destination to me, as well as to any seascape and landscape photographer, thanks to the variegated landscapes that it enables us to visit, ranging from shores that are as black as night to rocky and stormy coasts.
However, in Iceland, Nature is always the chief, and as such we have to respect her.
Whether it is your first trip or the hundredth, I think that there is always something to learn from this marvellous land.
In this article I want to combine and share what I have learned in this incredible place in relation to seascape photography, hoping that some things will be useful to you as well.
1 – Plan
Iceland is definitely vast and unless you really have a lot of time available to visit it all, you should study in advance the photographic places that you are going to visit. For example you can make use of Google Earth’s satellite imagery to understand what compositions might be available to you. Besides, other photographers have already had the chance to discover this marvellous land before you: so take advantage of it and examine their shots, trying to understand what has particularly impressed you. However, don’t try to imitate them: let your images reflect your emotions, not those of someone else.
 Gattklettur. Photo by: 'Francesco Gola'.
Another great tool that I use for preparing my trips in Iceland is PhotoPills: thanks to the planning module, I can know well in advance the exact position of sunrises and sunsets for example, and when on the field I can refine even more my initial idea with the augmented reality function.
2 – Consider the Season
Yes, in Iceland there are seasons too, and therefore if you go and visit our beloved shores and coasts in March, you will find something that is completely different from what you will find in September. Each season has its peculiarities, therefore you should choose the time that best suits you: if you love the snowy coasts, then the first months of the year will suit you; if, on the contrary, you prefer a more lunar and desert-like landscape, then maybe the summer season will be more suitable for you. Even if the same places are completely different depending on the season, in each season they show peculiarities that you will no doubt want to immortalise. Well, you’ve already got it: Iceland is a place where you come and then you come again!
3 – Follow the Light
One of the greatest advantages for us landscape photographers is that Iceland is situated in a very northerly position. This means that the path of the Sun in the sky (during the months of light!) is particularly gentle. To put it simply: sunsets and sunrises in Iceland last for hours, not minutes!
Then it’s no surprise if while you are shooting, you will want to change the composition several times, as you will be already satisfied with the shots taken with a certain composition. My advice is to prepare or however evaluate in advance, once you are in the field, at least two or three possible compositions, because if light conditions are favourable, then you will want to use them all and you will not want to lose a minute of your shooting time.
 Seascape in Iceland. Photo by: 'Francesco Gola'.
4 – Check the Weather Forecast
I live in Italy, quite close to the natural shield provided by the Alps, and I am therefore accustomed to non-sudden changes in the weather. However, Iceland is an island in the middle of nothing. This means that if a disturbance forms over the Atlantic, there will be nothing to stop it or mitigate it.
The coasts of Iceland might be suddenly lashed by violent storms, of rain, wind or snow (or everything together!), which might drastically limit your photographic sessions. However, keep in mind this key concept: as there is nothing to stop the oncoming disturbances, nothing will keep them from moving away. The weather can really change in a sudden way, and a day that is already considered lost may actually turn into your best photographic chance.
- See also: How to Take Great Photos in Bad Weather
I clearly remember a day when I was stuck in Vik on the South Coast because of a violent storm. I was really broken-hearted as it was the last day of my trip and basically I was throwing it away. I was sitting at the table, sipping a warm and delicious fish soup to comfort my downhearted spirit while beholding the stormy sea out of the window, wondering why it had betrayed me at such a crucial point. But I knew and accepted the answer: here, Nature is the one that makes all the decisions, not the printed return date on your ticket.
Suddenly the rain stopped and some rays of light began to pierce through the clouds. The storm was coming to its end, offering a display of infinite beauty which only an Icelandic landscape can properly frame. I literally jumped in the car and I reached the shooting location that I already had in my mind: today I still consider the shot of that day my all-time favourite image. So, never throw up your cards and always keep an eye on the evolution of weather conditions by making use of satellite imagery or specific websites.
 Londrangar. Photo by: 'Francesco Gola'.
5 – Few but Good Settings
Luckily, landscape photography does not require too many particular settings on your camera, and it doesn’t make a lot of difference when you are in Iceland. Naturally you want to shoot RAW vs JPEG, so as to be able to post-produce your images without any difficulties.
Try to set your aperture between f/8 and f/16: in this way you will maximise depth of field without introducing the optical phenomenon of diffraction which would ruin the sharpness of your shots.
Try to use the lowest ISO setting available in order not to introduce noise into your images.
With regard to shutter speeds, choose them according to the situation: if you visit a shore and you want to have a beautiful effect with the streaks left by the waves, try to stay around half a second and adjust the speed based on the result. If you want to give a silky appearance to the sea and a motion effect to the clouds, try to use one or two minutes.
Do not underestimate the focus: whenever possible, make use of the hyperfocal technique, so as to be sure that are you maximising depth of field according to the combination of focal length and aperture you are using.
6 – Use GND filters
Although you have latest-generation cameras, their dynamic range (that means their sensors’ ability to simultaneously record details in the dark and bright areas of the scene) is far from comparable to the dynamic range of your eye. So, what appears to your eyes as an unforgettable sight might just remain on your memory card as an overexposed sky or a bunch of underexposed rocks.
By using a graduated neutral density filter, you will effectively be putting sunglasses on your camera, enabling it to see the whole scene perfectly. If you are not sure about what transitions you should choose, then I suggest that you use soft or medium GND filters, with a 3-stop density to make the most of Icelandic light.
7 – Harness the Elements with ND Filters
An ND filter in landscape photography allows you to use slower shutter speeds, so that you can reach those one or two minutes I was mentioning above. If we use slower shutter speeds in the presence of moving elements like clouds or the sea, these will show a nice silky effect in our final image.
In Iceland, the sea is almost always rough and clouds run fast: a good 6-stop ND64 filter can be your best ally in the field. And if you have the chance to get one, don’t do without a 10-stop ND1000 filter, which will be particularly useful, not so much for sunrises or sunsets (where you will use the ND64) as for the rest of the day, whenever you will have to take shots of stormy skies.
One last piece of advice: avoid shooting techniques that simulate the use of an ND filter through many independent images that will be then assembled during post-production. In addition to filling up your memory card and uselessly shorten the life of your camera’s shutter, you will obtain mediocre results in terms of quality, and you definitely don’t want to realise that you have to retake a shot when you are sitting in front of your computer, thousands of kilometres away, while you could have just done that in the field when you were there.
 Diamond Ice Beach. Photo by: 'Francesco Gola'.
8 – Don’t Trust Your Camera Screen
Your camera screen gives you great directions when you are in the field, but you have to remember that you should take the information that it gives you with the right amount of mistrust. First of all, if you shoot RAW as advised, bear in mind that what you see on the screen is not the RAW itself, but the result of in-camera processing: therefore it will not be exactly what has been shot, but rather, something that is quite close.
This is particularly useful in case you realise too late that you have a photo that is too underexposed or too overexposed: don’t despair straightaway, because what the camera is telling you is surely worse than the actual result.
Besides, the screen is always too bright: evaluate your photos by using the histogram and not just the displayed image. Extra advice: always enable highlight visualisation and view the images after every shot. In this way, you will immediately be able to see if any areas of the image were overexposed by mistake, so that you can properly adjust the settings for the next shot.
9 – Don’t Undervalue the Rest of Your Equipment
A stable and strong tripod is essential in Iceland because we might be compelled to face very strong winds. In the same way, the cold weather might considerably affect battery performance: be careful to always have some spare batteries at hand and always keep them warm. Finally, just considering the fact that you could suddenly find yourself under the pouring rain, you should be able to protect not only yourself, but also your precious equipment: always keep a shower cap handy to protect your filters or the front element of your lens, and, if your backpack is not waterproof, get a protection cover for it as well.
10 – Enjoy Yourself
Iceland represents a unique experience that you will always hold inside, so try to live it as best you can, enjoying every moment. Your photographic trips won’t always have a successful outcome, because unfortunately the weather will not always be favourable, but don’t let this lead to discouragement: remember that there is really nothing more beautiful than visiting new places and feeling like you are one with Nature. And don’t be afraid: when you least expect it, Iceland will know how to reward you in its own way, maybe just while you are tasting a fish soup.
About the author: Francesco Gola is a landscape photographer based in Italy. You can find more of his work on his website or by following him on Instagram and Facebook.
Explore the spectacular seascapes of Iceland with this 5-Day Summer Photo Tour of the black sand beaches along the South Coast!


