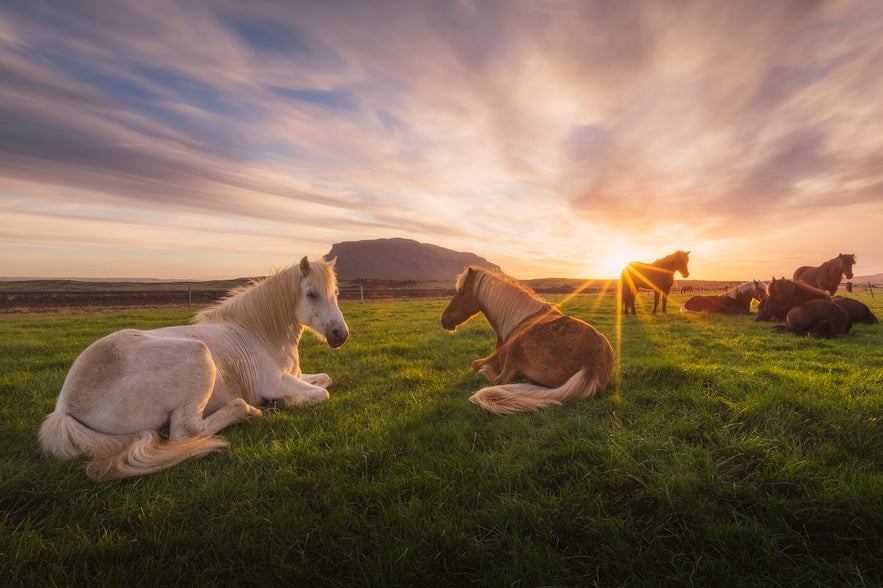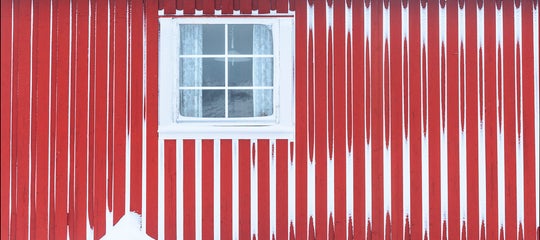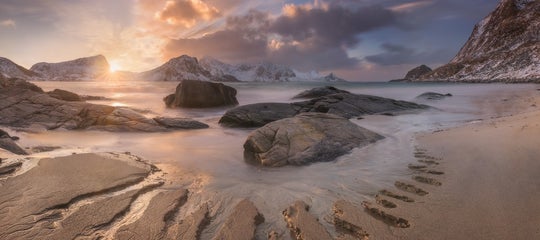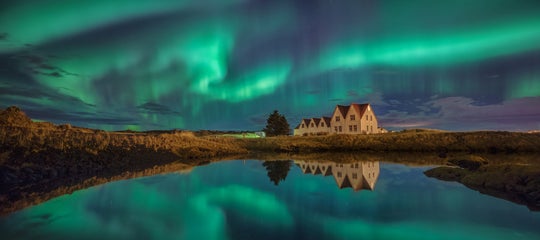
As a landscape photographer, wouldn’t it be nice if you could experience hours upon hours of sunrises and sunsets in Iceland, before dipping into a bit of darkness with a touch of the Northern Lights?
- Discover How to Photograph the Stunning Northern Lights Displays in Canada
- Learn all about How to Take Great Photos in Bad Lighting Conditions
- Check out this article on Understanding the HSL Sliders in Lightroom
A scenario like this would be guaranteed to make your trip all the more worthwhile, as you could squeeze in numerous shoots across a variety of locations, constantly taking photos during every waking moment.
Although the Midnight Sun season in summer allows photographers to shoot the landscape in Iceland with beautiful golden light for a much longer period of time, there are still many hours during the day when the sun is high above and the lighting is harsh.
 There may be times in Iceland when you will have to shoot in very bright daylight. Photo by: 'Iurie Belegurschi'.
The reality of the situation is that during your photography trip in Iceland, there will be times when you’ll have shooting sessions outside of the brilliant hours of sunrise and sunset. Your time to travel around Iceland will be limited and sometimes, your schedule just won’t allow for you to be at every epic location when there is the perfect light.
More often than not, you will probably find yourself whipping out your camera during the hours of broad daylight. There is just so much to see and capture all around you in Iceland that it would be a pity not to shoot whenever you are presented with amazing landscapes and nature!
Of course, a blazing sunset would make your photos all the more special. However, if this is going to be your trip of a lifetime, or if you don’t think you’ll be coming back anytime soon, then the best thing to do is to make the most of the conditions and to capture the landscape in photographs whenever you can… because you just don’t know when you’ll be able to do it again.
- See also: Ultimate Guide to Sunrise Photography

So how exactly do you shoot in direct sunlight? What are the best camera settings to use and how can you make the most of the lighting when it’s just so harsh? Let’s jump right in and look at five bright ideas for shooting in Iceland during broad daylight that will increase your creativity and result in stunning landscape photography.
Camera Settings for Bright Sunlight
Ignore the Automatic Metering
Photography in harsh sunlight can be a challenge, particularly if you’re used to taking photos during the early mornings or late evenings, when the lighting is soft and lends itself to enhancing the natural beauty of the landscape. In these situations, the sun is nearer to the horizon, which means that the dark and light factors within the scene are closer together and easier to meter.
However, when it’s bright outside and the sun is high in the sky, it may be trickier for your DSLR to meter the tones within the landscape. The result could be an extremely blown-out background with a much darker foreground, seeming extremely far removed from what you can see with your naked eye.

When this happens, don’t be afraid to ignore your camera’s default metering. The truth of the matter is that the in-camera metering is often unsuitable for harsh light. By taking control manually, you’ll be able to ensure a properly exposed image that captures all of the detail within the surrounding landscape.
Switch from evaluative to spot metering, which will give you a little bit more control in exposing correctly for your subject. Next, try bracketing your shots – that is, taking several images of the same composition using different exposures. You might decide to start at a given exposure, then take one or more brighter and one or more darker, from which you can then select the image that seems to be the most well exposed.
Alternatively, if you have a number of bracketed shots, you can combine them later on during post-processing to create high dynamic range (HDR) images. These types of photos produce a greater dynamic range of luminosity, resulting in perfectly exposed photos.
Of course, when you’re photographing the landscape in broad daylight, it’s best to shoot in RAW. This will ensure that your camera records enough detail for you to rescue some of the lighter and darker tones during post-processing if necessary.
Shoot with a Low ISO
When photographing the landscape in Iceland, sometimes it can be so extremely overwhelming and exciting that photographers forget about basic camera settings, such as their ISO. Some people continue to use the same high ISO settings throughout the day that they have previously used to capture the Northern Lights at night.
 Be sure to check your ISO when shooting in daylight. Photo by: 'Iurie Belegurschi'.
Meanwhile, others can be somewhat chaotic, changing their ISO continuously in an effort to somehow magically get their settings right.
If you’re not careful, you’ll end up choosing the wrong ISO settings, which can actually make it more difficult for you to capture the landscape in Iceland in the midday light.
Shooting in broad daylight means that there is absolutely no need for your camera to be more sensitive to the light. As such, you can set the ISO to the lowest that it can go. Some DSLRs go down to ISO50 or ISO64, however, the default lowest ISO will be 100 for most people. If you set your ISO higher than 400, then you risk the chance of pushing your lens past its capabilities, which will result in severely overexposed images.
 Aperture Priority mode is particularly useful for shooting in daylight. Photo by: 'Iurie Belegurschi'.
Although it’s great to be able to handle your camera in Manual Mode, the other shooting modes on your camera exist for a reason. One mode that is especially useful for photography during the day is the Aperture Priority mode. This mode allows you to set your aperture and ISO, while your camera chooses the most appropriate shutter speed for the scene. If the image looks too bright or dark, then you can adjust the exposure compensation to make the resulting image appear brighter or darker.
What Aperture Should You Use in Bright Sunlight?
Photography in daylight can be challenging, particularly if you want to shoot with a wider aperture such as f/4.0 to create a bokeh effect. Some photographers will encourage you to use the "Sunny 16 Rule" whereby you will always shoot at f/16, though this isn't always a great idea for landscape photography when we are aiming for different effects.
The difference with landscape photography compared to other forms of photography is that we aren't always shooting the same compositions. Very rarely will we always have a foreground element with something in the back. Rather, there will be times when we will want to concentrate on abstract details, capture the wildlife or use a telephoto lens to zoom in on larger landscapes... the list goes on.
 Different scenes require different apertures. Photo by: 'Iurie Belegurschi'.
There is no singular aperture that will appropriate across all of these different scenes. Shooting wide open at f/2.8 may result in soft images, while shooting at a smaller aperture such as f/16 may lead to a problem called 'diffraction', whereby you'll also end up with loss of sharpness.
The key to deciding which aperture to use depends largely upon the 'sweet spot' of your lens. This is the value at which your lens is at its sharpest. Not sure how to measure this value? Check out our guide to Aperture and F-Stop in Landscape Photography for Beginners, which will take you through all the steps necessary to achieve maximum sharpness in your shots.
There may still be times though when you are shooting in broad daylight and you'll be unable to achieve the desired shutter speed at the aperture that you have chosen. If this occurs, then you can use a neutral density filter to stop down the amount of light entering your lens, which in turn will give you more creative control.
How to Take Good Pictures in Bright Sunlight
We've talked a bit about the best camera settings to use when shooting in direct sunlight. Now, let's take a look at some tips that will help you to capture incredible landscape images, even when it's bright outside.
Tip #1. Focus on Textures
Too much sun bouncing off everything within the landscape can create a lot of distractions. To minimise this risk and to enhance your compositions, try looking for textures, patterns or geometric shapes and lines which can provide a point of interest.

Textures, patterns, shapes and lines can add impact to your landscape photography of Iceland, purely by the way that the daytime sun falls upon them at an angle. The resulting contrast and definition can lead to a somewhat dramatic effect.

Even when the sun is directly overhead, strong shapes and lines within the landscape provide powerful contrasts, which can hold your viewer’s attention – particularly if you’re up high above doing aerial photography from a plane or a drone.

Tip #2. Position Yourself at a Low Angle with your Back to the Sun
Although it may seem difficult at first, shooting on a bright day in Iceland can be fun, particularly if you engage in a bit of an evasive game with the sun. Unless it is actually the middle of the day, the sun is unlikely to be directly above you. Even if it is, it won’t be for long as the Earth is constantly rotating.
Take note of how the sunlight falls upon the landscape before you. It is best to position yourself in such a way that the sun illuminates the foreground without creating too many harsh shadows.
You can do this by shooting at a lower angle with your back to the sun. This will keep the colours in the landscape from washing out. Just be careful not to end up with your own shadow in the frame. However, shooting below eye level can sometimes hide the shadows, including your own, meaning that you won’t have to fix them later on during post-processing.
As well as avoiding your own shadow, try not to shoot when there is light coming in from the side, as this can result in shadows within the textures and patterns that subsequently lead out of your frame.
Tip #3. Use a Neutral Density Filter to Create a Long Exposure
It may seem absolutely crazy to you to make a long exposure in the middle of the day but you can create some incredibly unusual effects by using this popular photography technique while shooting in Iceland, particularly when the lighting isn’t great and there are too many shadows around.
This technique also works well when there are bright blue skies, which can often make the scene look flat.

All you'll need is a neutral density filter, which will decrease the amount of light that is able to enter your lens by a few stops, allowing you to take images at slower shutter speeds. By slowing down your shutter speed, you’ll be able to create a sense of movement, which will make your daytime shots of Iceland seem all the more dynamic… even though you may have shot them in the broad and boring daylight! How’s that for a bright idea?
About the author: Serena Dzenis is a landscape photographer based in Iceland. You can find more of her work on her website or by following her on Facebook and Instagram.
Do you have any other bright ideas for shooting in the daytime in Iceland? What has worked for you in the past and what hasn't? Leave a comment below!


