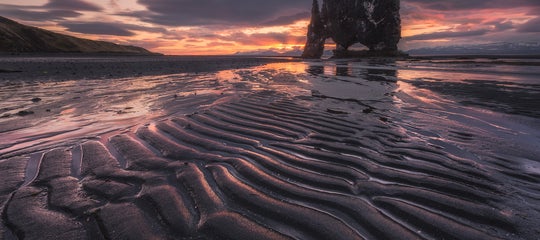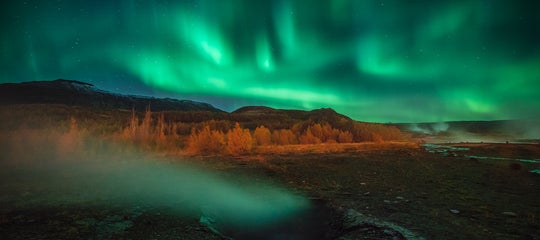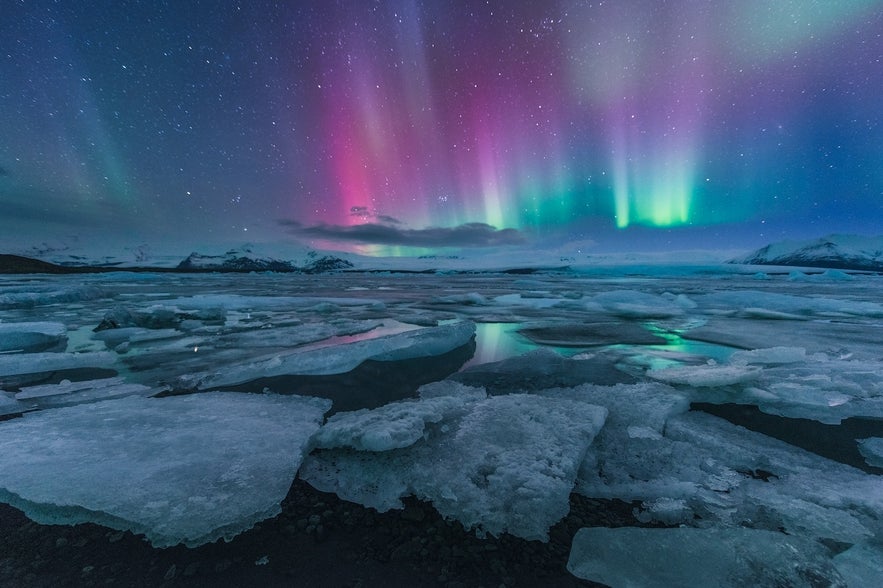
One of the hallmarks of landscape photography in Iceland is the use of extreme wide angle lenses. That’s because they give you a perspective that is perfect for capturing the sprawling vistas so characteristic of this volcanic landscape, whilst emphasising subjects and leading lines in an exaggerated way. An added bonus of using wide angle lenses for landscape photography is that they allow you to get everything in focus, as well as to capture incredible photos within tight spaces such inside an ice cave.
- Learn about How to Use a Wide Angle Lens for Photography
- Discover the Complete Travel Photography Guide to Seljalandsfoss Waterfall
- Check out this article on Understanding Focal Lengths in Landscape Photography
However, during our photo tours, we sometimes hear people saying that they have trouble with using wide angle lenses, simply because they allow for the inclusion of so much of the surrounding scene. Some people find it difficult to make a composition with a wide angle lens, whereas others just don’t know how to use them effectively or even where to even begin.
Using a wide angle lens for landscape photography can be a little bit tricky at first as it requires a whole different approach to using your standard kit lens, or any of the other lenses that you might bring with you on your trip to Iceland. So to help you make the most out of a trip to Iceland, here are our top 10 tips on how to use a wide angle lens for landscape photography.
Tip #1 - Use Your Camera's LCD Monitor
 Use Live Preview on your camera's LCD. Photo by: 'Tony Webster, Wikimedia Commons'.
When you first start using a wide angle lens, try looking at the scene through your camera’s LCD in Live Preview mode. The Live Preview feature allows the display screen of your camera to be used in place of the small viewfinder, which in turn gives you a much larger representation of the scene than you would be able to see with your naked eye.
The Live Preview feature of your camera is a particularly useful means for figuring out how your frame will eventually look once you take the shot. It can also help you to compose, as you’ll be able to see where all of the elements are in comparison with your subjects before you even take a photograph.
With the Live Preview function turned on, you can hold your camera and move it around as you look at the scene through your camera’s screen. This will give you a great visual representation of the effect that a wide angle lens creates upon the landscape as you change the perspective. Being able to observe the scene through your wide angle lens effectively is extremely important in landscape photography, as it will allow you to refine your compositions and to make the most of objects in the foreground. This is because when you use a wide angle lens, small objects such as rocks or plants may appear much bigger than they actually are in comparison to the background, making for interesting subjects that will help you to narrow down the chaos within the frame and to create a well-balanced shot.
Tip #2 - Get Down Low
 Getting down low allows you to emphasise foreground elements. Photo by: 'Iurie Belegurschi'.
That immediately brings us to our second tip for using a wide angle lens, which is to get down close and low with little details once you’ve found a beautiful background. You don’t have to be so close to the ground that you’re laying down on it, but changing your perspective will highlight objects such as sticks, patterns in the sand or textures in the ice that may be used as subjects within your foreground.
Of course, there will be times when you’re photographing thundering waterfalls and majestic mountains that will eclipse any smaller details, though objects within the foreground can still act as effective leading lines or compositional elements that will help to create another layer of interest, making for a much more dynamic shot.
Tip #3 - Distortion Photography Technique
 The distortion created by wide angle lenses can lead to interesting effects. Photo by: 'Iurie Belegurschi'.
Although at first glance, it may be very strange to get down low next to a subject for it to appear exaggerated and large in comparison to other objects around you, the benefit of using a wide angle lens is that you can take advantage of this distortion effect to purposely create foreground interest. Depending on how you tilt the lens, you can harness the distortion to make things like chunks of ice or puddles look much larger than they actually are, which can be great for photographing reflections.
Tip #4 - Fill the Frame
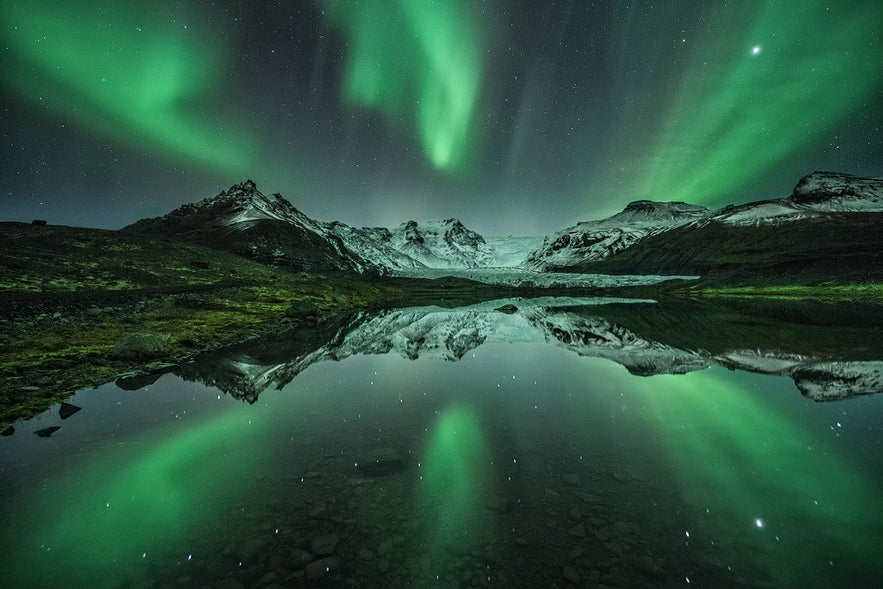 It's important to fill the frame when using a wide angle lens, particularly when shooting the Northern Lights. Photo by: 'Iceland Photo Tours'.
One of the most difficult things to do when using a wide angle lens is to make the most of all of that space that you’re afforded for a shot. Rather than standing back for a shot or just using a small amount of the frame, try experimenting with distances and manoeuvre your camera and lens so that the elements fill the frame. The compositional Rule of Thirds is very useful in this respect, as it will help you to balance out your foreground, middle ground and background.
Filling the frame makes for a more engaging photo that will help to catch your viewer’s eye. You can fill the frame simply by getting closer to your subject and simplifying the background, by using reflections, by getting close to diagonal lines and tilting your camera so that they take up the majority of foreground, or by including as much as you can of whatever is the subject of your shot.
Tip #5 - Pay Attention to the Corners
 The lines in this photo of Seljalandsfoss take the viewer's eye around the frame. Photo by: 'Kaspars Dzenis'.
When using a wide angle lens for landscape photography, you should always pay close attention to the corners of the frame, especially the two at the bottom. The reason for this is that leading lines that originate from the bottom corners help to lead your viewer’s eye into the image.
Another reason to pay attention to the corners is that wide angle lenses can include so much of the scene that they could possibly lead to unwanted distractions such as tripod legs or your feet getting into your shot!
Tip #6 - Watch Out for Vignetting
 Vignetting can sometimes be a desired effect of wide angle lenses. Photo by: 'Albert Dros'.
Vignetting appears as a darkened area that seems to radiate gradually towards the corners of a frame. It is primarily caused by light entering the lens and reaching your camera’s sensor at different angles. Wide angle lenses are particularly susceptible to vignetting, particularly when you use them at their widest. You can try to reduce the vignetting effect simply by zooming in a little, or even by touching up the photo later on during post-processing.
Vignetting becomes even more of a problem in landscape photography when you combine filters with wide angle lenses, particularly filters that are screw-on. The thickness of these filters, especially when stacked, can create very dark vignettes. The trick to working around this problem is to use a filter system that is specifically designed for wide angle lenses, so as to reduce the risk of vignetting from occurring.
Tip #7 - Be Careful with Polarising Filters
 Polarising filters allow you to see through the water, such as into this rockpool in the Lofoten Islands. Photo by: 'Iurie Belegurschi'.
When paired with wide angle lenses, circular polarising filters can create unwanted effects such as unevenly lit skies. In most cases, the polarising effect will appear as a darker band in only a small portion of the sky itself. So although these types of filters are useful for eliminating reflections on water and for enhancing colour saturation and contrast within the landscape, just be careful when you pair one with a wide angle lens as it may cause more work for you to fix the sky later on during post-processing than it would for you to simply remove the polarising filter before you take your shot.
Tip #8 - Use a Small Aperture
 Using a smaller aperture reduces the need for focus stacking. Photo by: 'Kaspars Dzenis'.
When using a wide angle lens, it pays to shoot at smaller apertures (higher f-stop numbers) such as f/13-f/16, which will help you to get as much of the landscape in focus as possible. This is especially important when your subject is far closer to your lens than the background, as you still want the background to be in focus enough to be a point of interest.
Shooting at smaller apertures with a wide angle lens also reduces the need for trickier techniques such as focus stacking, though there will still be times when focus stacking will be the only way for you to get the entire foreground and background sharp.
Tip #9 - Clean the Lens
 A clean lens is essential for creating starbursts in your landscape photography. Photo by: 'Iurie Belegurschi'.
Although you should always keep your lenses clean, it is particularly important to keep your wide angle lenses clean as these lenses work the best for creating sunburst effects in nature! Sunbursts can add a surprising amount of drama and impact to any scene, though they’re extremely beautiful when shooting the landscape in Iceland beneath the golden glow of the Midnight Sun. To make the most of the sunburst effect, clean your lens of any smudges or marks, which may cause unwanted ghosting and flare damage to the overall shot.
Tip #10 - Make Small Spaces Look Bigger
 Wide angle lenses can make small spaces like ice caves look bigger. Photo by: 'Iurie Belegurschi'.
Our final tip with using a wide angle lens is to take it into tight spaces! If you’re about to enter an ice cave and you just don’t want to take your entire backpack with you, then at the least, you should take your wide angle lens. Ice caves can pose a significant challenge for landscape photographers, particularly if you don’t go in there with the right camera gear!
A wide angle lens is the perfect tool for capturing the beautiful blue frozen interior of an ice cave because the wider angle of view allows you to capture more of the scene, as demonstrated in this gallery of glaciers and ice caves. If you make the most of the tips that we mentioned earlier as well, then you’ll be able to harness the distortion of your wide angle lens used at different perspectives within the ice cave to capture some extremely dramatic and interesting shots!
About the author: Serena Dzenis is a landscape photographer based in Iceland. You can find more of her work on her website or by following her on Facebook and Instagram.
Have you got any other tips on making the most of a wide angle lens for landscape photography in Iceland? Have you tried any of the tips that we’ve talked about? Leave a comment below!


