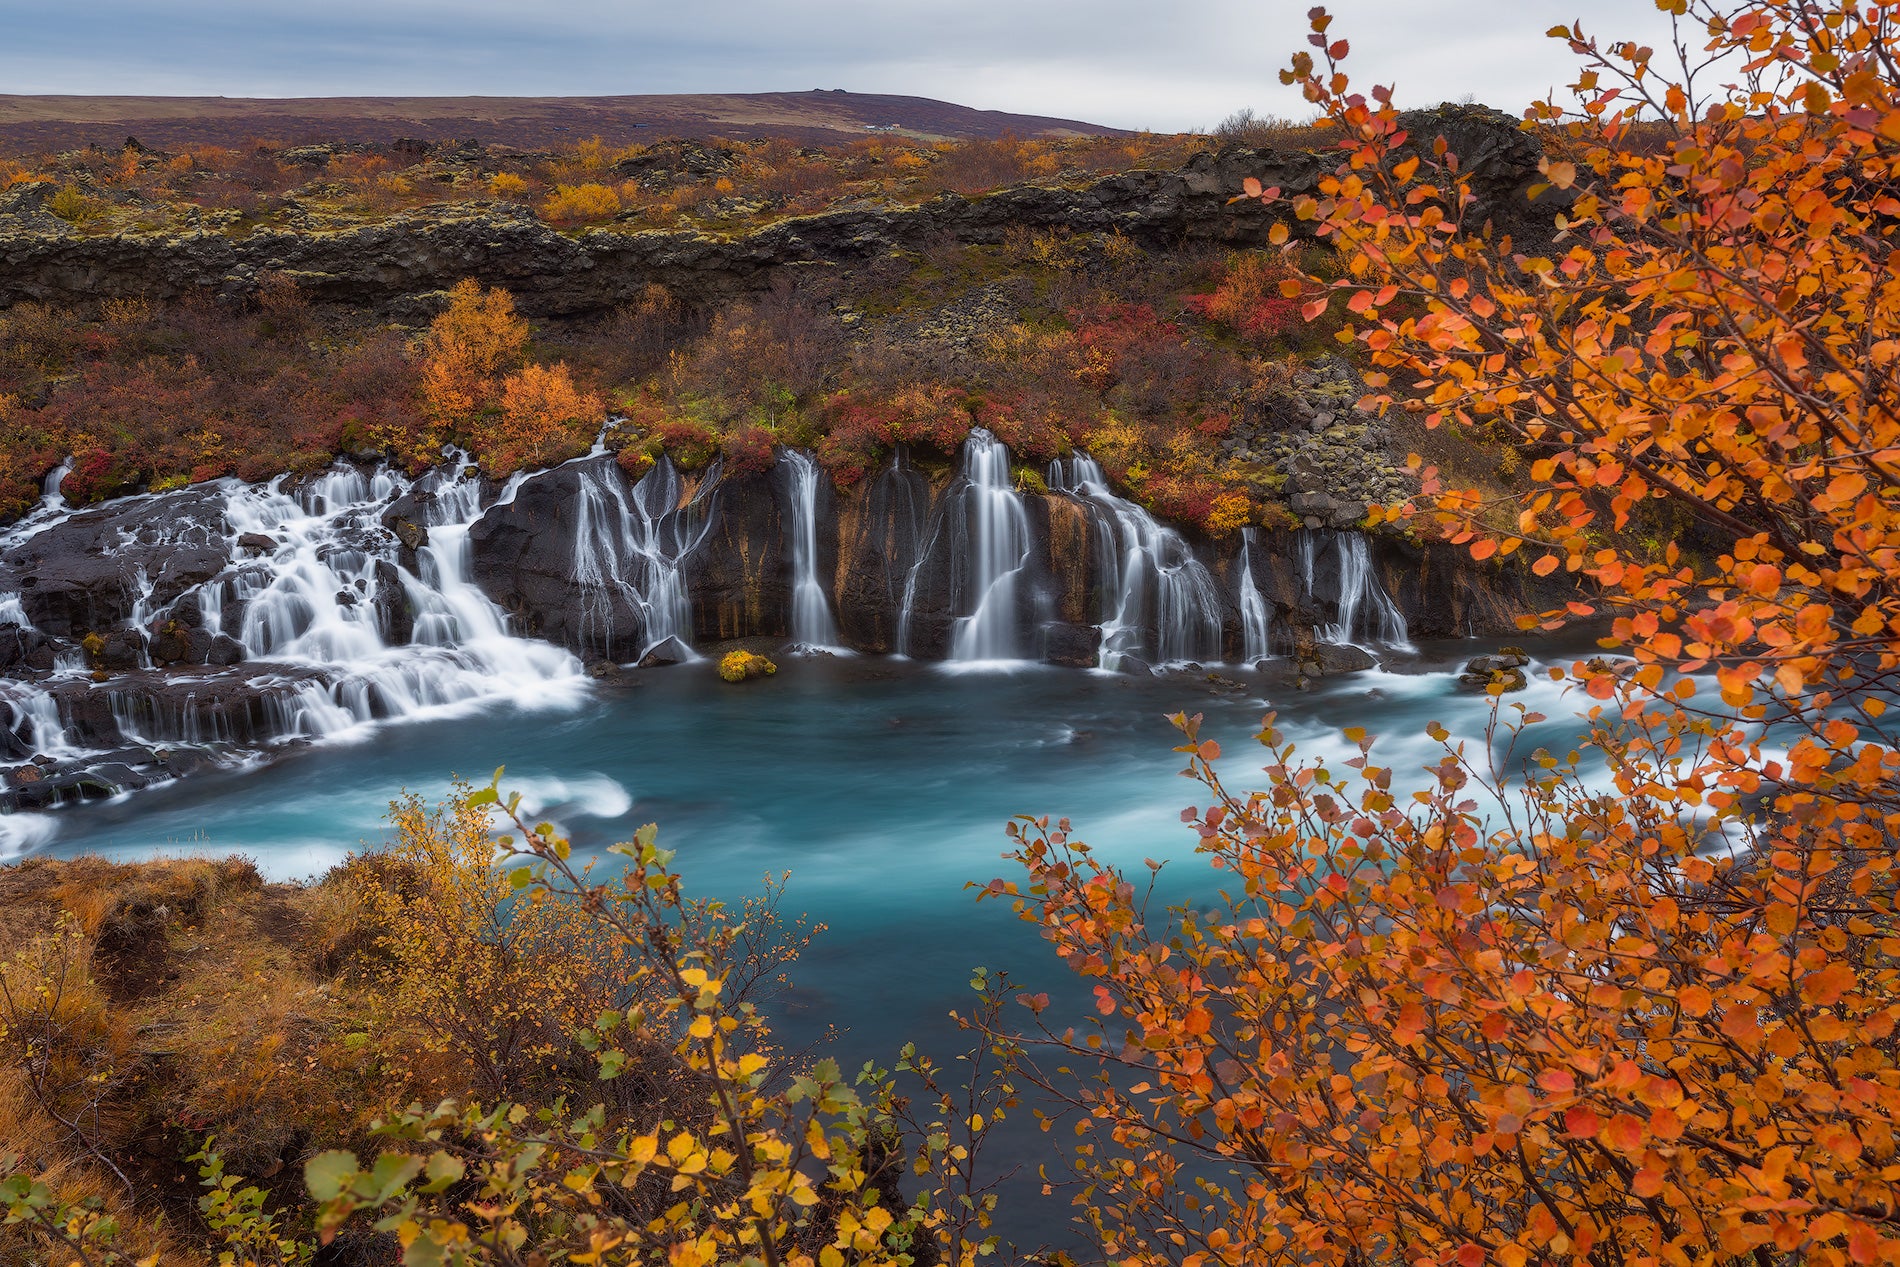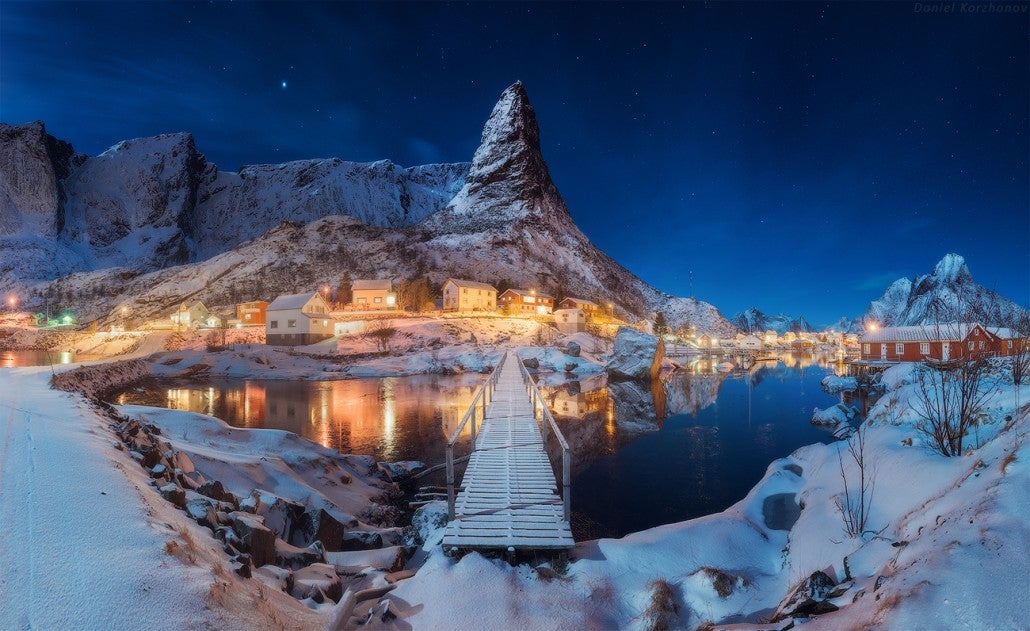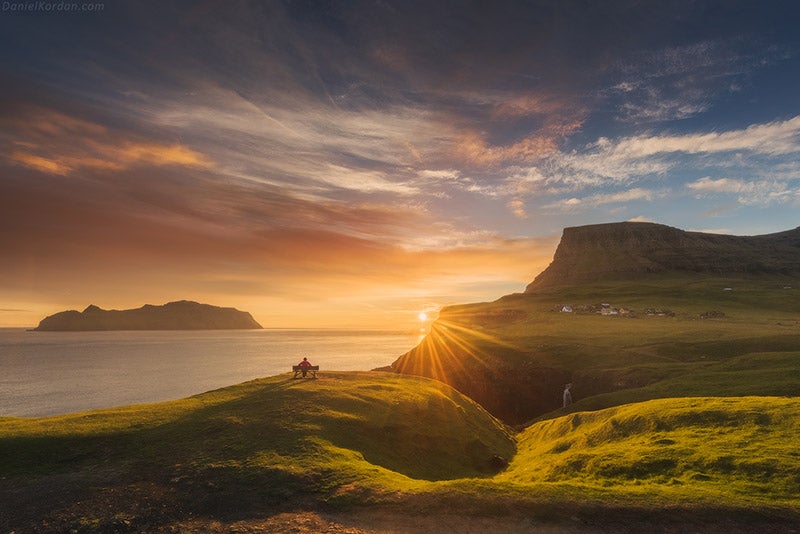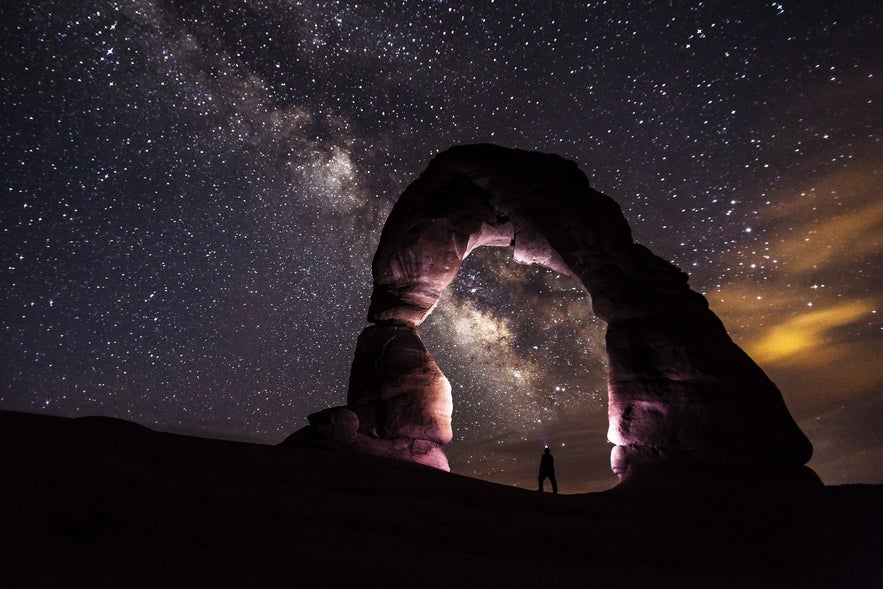
There is something incredibly fascinating about star photography. The combination of seeing the world at night and capturing the stars at a particular moment in time definitely imparts a strong sense of meaningful existence within the Universe.
- Check out these articles on Photography Techniques
- See these 11 Tips to Help You Capture Stunning Landscape Photographs
Photographing the stars in the night sky can be a challenge though. It requires a lot of planning and patience, as well as the use of resources that you wouldn’t normally utilise for daytime photography. To get you started, we’ve put together our top tips and techniques for shooting stars, which will help to take the guesswork out of creating unique and inspiring images at night.
Tip #1. Use a Full Frame Camera
If you’re in the market for new gear to use specifically for star photography, then consider purchasing a full frame camera over one that has a cropped sensor. The reason for this is that when shooting at higher ISO ranges, cameras with full frame sensors tend to produce images with better quality. You’ll also get a larger field of view with a full frame camera, which is perfect for capturing the expansive night sky.
Tip #2. Use a Wide Angle Lens
A wide angle is the best type of lens for photographing stars at night. The large field of view is exactly what you’ll need to get as much of the sky as you can into the frame, meaning that you’ll be able to see more stars!
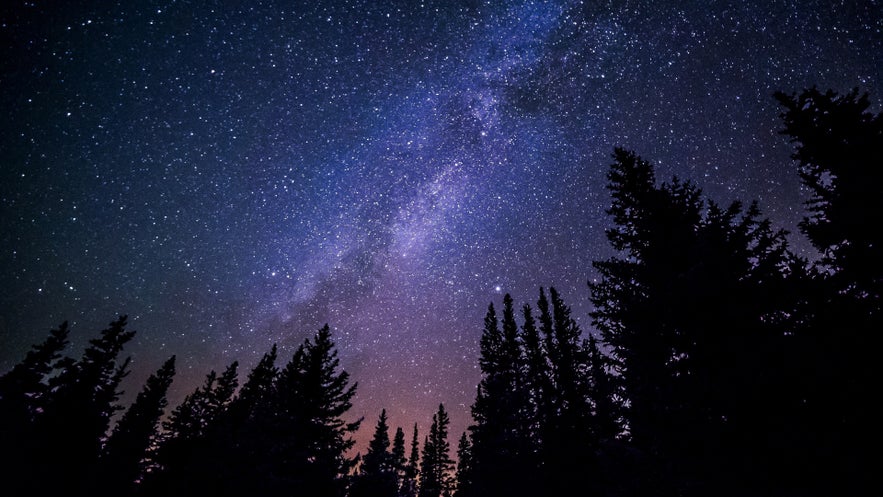
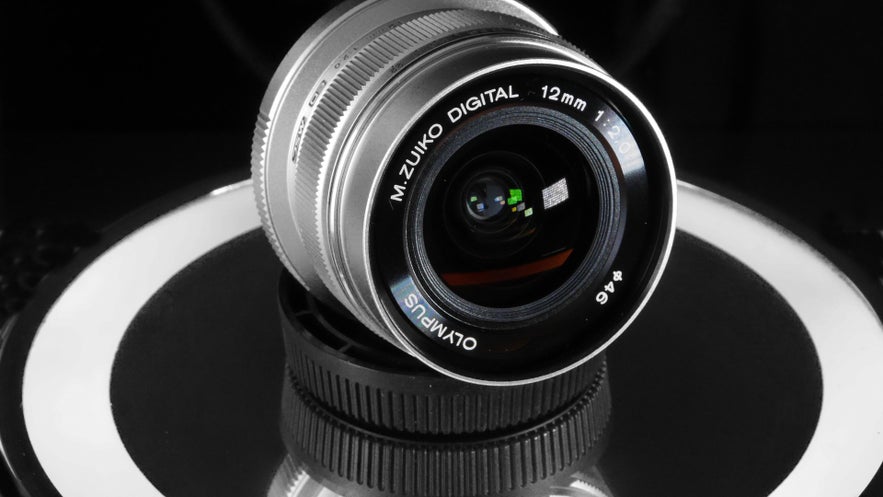 A wide angle lens will allow you to capture more of the night sky. Photo by: 'Pxhere'.
When choosing a wide angle lens, look for one that is not too heavy, so you won’t ever regret taking it with you on longer hikes and trips. Prime lenses with wide apertures, such as the Sigma 14mm f/1.8 DG HSM Art, are great for star photography as they often produce sharper images and work well at capturing details in the night.
In addition, low levels of chromatic aberration also make a lens ideal for star photography, so make sure to do your research before you invest in a dedicated lens for photographing at night.
Tip #3. Bring a Tripod
Let’s face it – the last thing you’ll want when photographing stars is a blurry image, which is exactly what you’ll get if you don’t bring a tripod. A solid tripod is absolutely vital for star photography and will make a world of difference to the images that you’ll be able to capture at night.
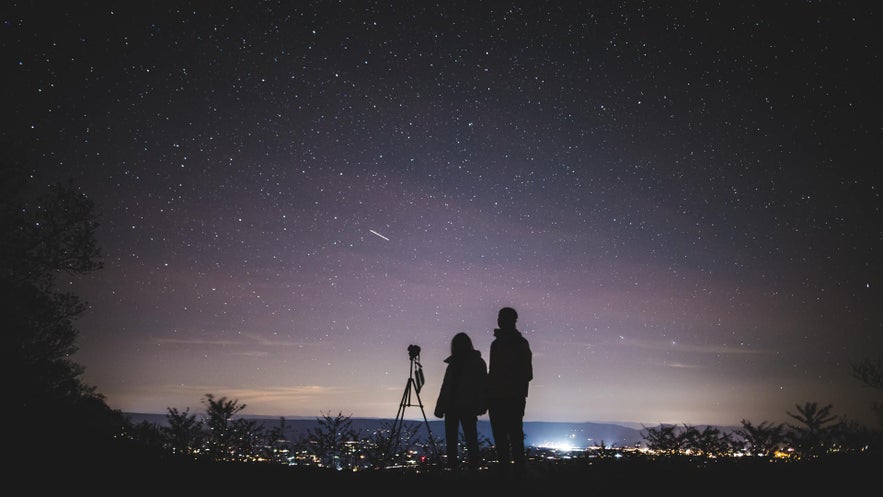 Mount your camera to a tripod to reduce camera shake during long exposures. Photo by: 'Pxhere'.
By mounting your camera to a tripod, you’ll be creating a stable work space which will keep your camera still during longer exposures. You’ll also be able to ensure that the composition remains consistent, particularly if you’re planning to take a series of shots with the same foreground elements. Just be sure that the tripod you choose to bring can adequately support the weight of your gear.
Tip #4. Wear a Headlamp
Unless you fancy falling over in the dark of night, then it’s a good idea to bring along a source of light when you’re out and about photographing the stars. Rather than lugging around a hand-torch, try wearing a headlamp instead.
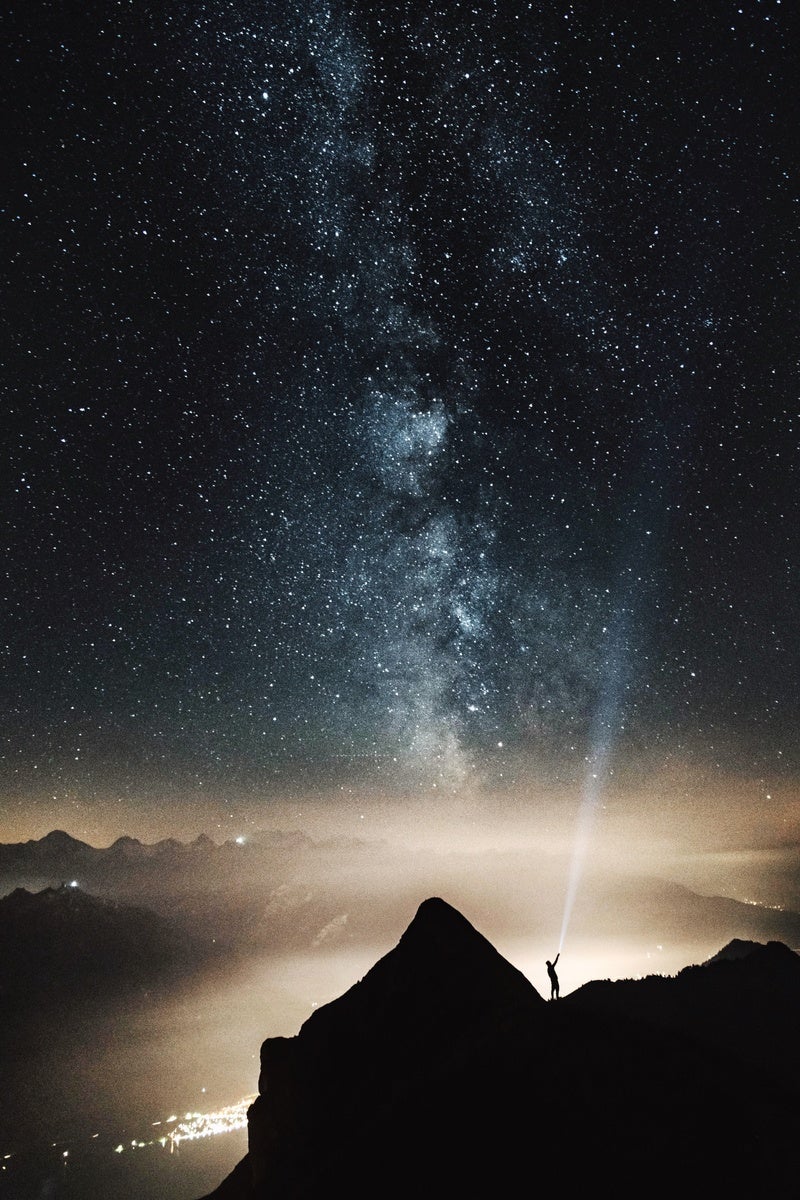 A headlamp or a torch are important tools for night photography. Photo by: 'Pxhere'.
Headlamps are great for night photography as they follow your line of vision, meaning that your hands will be free to handle your camera gear. Choose a headlamp that has a red LED function, which will allow you to operate your camera in the dark whilst maintaining your night vision.
Tip #5. Take a Spare Battery or Two
Shooting the stars can drain your camera’s battery at a much faster rate than during the daytime. It’s colder at night, you’ll likely be using the Live View function a lot more so that you can review your images, as well as making longer exposures to capture the stars. All of these factors can have an enormous impact on your battery power.
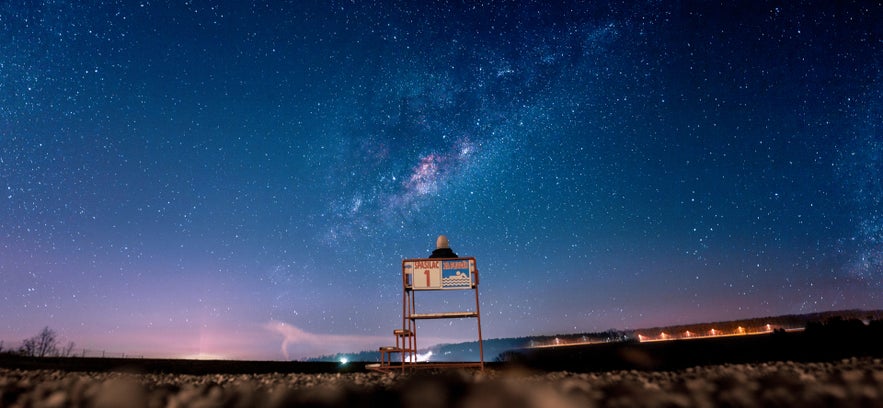 Batteries drain faster when taking long exposures at night. Photo by: 'Pxhere'.
To ensure that you’ll be able to keep shooting throughout the night, bring along a spare battery or two. Keeping them in a warm pocket on the inside of your clothing can also help to prolong the battery life.
- See also: Ultimate Guide to Long Exposure
Tip #6. Release the Shutter Remotely
Whenever you press the shutter release button on your camera, you’ll end up introducing a degree of movement which can affect the sharpness of your images. This becomes more apparent at night when shooting with a slower shutter speed.
To prevent the risk of camera shake when photographing stars, use a remote or external shutter release. This way, you’ll be able to trigger the shutter without having to touch your camera.
Some cameras have an in-built function which will allow you to set the shutter to be released automatically after a 2-second delay. While you’ll still have to press the shutter release button manually, a couple of seconds is often enough for the movement to pass through your gear so that it won’t have an effect on the final image.
Tip #7. Invest in an Intervalometer
An intervalometer is similar to a remote shutter release, though it includes a timer that will allow you to take multiple long exposures, one after the other, within a specific period of time. By using an intervalometer, you’ll be able to control how long you’ll take images for and how many shots will be taken. This is absolutely essential for some forms of star photography, such as capturing star trails.
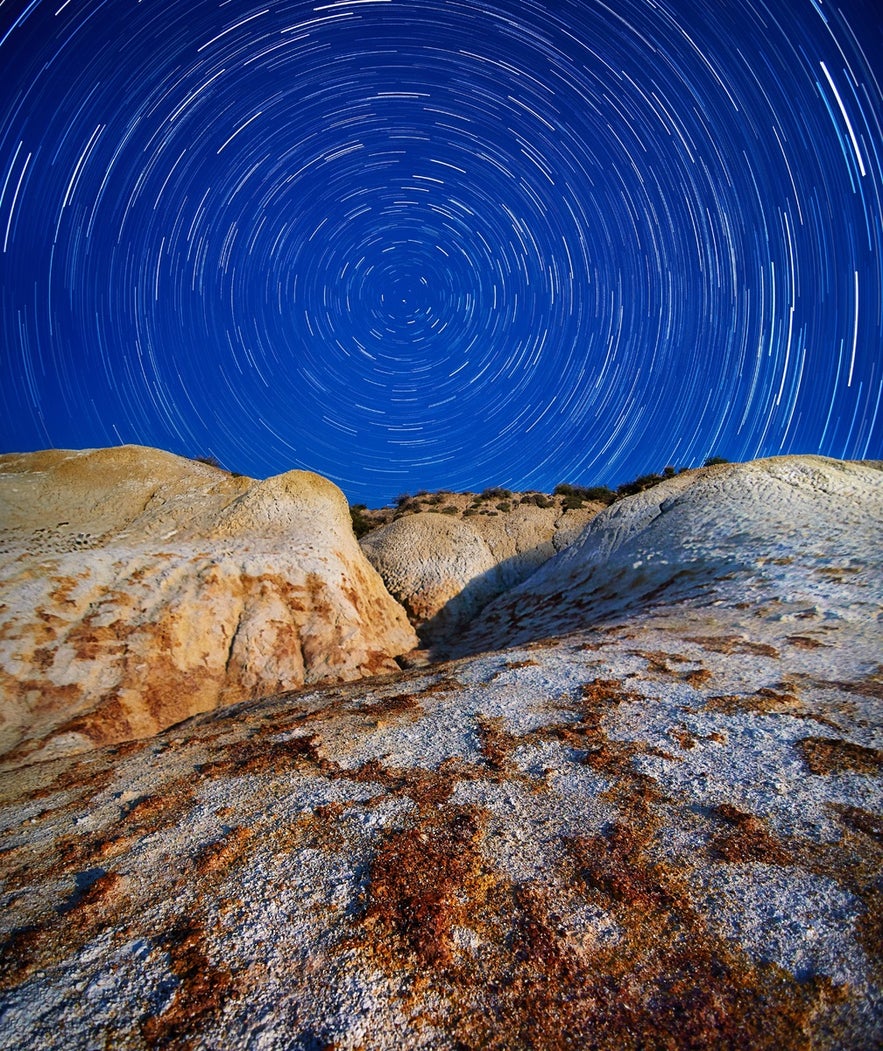 An intervalometer will allow you to create magnificent star trails. Photo by: 'Pxhere'.
- See also: Camera & Gear Reviews
Tip #8. Use Filters
No, we’re not talking about neutral density filters here. There are a couple of very useful filters on the market that can assist you greatly when photographing stars. The first is the SharpStar2 Precision Focusing Tool by Lonely Speck. This is a focusing aid that will help you to consistently achieve sharp and focused stars, particularly when shooting at night. The second is a light pollution reduction filter, which does exactly what it purports to do – reducing the effect of light pollution to deliver colour neutrality in your images.
Tip #9. Shoot in RAW
Shooting in RAW format is particularly important for star photography, particularly if you’re planning to edit your photos later with software such as StarStax or Adobe Photoshop. RAW files contain all of the data recorded in the scene, as opposed to a JPEG, which is processed and compressed within your camera. By shooting in RAW, you’ll have more information to work with later on when you want to change the white balance in post production or if you need to combine your star trail images into a single photograph.
Tip #10. Turn Off In-Camera Noise Reduction
The reason that you should turn off the in-camera noise reduction is that it increases your camera’s processing time between images. After it takes an image, it will take a second image with the same exposure time, which ultimately burns through your batteries. This is also not very useful when you are trying to capture star trails, as the length of time between each exposure will result in noticeable gaps within the trails.
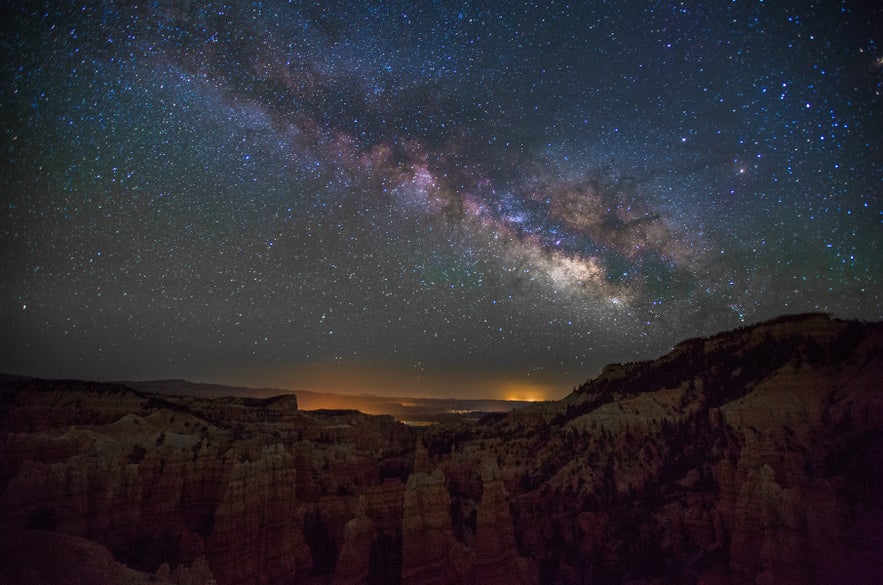 Apply noise reduction using post processing software rather than in-camera. Photo by: 'Pxhere'.
As you’ll be shooting in RAW, turn off your camera’s automatic noise reduction function. If you really need to, then you can always apply noise reduction using post-processing software later on.
Tip #11. Turn Off Image Stabilisation
While you’re at it, switch off any in-built image stabilisation functions within your camera or lens. Since you’ll be shooting on a tripod, you won’t need to have this option turned on. The internal mechanics of image stabilisation can introduce small vibrations into your camera and tripod, which will affect the sharpness of your images.
- See also: Best Lenses for Night Photography
Tip #12. Manually Focus
The autofocus function of most cameras will often fail in the dark, so the trick to achieving sharp focus at night is to do it manually. You can do this simply by adjusting the focal length of your lens to infinity and taking a test shot to verify that the stars are in focus. If they aren’t, then make small adjustments until they’re sharp.
 Manually focus for sharper stars. Photo by: 'Pxhere'.
A better way to manually focus at night is to switch on the Live View function and zoom in on the brightest star that appears on the LCD. If you can’t see any stars at all, then your lens is likely completely out of focus so just adjust the focus until you can see some stars – it doesn’t matter if they’re blurry at this stage. Next, adjust the focus manually until the star appears as small and sharp as possible.
Tip #13. Shoot in Manual or Bulb Mode
It’s easier to shoot the stars in Manual mode than any other shooting mode. You’ll have full control over the settings, including shutter speed, aperture and ISO, meaning that you’ll be able to capture incredible details even at night.
The only limitation of shooting in Manual mode is that a lot of cameras will only allow you to take an exposure of under 30 seconds. If you want to take longer exposures, then switch to Bulb mode, which will override this limit. You’ll then be able to shoot at a shutter speed of any length that you choose, be that 35 seconds, a minute, 20 minutes or a few hours. The camera shutter will stay open for as long as you hold down the shutter release button. This is ideal for creating star trails and deep-sky astrophotography.
Tip #14. Use a Wide Aperture
Shooting in the dark can be challenging. When photographing stars, the aim is to collect as much light as possible on your camera’s sensor. The wider the aperture of your lens, the more light it will let in during an exposure, so pick an aperture anywhere between f/1.4 to f/2.8.
 A wide aperture will allow you to achieve a faster exposure time. Photo by: 'Pxhere'.
While you don’t need to use the maximum aperture of your lens, a larger aperture will mean that you can achieve a faster exposure time. This is important for achieving sharp, pin-point stars. Usually, anything above a 25-30 second exposure is enough time for the stars to noticeably move within the frame, meaning that you’ll end up with star trails instead.
Tip #15. Shoot with a High ISO
Night photography requires the use of high ISO values, which amplifies the sensitivity of your camera’s sensor to light. Over the past few years, camera technology has improved at a rapid rate. These days, you can photograph at higher ISO ranges, such as ISO 1600, 3200 and 6400, with very little noise.
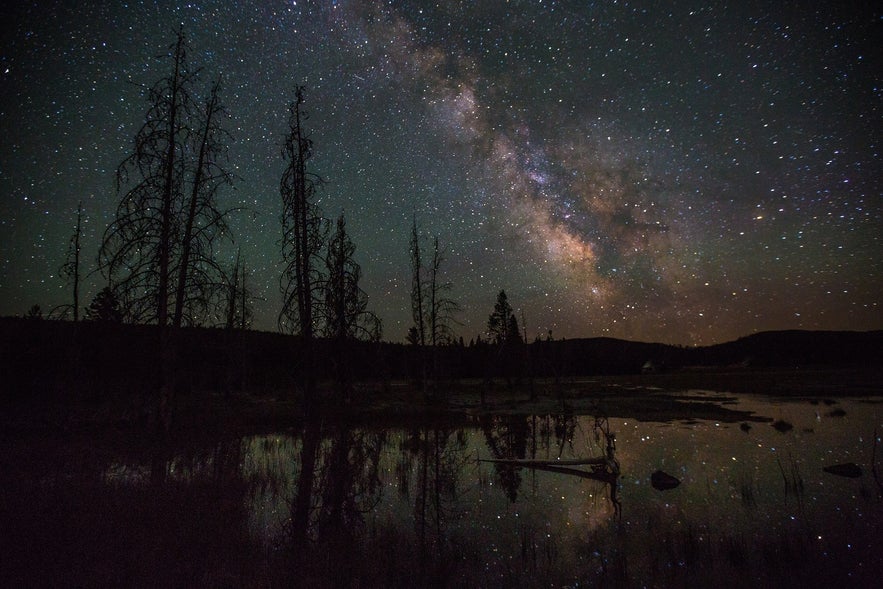 A high ISO is required when shooting at night. Photo by: 'Pxhere'.
The ISO value that you choose to use will depend a lot upon your aperture and desired shutter speed. In general, start with an ISO of around 1600 or 3200, depending on your lens. You can then adjust the ISO higher or lower to produce an optimum exposure.
Tip #16. Check the Moon Phases & Star Movements
The amount of moonlight in the sky can have a dramatic effect upon both the landscape and the stars. A new moon is great for capturing the Milky Way and fainter stars that are more distant to Earth. On the other hand, a full moon can illuminate the foreground nicely, though you’ll often find that the stars may be drowned out by the light.
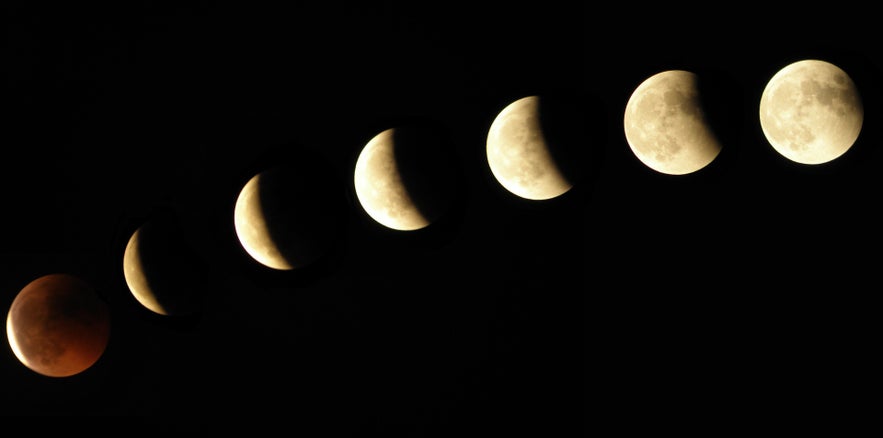 Moon phases can have a large impact on your star photography. Photo by: 'Pxhere'.
To make sure that you’ll end up with stunning photos of the starry night sky, do your research before you head out. There’s nothing worse than going out to shoot the Milky Way, only to realise that you’ve missed the timeframe when it formed the perfect arch that you were after. Apps like PhotoPills, Star Walk (for iOS) and Google Sky Map (Android) are great to help you plan your shoot ahead of time, so that you’ll be perfectly prepared to capture the shot.
- See also: Ultimate Guide to Photographing the Moon
Tip #17. Choose a Good Location
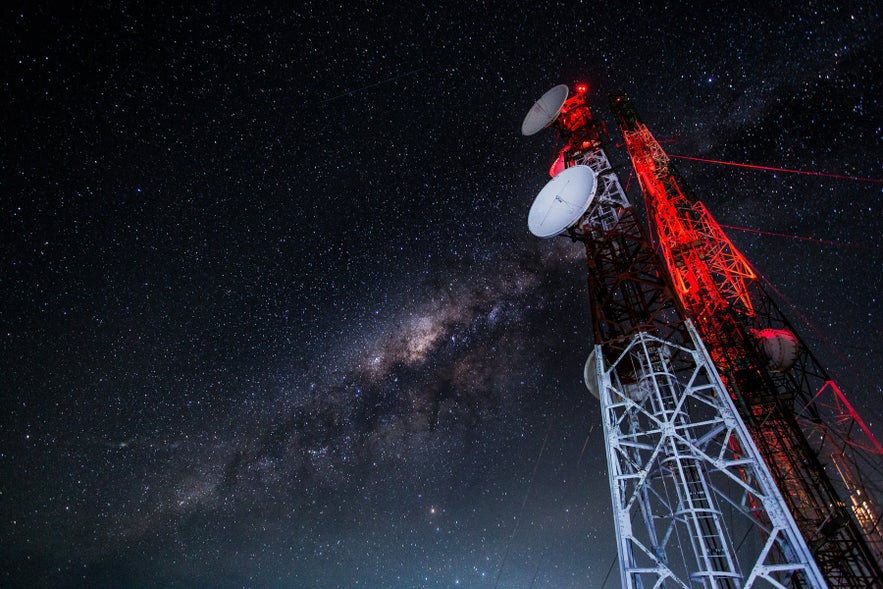
Last but not least, when photographing stars, be sure to pick an area with little light pollution. Where possible, head out away from the city and search for a location that offers interesting compositional elements which will help to give the stars some context. A strong foreground subject will allow you to tell a story and can even demonstrate the scale of the scene. So rather than just pointing your camera up at the sky, look for something to frame it with instead.
 A good location will give your stars some context. Photo by: 'Pxhere'.
Learning how to photograph stars at night can be challenging but once you get the basics, you’ll find that star photography can be a very rewarding experience. By all means, follow these tips and tricks but don’t be afraid to experiment; with a little practice, you may find yourself taking stunning images of the stars in no time.
About the author: Serena Dzenis is a landscape photographer based in Iceland. You can find more of her work on her website or by following her on Facebook and Instagram.
Improve your night sky and star photography skills. Join one of our Winter Workshops in Iceland!


