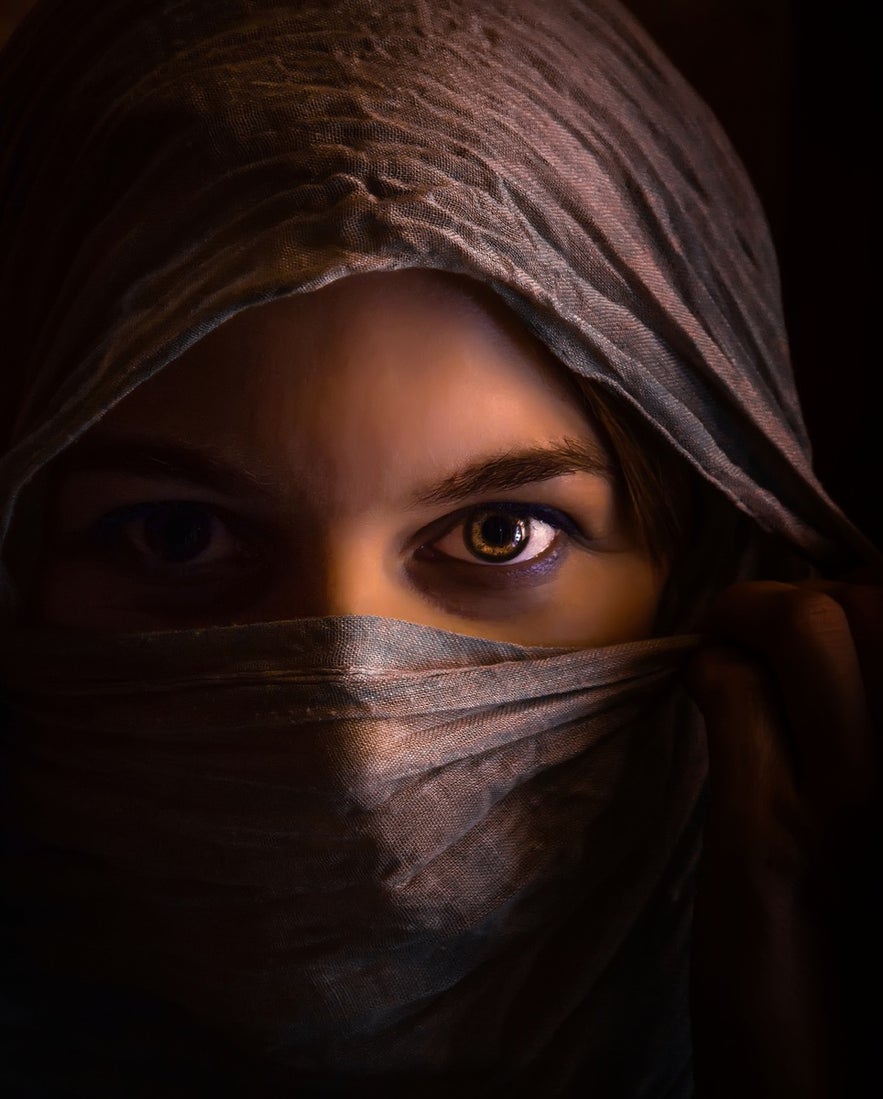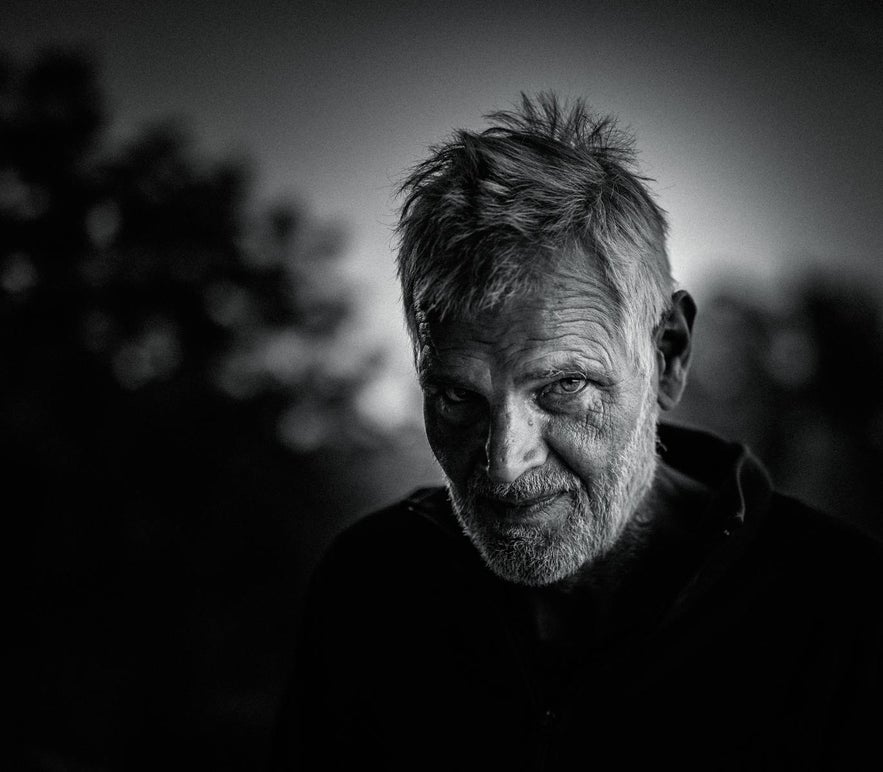
They say that the eyes are like windows to the soul. That’s one of the reasons why portrait photography can be so fascinating. The best portraits in the world convey much more than just a simple glance – rather, they evoke emotional responses and allow us to identify with the person that we are gazing at.
- Discover How to Create Portraits with a Black Background
- Learn How to Use Smartphone Camera Modes for Amazing Landscape Photography
However, taking someone’s portrait can also be a difficult task, particularly when you aren’t really sure what you’re doing. What it comes down to though is that everyone always wants to look their best. So how can you improve your skills and capture images of people that they’ll be happy with?
From camera settings to practical techniques, this article will take a look at some of the most useful things you can do to make better portraits. Whether you are hoping to capture an image of a loved one or to really get professional and start photographing models, follow these top tips and you’ll find yourself producing stunning portrait photography in no time.
Tip #1. Use a Wide Aperture
Taking someone’s portrait is a lot different to most other forms of photography. You’ve probably been wondering which settings to use, particularly in terms of the aperture. Generally speaking, when taking a portrait of a person, the idea is to be able to isolate them from the background. This way, you can draw attention to them rather than having them get lost in the mix of the surrounds.
 A wide aperture helps you to isolate your subject from the background. Photo by: 'Pxhere'.
Depending on your focal length, shooting at a wider aperture, such as f/2.0 or f/3.2, will allow you to have a shallower depth of field. This means that the person will be in focus but the background will be blurred for a creamy bokeh effect. This will focus the viewer’s attention to the personality of your subject, rather than on what’s behind them.
Tip #2. Fast Shutter Speed
The shutter speed is one of the most important things in photography, along with the aperture and ISO. Together, they form the Exposure Triangle. On its own, the shutter speed of your camera is responsible for two very important things: changing the brightness of your image and creating different effects by either freezing the motion or blurring the action.
 A slow shutter speed can result in blurred movement. Photo by: 'Stefan Keller, Pixabay'.
You can experiment with the shutter speed, depending on what you are hoping to achieve. However, for most traditional portraits, it is best to use a fast shutter speed so that you can capture the moment without any blur. A typical portrait during the daytime without using flash is best taken with a shutter speed of at least 1/200th of a second handheld or 1/15th of a second on a tripod.
Tip #3. Increase the ISO
The ISO is the final factor in the Exposure Triangle. It is a measurement of the sensitivity of your camera’s sensor, which can affect how bright or dark your photo will be. A lower ISO means that your camera will be less sensitive to light, while a higher ISO means that it will be more sensitive. The latter means that you’ll be able to produce a brighter image in a shorter amount of time, though the trade-off is that the level of noise will increase.
 Increasing the ISO is important for low light portrait photography. Photo by: 'Pxhere'.
As with all other genres of photography, it is best to use the lowest ISO that you can for the lighting conditions. This will allow you to reduce the risk of ending up with grainy portraits. However, increasing the ISO with portrait photography has its benefits.
If you’re shooting on-location in lowlight, such as at a wedding in a church, then you’ll more than likely need to increase the ISO in order to achieve sharp portraits. This is especially true if you’ll be shooting handheld. Another situation in which you might use a higher ISO is when you want to reduce the aperture to something like f/8 or f/11, in order to have more of your subject in focus.
So the next time that you’re taking someone’s portrait, try increasing the ISO to around 400 or 800. In some situations, you may even need to use an even higher ISO. Increasing the ISO also means that you’ll be able to shoot with a faster shutter speed in lowlight conditions, which means that you’ll be able to reduce motion blur. The result will be sharp portraits that everyone will be happy with.
Tip #4. Exposure Compensation
Most cameras these days have in-built exposure metering, meaning that they will automatically determine the amount of light in the scene and produce an exposure that balances the bright and dark areas of the image. However, this can often mean that you’ll end up with a portrait that appears to be too dark, as the camera tries to take the background into consideration.
 Make use of the in-built exposure metering in modern cameras. Photo by: 'Pxhere'.
Exposure compensation refers to what you do when you manually change the exposure so that it is different from the automatic reading, in order to achieve a proper exposure. This is one of the easiest ways to adjust your camera’s exposure and can be very handy in portrait photography, particularly if there is backlighting. One of the most common mistakes in portrait photography is to underexpose due to bright background. So rather than underexposing and producing a lacklustre portrait, try to compensate by dialling the exposure up slightly to lighten the image.
- See also: Ultimate Guide to Long Exposure
Tip #5. Lens Choice
You probably don’t need us to tell you that different lenses do different things. There are so many lenses on the market to choose from and not all of them are suited to portrait photography. Depending on your style, what works for you may not work for someone else. However, there are some lenses out there that are better for portraits than others.
 The type of lens you use can affect your portrait photography. Photo by: 'Pxhere'.
The most common focal length used for portrait photography is the 85mm lens, which typically comes with a wide aperture of around f/1.2 or f/1.8. This lens is particularly useful for natural light portraits, when you’re shooting both indoors and out. It’s also great for using in the studio and at the distance that you’ll need to be away from your subject in order to get them into focus, you might notice that it will give you some great bokeh if you open the aperture up all the way.
The other most commonly used lens for making portraits is the 50mm, which also usually comes with a wider aperture of around f/1.4 or f/1.8. It’s great for when you need to have more of the background included in your shot, such as for environmental portraits. This is when you photograph someone within their usual environment, such as their home or workplace, so you need to include some of the surroundings to give the portrait some context. Again, this type of lens can create beautiful bokeh when the aperture is opened up wide for a shallow depth of field, meaning that you’ll be able to isolate your subject from the background in an effective way.
While it may seem pretty straightforward to most, choosing where to focus in portrait photography can be confusing for some. Have you ever taken someone’s portrait, only to realise later on that your eyes keep getting drawn back to their nose or their hair? This is a surefire way to know that your focus may be a little bit off.
 Focus on the eyes for maximum impact. Photo by: 'Josh Clifford, Pixabay'.
In general, when taking a portrait, the aim is to focus on your subject’s eyes. There’s that old adage that the “eyes are the windows to the soul” and in portrait photography, this couldn’t be more true. As humans, we are constantly scanning the environment for faces that we recognise and when we find one, we immediately search that face for the eyes. By focusing on your subject’s eyes, you’ll be drawing the viewer into the image in a natural fashion, as they intrinsically search for a face and connection through eye contact.
Having said that, if you are taking someone’s portrait and their eyes are obscured or the emphasis is meant to be on a different body part, such as their lips for an advertisement on lipstick, then you should focus on the element that is most important and to which you want to draw attention.
Tip #7. Experiment with Lighting
Lighting is one of the most vital components to creating a stunning portrait. By manipulating the light, you can convey different messages and emotions, which can make your images all the more powerful. You can also use lighting to emphasise different compositional elements within a portrait for a stunning effect.
 Lighting can change the atmosphere of your portraits. Photo by: 'Pxhere'.
Understanding lighting is the key to great portrait photography. If you’ve never tried to use studio lighting before, then it pays to get the lights out and to practice taking some portraits. Experiment with placing a lighting source at different angles. You can then examine how the light falls upon your subject, illuminating different areas of their face and the atmosphere that it creates.
Some types of lighting will be more flattering than others. With classical portrait photography, it’s important to become familiar with how much light you will need to use, the way that shadows will fall across your subject’s face and the angle that you will need to shoot at for the effect that you’re after. Different types of lighting will suit different scenarios, so identify what it is that you want to communicate with your image and then adjust the lighting to convey that message through the portrait.
Tip #8. Fill the Frame
Filling the frame in portrait photography adds instant impact to an image by reducing the ability for the viewer’s eyes to stray. Instead, your subject becomes the main focus of the shot.
 Filling the frame adds impact. Photo by: 'Pxhere'.
For most typical portraits, filling the frame can also create a sense of intimacy. There is nothing else to look at apart from your subject’s face, so the viewer is immediately drawn into the most important part of the image – the eyes. By taking in the subject’s expression with the interplay of shadows and light, the viewer is able to immediately get a feeling for what the image is trying to convey.
Tip #9. Subject Placement
When figuring out where to place a subject in a portrait, many photographers find it difficult to move beyond the Rule of Thirds. Some even find it hard to think about placing the subject anywhere else but front and centre in the shot.
 Subject placement can be made all the more interesting when you break the rules of composition. Photo by: 'Pxhere'.
Rather than thinking about where you place your subject, think instead about how you will fill the frame with their most important features, particularly if you are taking an image close-up. If you will be shooting more than just their face and would like to have their entire body in the shot, then think about how the background and their posture will affect the overall image. Are they gazing to the side and if so, is their line of sight departing too quickly from the frame? Make sure that you place them in such a way that the viewer’s eye is not led astray.
Tip #10. Communicate
One of the biggest factors in achieving your creative vision with portrait photography is to communicate openly and often with your subject. If you have an idea about how you want them to pose, then by all means, tell them! If their arm is a little low or they need to lift their chin a bit, then verbalise it so that they’ll know what to do.
 Communication is the key to a great portrait. Photo by: 'Pxhere'.
A little direction goes a long way. Don’t be afraid to talk to your subject to let them know how they can help you to improve the shot. After all, they can’t see what you’re seeing through the camera, so be upfront and let them know. If they look great, then go ahead and say it. Compliments are a great form of encouragement and can help your subject to feel more at ease – the result being that you might be able to make a better portrait.


