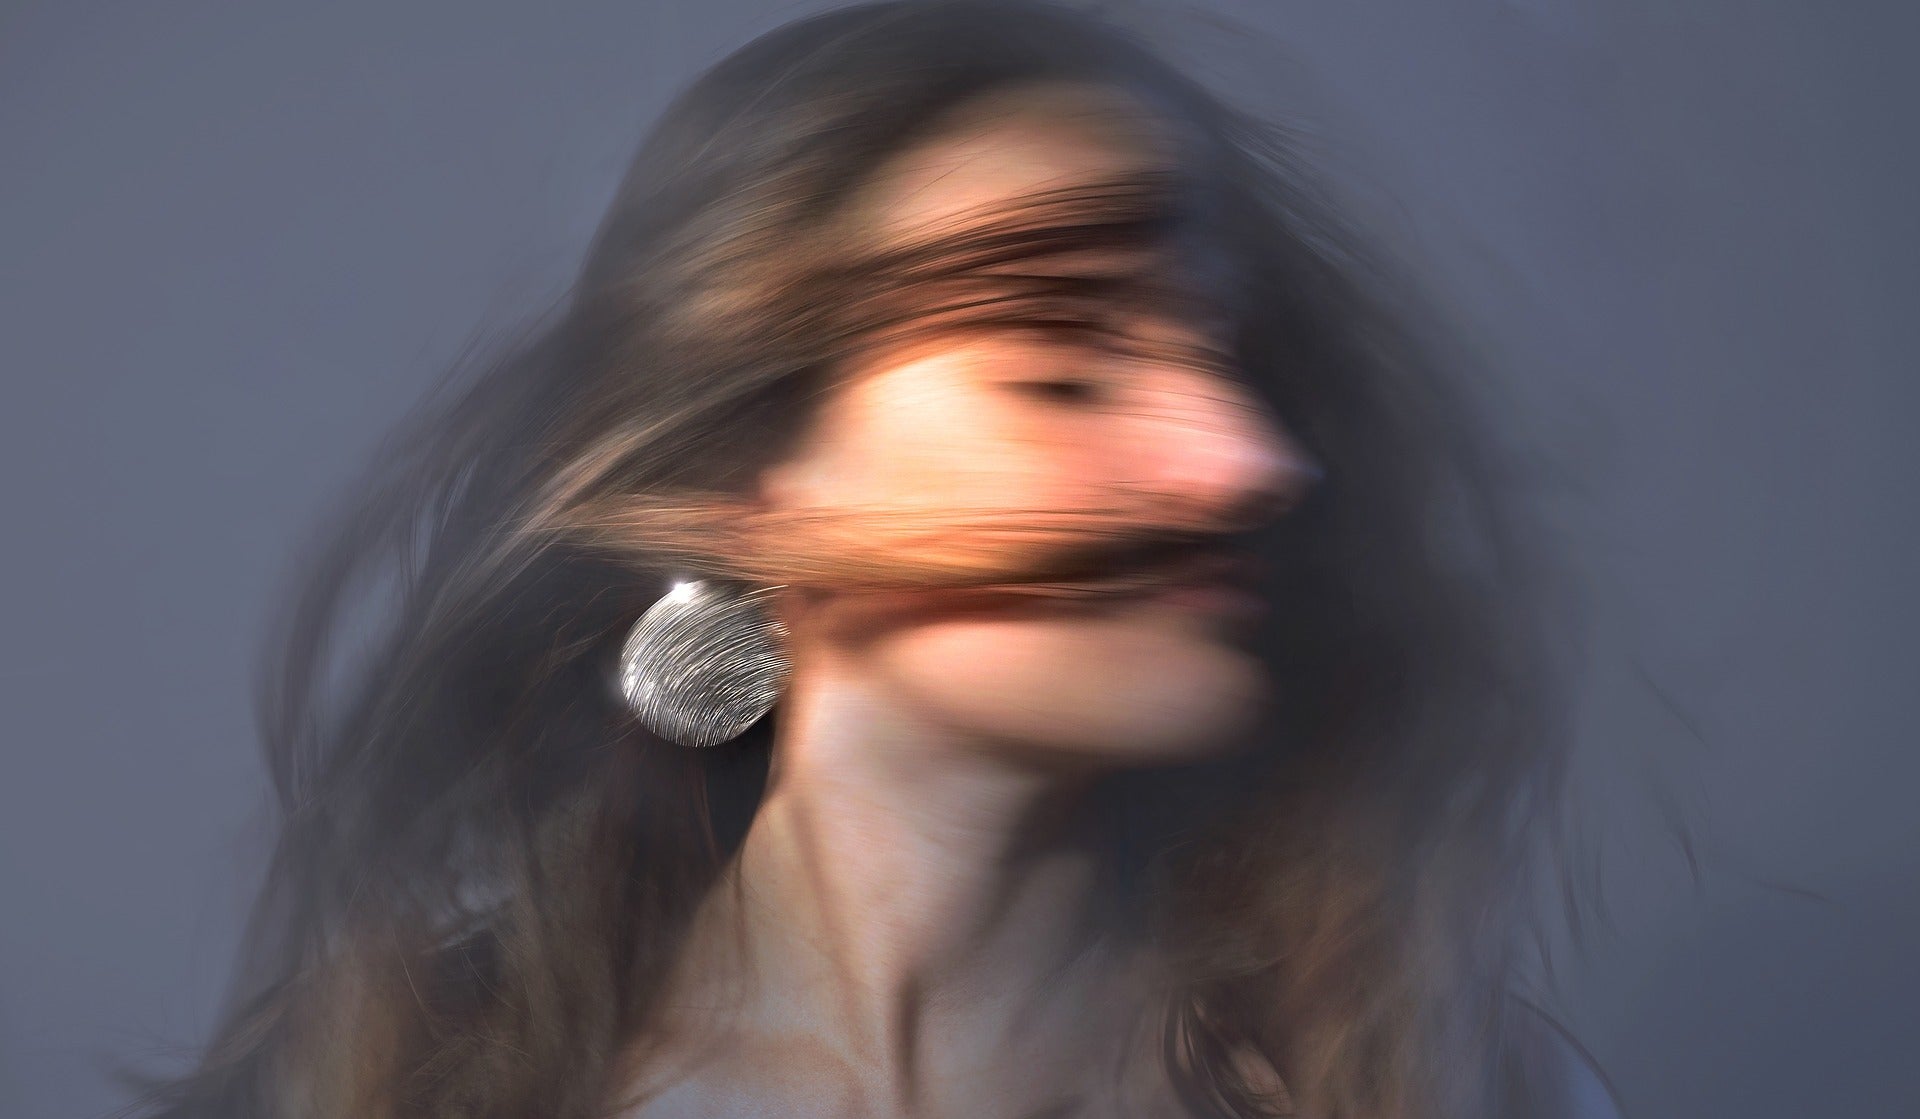
Photographers love to capture images with soft, out-of-focus backgrounds and a sharp subject. This effect can attract a viewer's attention to the most important elements within your composition. How to achieve this beautiful ‘bokeh’ effect though can sometimes seem like a mystery. So let’s dig into it and discover how to do bokeh photography.
- Check out these Photography Tutorials
- See these 25 Useful Tips to Improve Your Landscape Photography
- Discover these Photography Workshops
What is Bokeh?
Bokeh is a little snippet of photography jargon picked up from the Japanese language. It refers to the out-of-focus blur that sometimes happens in photographs outside the area of the depth of field. In Japanese, bokeh means ‘blur’.
I think to pronounce bokeh properly, you must be Japanese. The best way I can think to explain the pronunciation is like combining the word ‘bow’ (like archers use or girls put in their hair,) and ‘cat’', but without pronouncing the ‘t’.
The bokeh effect depends on a number of different factors relating to the camera and lens being used. Bokeh images are also influenced by distances. To achieve bokeh, you'll need to balance the elements within the composition in relationship to the camera and the background.
The bokeh technique is easier to create with some cameras and lenses than others. You can even download bokeh apps for smartphones which will allow you to recreate this look. As the lens and sensor in a smartphone are often small, they have very limited ability to create the bokeh effect naturally.
 The bokeh technique is easier to create with some cameras and lenses than others. Photo by: 'Kevin Landwer-Johan'.
How is Bokeh Formed?
It’s partly a misconception that you need a bokeh lens to formulate this look. Lenses with a certain characteristic make it easier to create images where the background is blurred. They are not, however, essential to use if you want to get this look.
There are a number of contributing factors to creating beautiful bokeh. The lens you choose to use is only one of them.
The physical dimensions (not the megapixel count) of your sensor has a strong influence on the bokeh. Basically, the larger the sensor size, the less complicated it is to make photographs with lovely bokeh. This is why it’s more difficult to make bokeh photos with smartphones and compact cameras. The sensors in them are very small. Using a full frame or larger format camera will allow you to more easily capture images with a blurred background.
The relationship between the elements in your composition and the background have a big impact on bokeh. The closer you are to your main subject and the further it is from the background, the softer the bokeh will appear. This will also be relative to the focal length of the lens you are using.
With a wide angle lens, it’s more challenging to get a blurred background. A telephoto lens will help you create a background with a soft bokeh.
Most influential of all is the widest aperture setting on the lens you are using. Many kit lenses that come with a camera upon purchase are not so suitable. This is because the widest aperture they have is often only around f/4 when they are set to the widest zoom. When you use a lens with a largest aperture opening of f/1.8 or f/1.4, it is much more likely that you will achieve bokeh.
So the way to create the softest looking background possible is to use a long lens with a wide aperture. Place your subject a long way from the background and focus as close to it as your lens is capable of. The larger the sensor in your camera is, the softer the bokeh effect will appear in your composition.
 Use a long lens with a wide aperture for lovely bokeh. Photo by: 'Kevin Landwer-Johan'.
Which are the Best Lenses for Bokeh?
Lenses with a fixed focal length – that is, lenses which don’t zoom (also known as prime lenses) – are generally better for creating soft bokeh. This is because they usually have a wider maximum aperture than zoom lenses. These are known as ‘fast’ lenses because the wide aperture allows for the use of faster shutter speeds.
The most common and affordable fast or ‘bokeh lens’ is a 50mm. Most lens manufacturers make these with a widest aperture of f/1.4 and f/1.8. Some lens companies make 50mm lenses with even wider apertures, as wide as f/0.95. Zeis even once made a 40mm lens with an aperture of f/0.33. However, it was not designed for real use and never functional. It was concocted by a designer and engineer poking fun at photographers lusting over fast lenses.
Standard lenses like the 50mm are easier and cheaper to produce with wide apertures. You can buy a 24mm f/1.4 or a 200mm f/2, but you’ll need deep pockets.
My favourite lens for bokeh is a 35mm f/1.4. I use it a lot because it is a little wider than normal, yet still produces a pleasing bokeh when I use a wide aperture. It’s a wonderful lens for making portraits as it allows me to get reasonably close to my subjects. This helps in creating a more intimate picture and also adds to the bokeh effect.
 A 35mm f/1.4 lens produces wonderful bokeh. Photo by: 'Kevin Landwer-Johan'.
- See also: The Best Lenses for Wildlife Photography
How do you Achieve Beautiful Bokeh?
As I mentioned earlier, there are a number of factors that combine to make beautiful bokeh images. The more of these you can incorporate into a single frame, the softer the bokeh effect will be.
Here’s a breakdown of what you need to consider to get the most blurred background possible.
Lighting Considerations
Using the widest aperture setting means you will need to balance your shutter speed and ISO. If you have too much light, this may not be possible.
When you use an aperture of f/1.4 on a sunny day, even with your ISO set to the lowest it can go, your camera may not be able to achieve a shutter speed fast enough to get a good exposure. Waiting until the light has changed, maybe just after sunset, will mean you can expose your image properly.
At night or indoors, you can experiment more freely because there is less light than outdoors in the sun. Even at aperture settings a little higher, like f/2 or f/2.8, you can still achieve a nice looking bokeh.
Distance Between Camera and Subject
How close you are to your subject has a direct impact on the way the bokeh will look in your photos. The closer you are, the more blurred the background will be, no matter what lens or f-stop you are using.
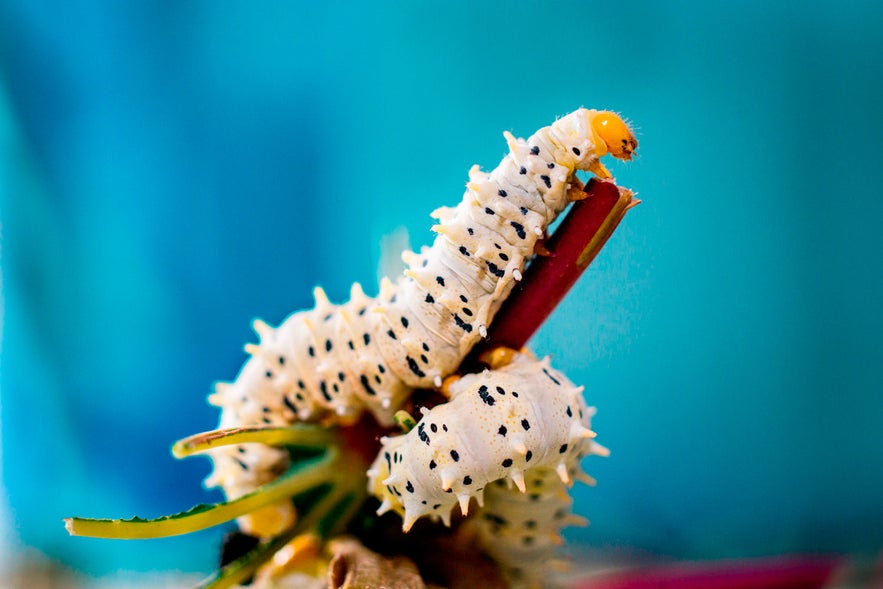
This is particularly noticeable with macro photography. Focusing in close to your subject means there will be little depth of field. The background will be wonderful and soft. Getting in too close to your subject may mean you cannot get enough of it in focus.
Move in close to your subject and take some photos. Then start moving back a little. Take a series of photos to discover where the 'sweet spot' is. Maybe you need to change lenses or zoom so that your subject can be the right size in your frame. By taking these steps, you can be close enough to your subject to see a nice bokeh effect in the background.
 The distance between the background and the subject will have a large effect upon bokeh. Photo by: 'Kevin Landwer-Johan'.
Choosing the Right Lens
Wide angle lenses give the appearance of a deeper depth of field than longer lenses do. Being aware of this will help you make choices when considering bokeh images.
When you don’t have any fast lenses, try using your longest lens. The closer you can be to your subject with the longest possible focal length lens is the surest way to get the background looking blurred.
Being as close as you can to your subject and using the widest aperture will often work well when you want to make bokeh images.
The common kit lens that comes on many entry level cameras is 18mm-55mm. They will have a maximum aperture of f/4-f/5.6. With these lenses, it's very difficult to create nice looking bokeh.
Don’t be obsessed with total blur. If your only aim is to blur the background you may not notice that your subject is not clear. You'll need to make adjustments so that your subject is sharp enough where it needs to be.
Choosing a Good Background for Bokeh
The key issue with background when you are wanting to create a bokeh effect is its distance from your main subject. The further away the background is from what you are focusing on, the more blurred it will be.
This is consistent with any lens. But the amount of blur and quality of the bokeh will vary from lens to lens.
Having more detail in the background will add more texture to the look. When the detail contains bright highlights, these tend to stand out more. They can also have a more defined appearance.
Photographing at night and including lights in the background can produce interesting bokeh.
 Choosing a good background for bokeh can be difficult! Photo by: 'Kevin Landwer-Johan'.
Choosing Your Main Subject
A well-defined subject with a nice, sharp edge will help it to stand out from the background. Your choice of lens and aperture will also help determine how well-defined your subject is.
If your subject has a lot of depth and you use a very wide aperture on a telephoto lens, the edges of your subject may not appear in focus. The blurred edges will then begin to blend with the background and not be so well-defined. This may or may not be the look you want, but you need to be aware of it and know how to control it.
This is where the merging of the bokeh technique and style of photo you desire need to be considered. There is no right or wrong way to proceed. The choice is yours for the look that you want to create in your pictures. Only concentrating on getting the most blurred background may sometimes mean that your photo will have less impact. This may be because your subject does not sit within the depth of field.
You need to make a conscious choice and to be in control of the variables which produce bokeh. The more familiar you are with your camera and lens, the easier this will be. Understanding the distance ratio between camera and subject affects your choices too. The same goes for the ratio of distance between your subject and the background.
This may all seem somewhat complex. You need to practice it and get a feel for how all the variables play together. This way, you can make the type of bokeh image you want.
The amount of space inside your frame that the subject takes up will also impact how the bokeh effect is seen in your photos. Having your subject taking up most of the frame will obscure the background. The bokeh will be less prominent in the picture.
With a moving subject and wanting to blur the background, you must be very precise with your focus. The narrow depth of field makes it more challenging.
 A narrow depth of field means you may need to shoot with a higher ISO or shutter speed to get moving subjects in focus. Photo by: 'Kevin Landwer-Johan'.
Bokeh and Camera Settings
Being in control of your camera settings is an essential part of how to produce bokeh. If your camera is set to Program or Shutter Priority, then you are risking a poor result. You must be able to control your aperture primarily and then balance your exposure once you have set it.
Camera Mode: Manual vs Aperture Priority
Using Aperture Priority or Manual modes will give you the level of control you need to create bokeh. Either of these modes allow you to have full control of your aperture setting.
Choosing Aperture Priority means that you can set the f-stop you want to use and the ISO. The camera will then balance the exposure by adjusting the shutter speed. The camera will automatically choose a shutter speed that it determines will provide a good exposure. When you have your ISO set to auto, the camera will also set this to give what it’s programmed to make a good exposure.
Similarly, you can choose Manual Mode. Set the aperture to the desired f-stop, then make adjustments to your ISO and shutter speed to balance your exposure. This will give you more control of the depth of field and the look of the bokeh.
If you are composing photos where much of the frame is background, then you need to be careful that your subject is well-exposed. Bokeh images can have more impact when the subject is relatively small in the photo, leaving a lot of the background visible. Doing this may mean that you will risk having your exposure correct for the background but not for your subject.
When you use Aperture Priority, your subject may end up poorly exposed. This is especially true if you are using Centre Weighted or Averaged metering. You need to be aware and in control of how you expose your main subject. If you concentrate only on obtaining a pleasing bokeh effect, then you run the risk of overexposing or underexposing your subject. This will be exaggerated when photographing in high contrast lighting conditions.
When the light in the background is much brighter or darker than your subject, it is more important to read only the light from your subject.
To make sure your subject is well-exposed, you may need to use Manual Mode or exposure compensation. Combine this with your exposure metre set to Spot. This will allow you to take the most precise reading from the light reflecting off your subject. Using the spot metre setting on your subject will avoid calculating the light on the background.
I prefer to use Manual Mode when taking photos. I alternate between Averaged and Spot modes to determine my settings. I find this enables me to receive an accurate reading from my subject. It lets me see the difference in light on my subject and on the background. I also prefer Manual Mode over using Aperture Priority and the exposure compensation, as it allows me to be more accurate with my camera settings.
 Manual mode gives you more control over your bokeh. Photo by: 'Kevin Landwer-Johan'.
What’s the Best Aperture for Bokeh?
There are no absolute right or wrong settings for creating bokeh. It’s up to you to obtain the look you want. Choosing the best aperture is a matter of taste and it will vary from photo to photo. Aperture choice must be considered together with the other variables, though it should be set wide.
As mentioned above, you need to keep in mind your other exposure settings. By concentrating only on using the widest aperture, you will run the risk of overexposing your photographs.
What’s the Best Shutter Speed for Bokeh?
Shutter speed needs to be determined after you choose the aperture setting you will use. The length of time your shutter remains open has no influence on the bokeh effect.
Once you have ascertained the f-stop you will use, then take a look at the shutter speed. Either set it manually or have your camera choose it when you’re using Aperture Priority mode. Often, the shutter speed will be relatively fast because your aperture will be wide.
At night and during other low light situations, you’ll need to take care that your shutter speed is not too slow. If it is, then use a tripod or other means to steady your camera.
 Your shutter speed depends largely upon your aperture. Photo by: 'Kevin Landwer-Johan'.
What’s the Best Distance for Bokeh?
The less distance between your camera and the subject, the softer the bokeh effect will be. The greater the distance between your subject and background, the softer the bokeh effect will be.
To create the most blur in the background, make sure your subject is as far from it as possible. Then focus as close to your subject as you can be.
Where to Focus for the Best Bokeh Effect?
As you'll be using a very wide aperture to create the bokeh effect, you must be sure that you'll have enough depth of field. You need to keep enough of your main subject in focus and not surrender its clarity to the background.
When your subject has eyes, focus on them. This is one rule of photography I rarely make an exception to. However, when you use a wide aperture, focusing on the eyes may mean the tip of the nose is not sharp. It may also mean the ears are out-of-focus. With extremely close up compositions, using a low f-stop number may mean that both eyes are not in focus.
It’s important to consider your subject as the primary reason you are making the photograph. If you concentrate too much on the bokeh technique, the actual subject of your image may suffer.
People enjoy taking photos of flowers with a lovely bokeh effect in the background. Very often, not enough of the flower is in focus. The photographer may have focused on the centre of the flower, leaving most of the edges of the petals out-of-focus. I think close ups of flowers are stronger photos when a reasonable part of the petal edges are in sharp focus. If not, the petals tend to blend into the background.
Any subject can suffer this problem when the photographer is only intent on producing the bokeh effect. Attention must be paid to your subject so that it remains the centre of attention. Ensure you have good depth of field and that enough of the edges of your subject are relatively sharp. While the edges don’t need to be pin sharp, they should define your subject and separate it from the background.
To achieve a good depth of field you can experiment with:
-
Closing your aperture by one or two stops or more.
-
Using a different lens.
-
Positioning your subject so it is further from the background.
 Position your subject so it is further from the background. Photo by: 'Kevin Landwer-Johan'.
How Can You Master the Bokeh Effect?
Experiment and practice. Because there are many variables in how depth of field is controlled, it pays to experiment. Take some time with your camera and favourite lens and set up some subjects to photograph. Spend time concentrating on the different aspects of how the bokeh effect is created.
Don’t be concerned about making masterpiece photographs as you practice. These will come later once you become more familiar with all the variables and can control them.
Work through different aperture settings and study the photos later on your computer. Compare the look of the bokeh. Try taking photos at different distances from your subject. Move the subject so it’s closer to and further away from the background. Try different lens focal lengths.
There are so many pieces to the bokeh puzzle, you may need to revisit this exercise a number of times. Each time you do, try out different things. Experiment with the variables in ways you have not tried before. Make good notes about what you are doing so you can consult them when you are viewing your photos later on your computer.
Is the Biggest Blur Always Best?
No, I don’t think so. When aiming for a blurred background, it is important to consider context. Often, you will want the most bokeh effect you can get, so that a distracting background is no longer distracting. Other times, the background behind your main subject may be a significant part of the story. In this situation, you'll want to include it, but not have it detract from your main subject.
Controlling the depth of field to help keep your subject in context is challenging. Approach each photo you want to make using the bokeh technique with care. Think not only about your background and how lovely and soft you want it. Consider it in relationship to your main subject.
Find the sweet spot where your main subject is well-defined and your background is soft enough. Ask yourself if including some information from the background will make a stronger composition, or will blurring it completely compliment your subject the most?
Don’t take it for granted that a wide aperture will create a cool bokeh effect. Think about the various contributing factors I have outlined in this article. Practice the technique with you own camera equipment and your favourite subjects. Once you've practiced for a while, you will find that you will master the art of fine bokeh images.
About the author: Kevin Landwer-Johan is a photographer based in Thailand. You can find more of his work on his website or by following him on Facebook and Instagram.
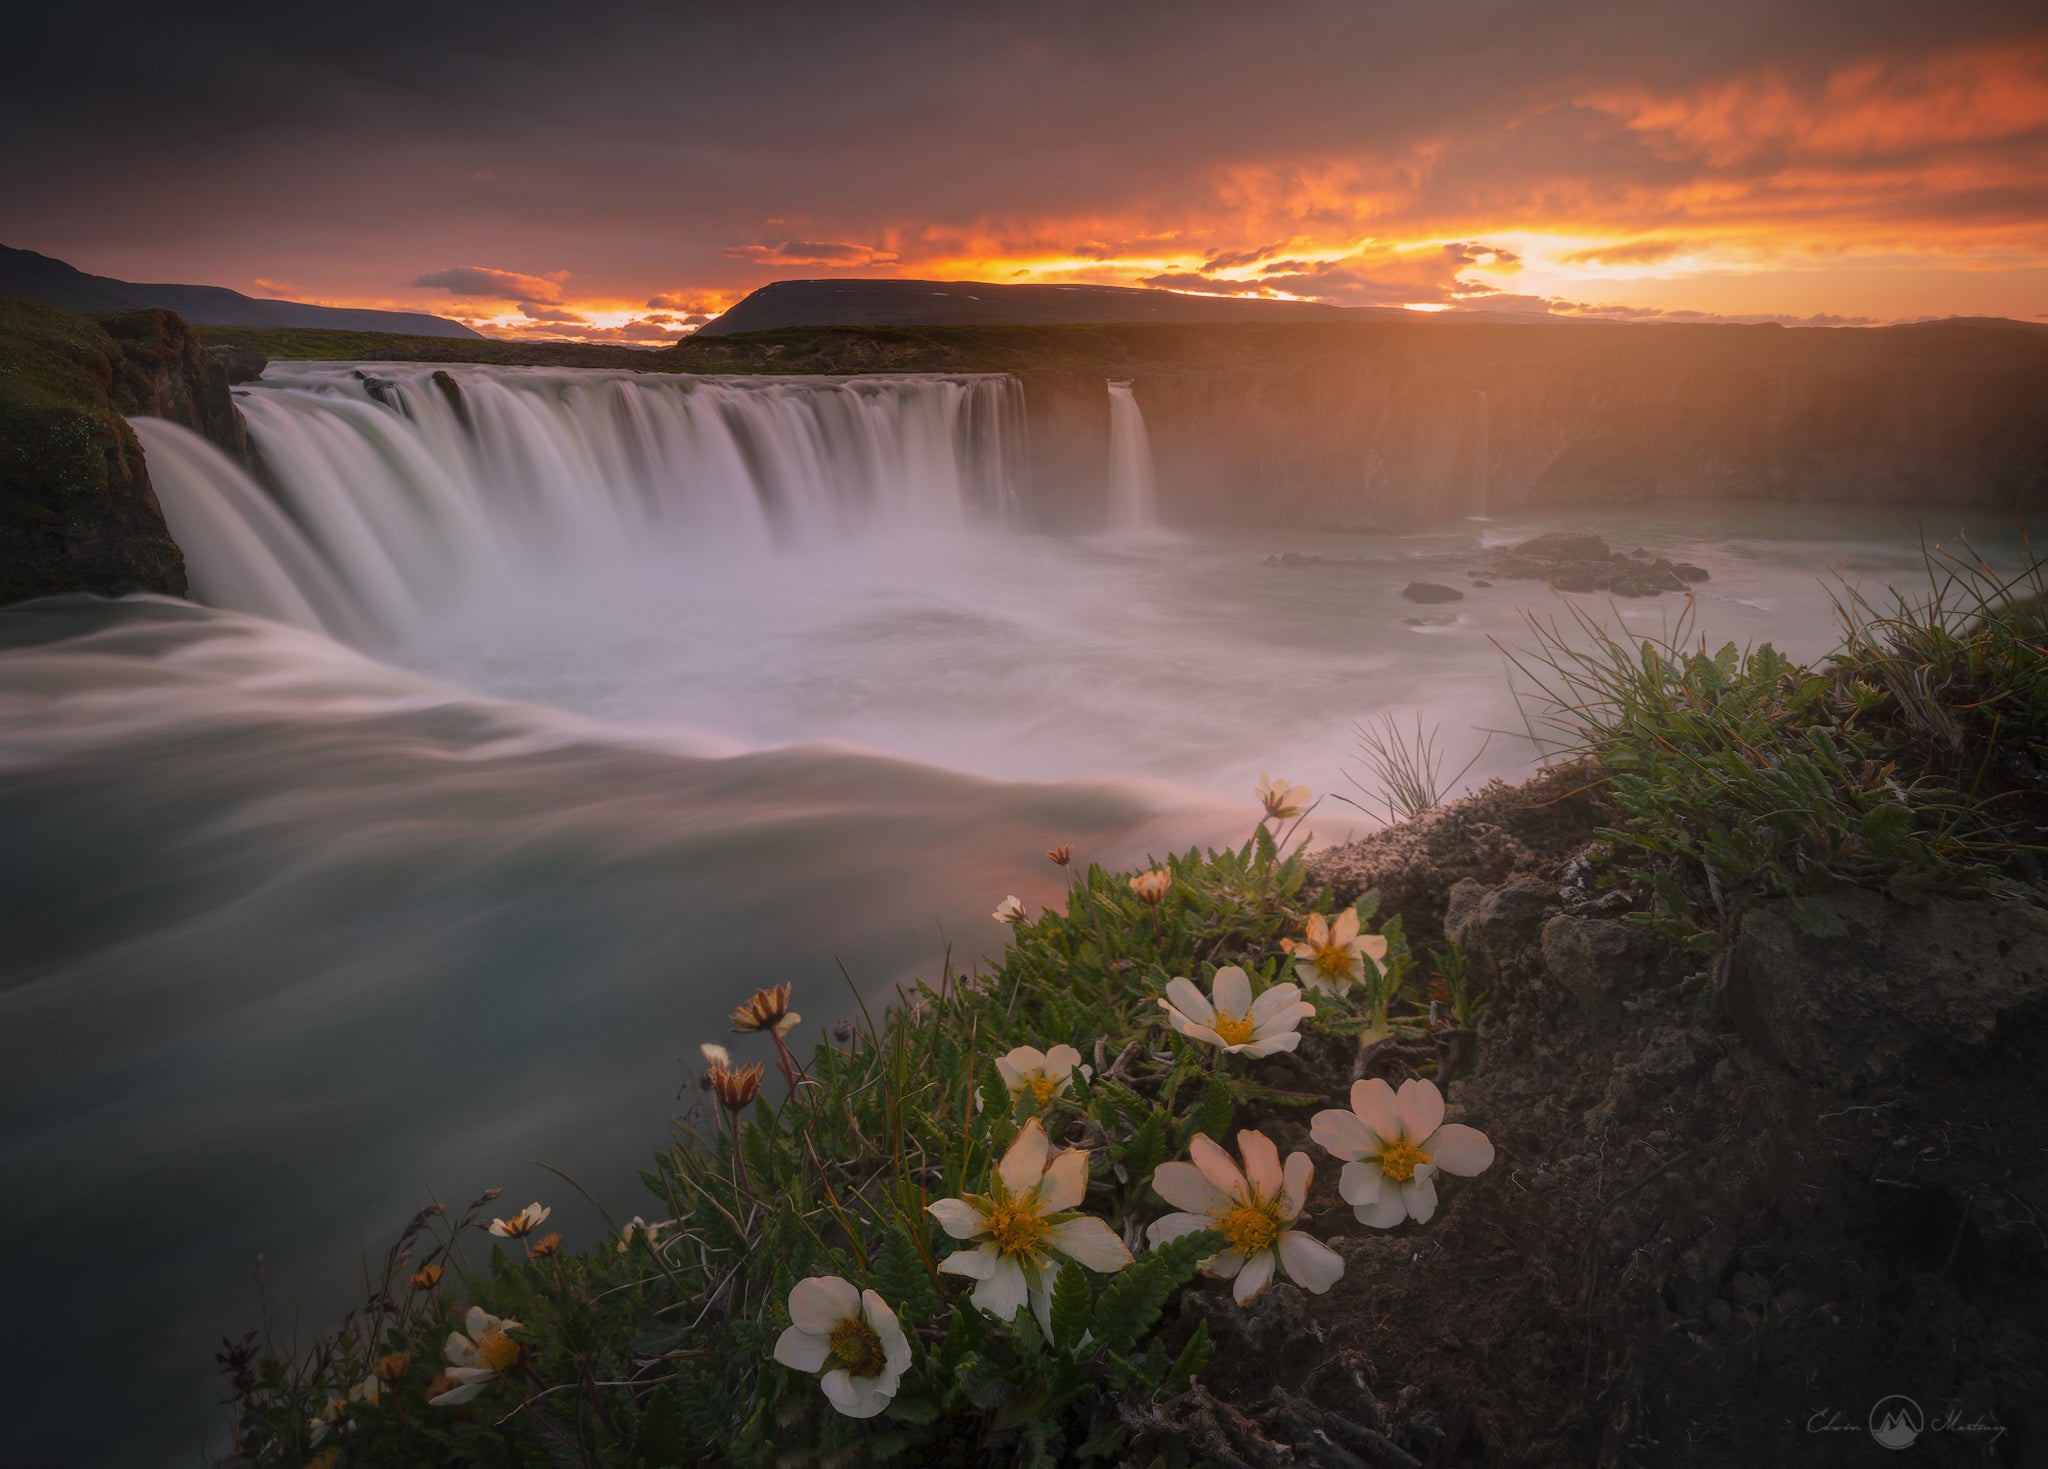
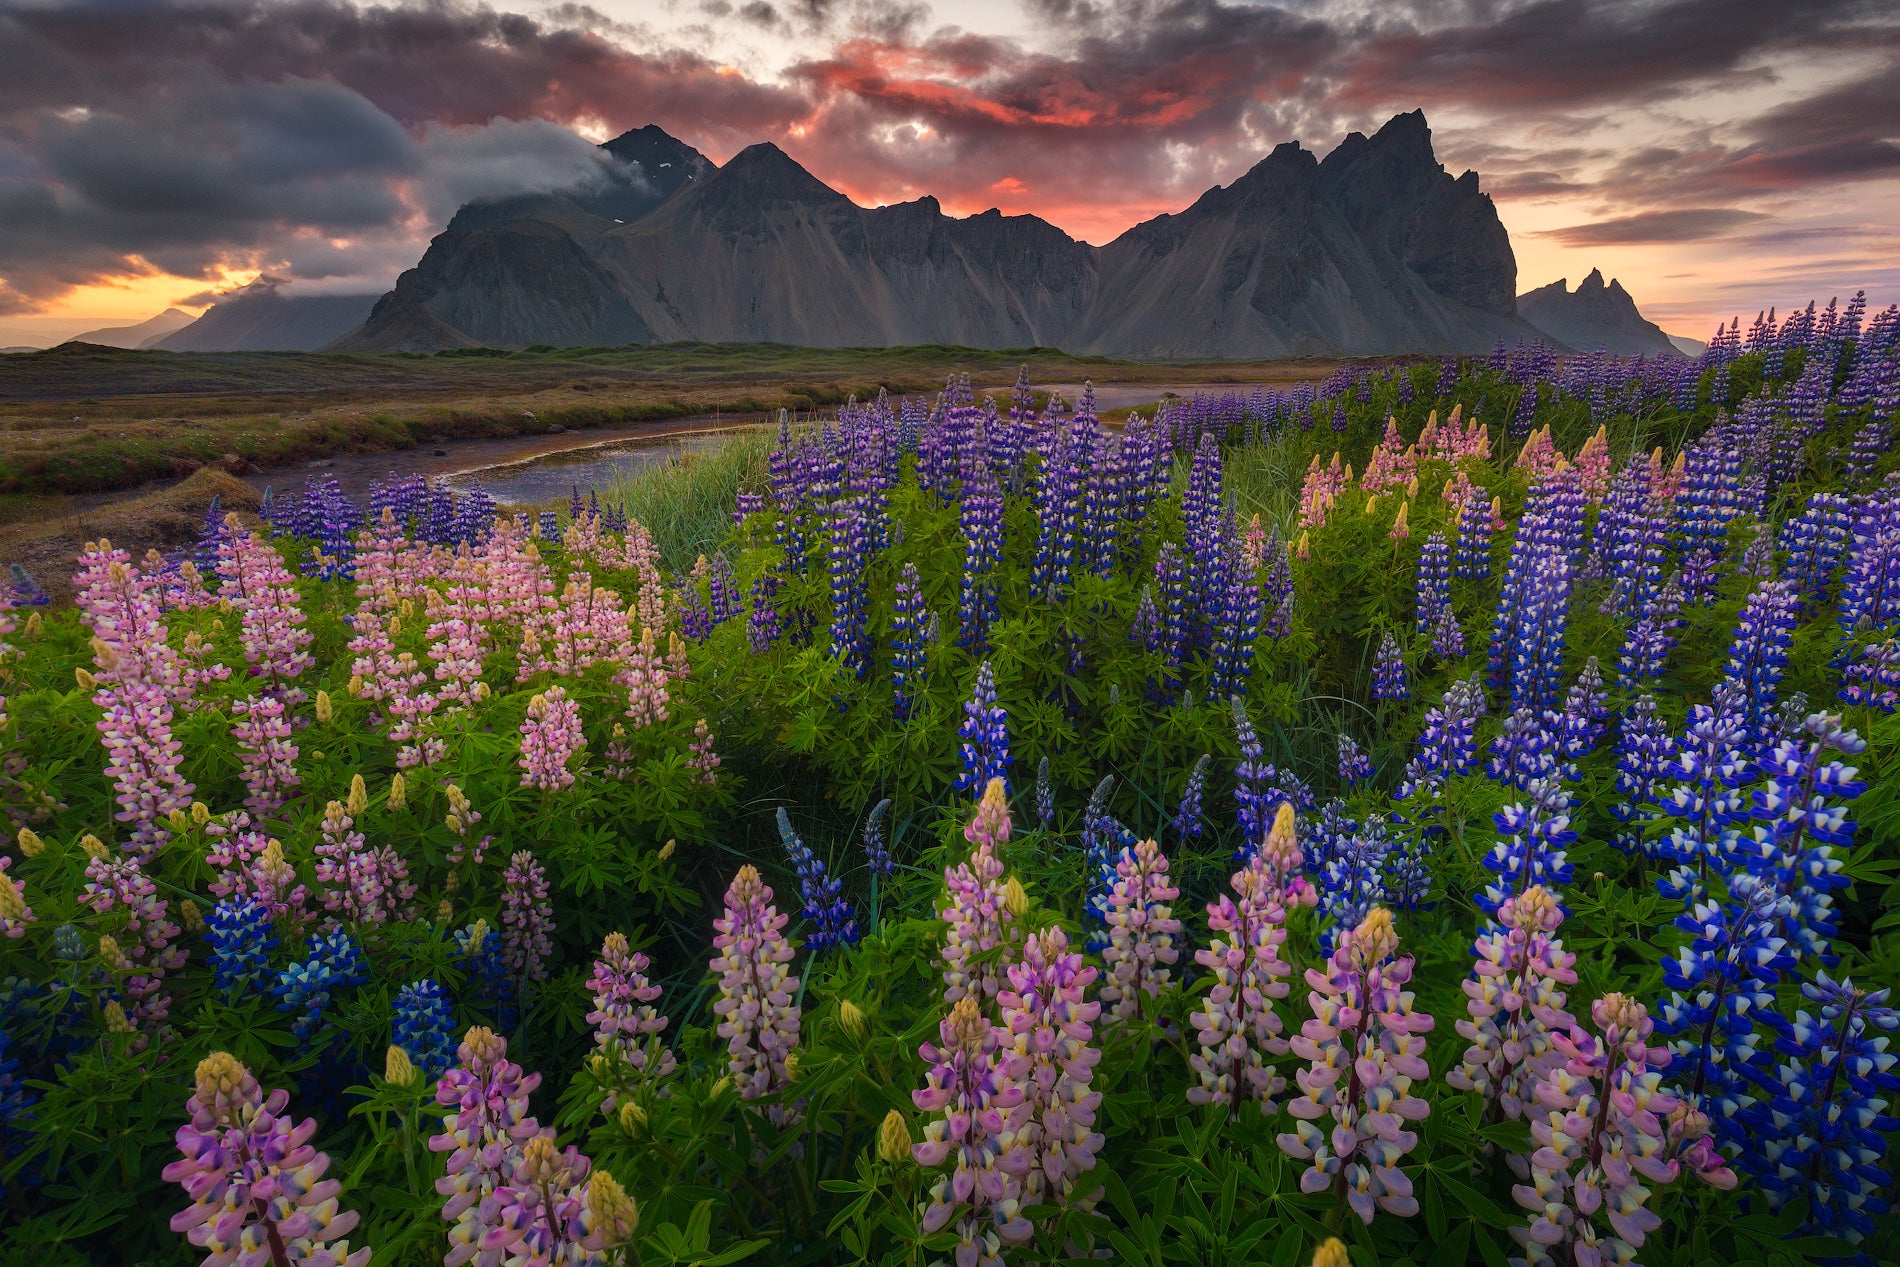
Learn to make beautiful bokeh in the landscapes of Iceland with our award-winning photography guides. Join one of our landscape photography tours and workshops.

