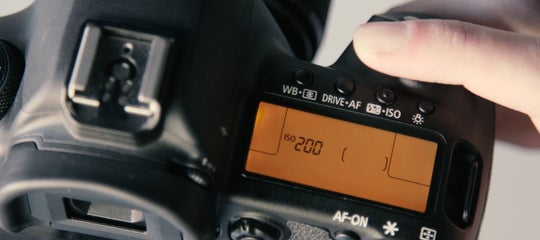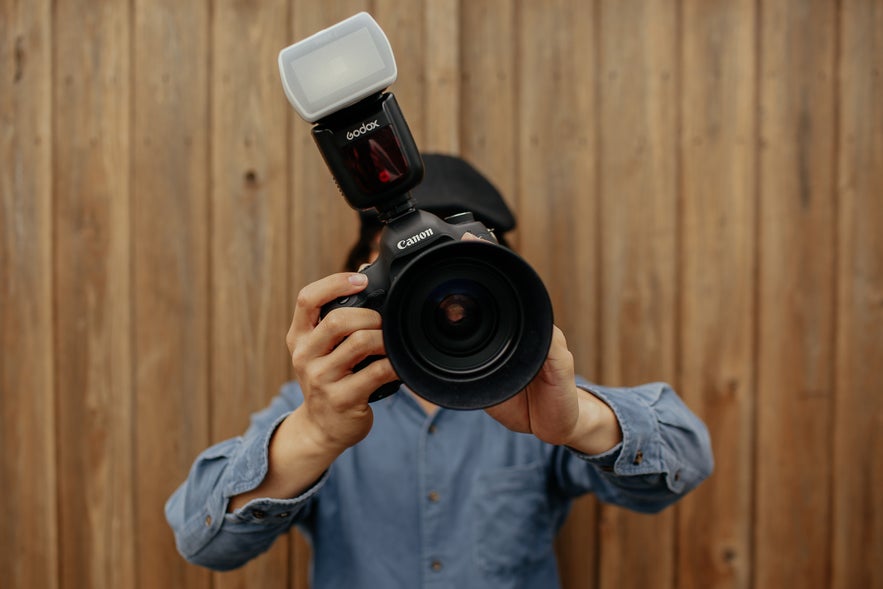
The on-camera flash is a useful way to add light to your scene. These types of flashes are useful for many reasons. They keep your ISO low for event photography such as weddings, freezing movement in your scene and other creative applications, such as adding colour to a scene through the use of gels.
- Check out these Camera & Gear Reviews
- Discover The Best Camera Gear Recommendations for Photography in Iceland
In this article, we will run through what the on-camera flash is while looking at how you can use it successfully to improve your photography.
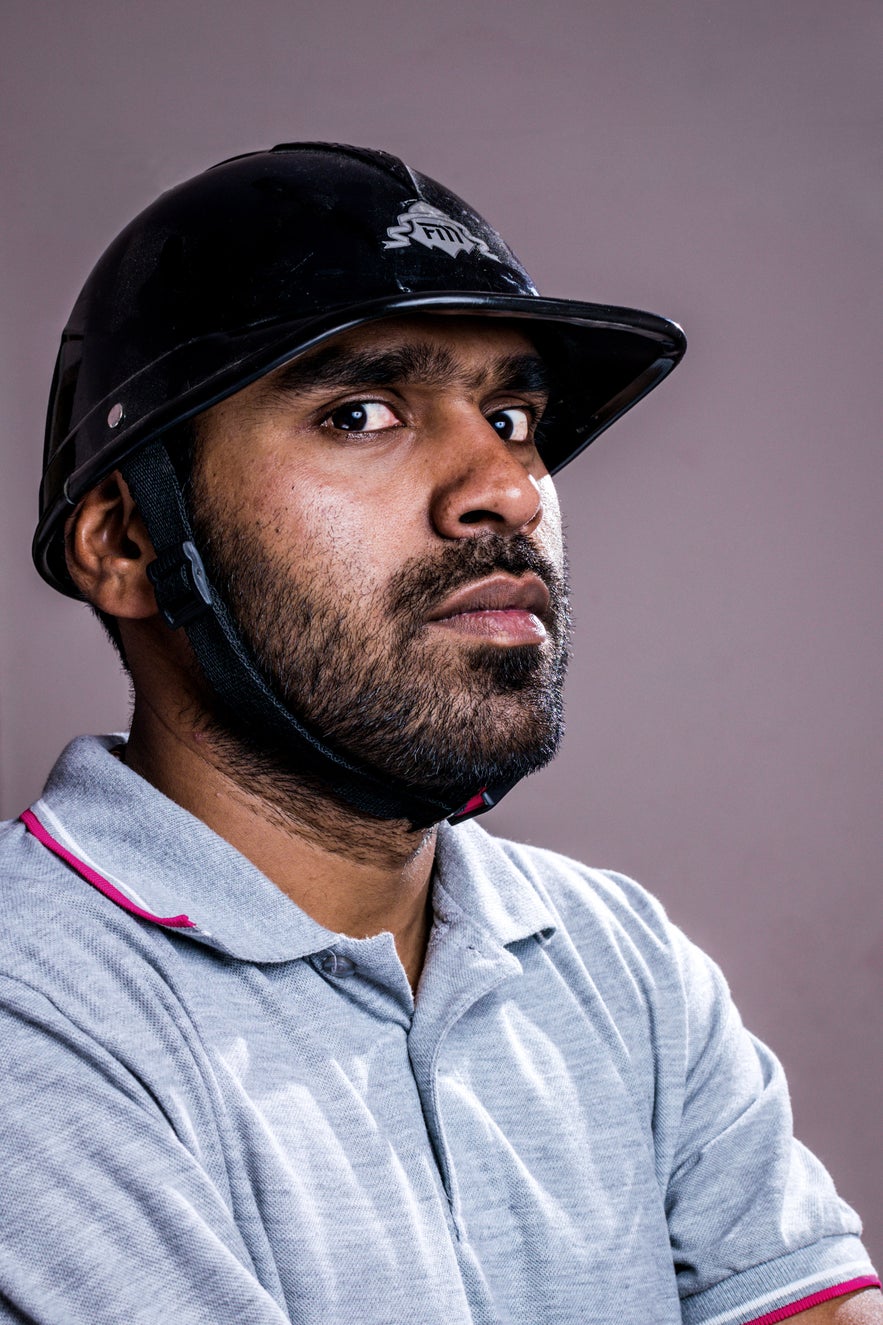 On-Camera flash units help make your portraits pop in low light situations. Photo by: 'Mohan Murugesan, Unsplash'.
What is the On-Camera Flash?
The on-camera flash is an external flash unit or speedlight which can be attached via the hot shoe, which you'll find on top of your camera. The flash is placed here as it will sit directly above the scene you are shooting, ensuring a wide coverage of light over your subject. It differs from an in-built flash, which often sits directly above the lens and below the hot shoe, somewhere near the middle of your camera.
Built-in Flash Vs. On-Camera Flash
Most entry-level DSLRs have an in-built flash on the body. In-built flashes are useful because they don't add any weight to your camera and lens system, whilst giving you the option of having extra light. In addition, they don't require extra batteries to run.
However, direct light from a built-in flash may sometimes result in a flatter image. You can work around the harshness of the light by adjusting the strength with homemade diffusers.
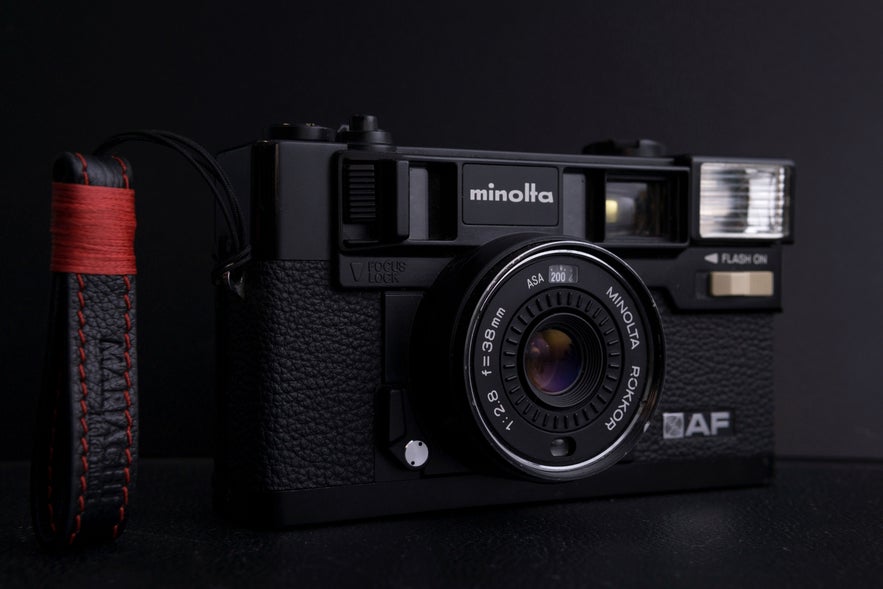 In-built flash on a Minolta camera. Photo by: 'Fuyong Hua'.
You will have more control over your lighting when you use attach an external flash onto your camera. There are many existing products available which allow you to add coloured gels and to diffuse the light on an external flash unit, which means that you won't have to make your own. On-camera flash units also tilt and turn, which will allow you to bounce the light on other surfaces. This is something which you definitely cannot do with a built-in flash.
Perhaps one of the only downsides is that you'll need to purchase extra batteries for an on-camera flash. However, this means that it won't use up battery power directly from your camera.
How Does an On-Camera Flash Differ from Off-Camera?
Some photographers prefer to use off-camera flash units. These stand to the side, above or below the camera. There are many reasons which you might want to use these, though the main purpose is usually to add shadows and depth into the scene.
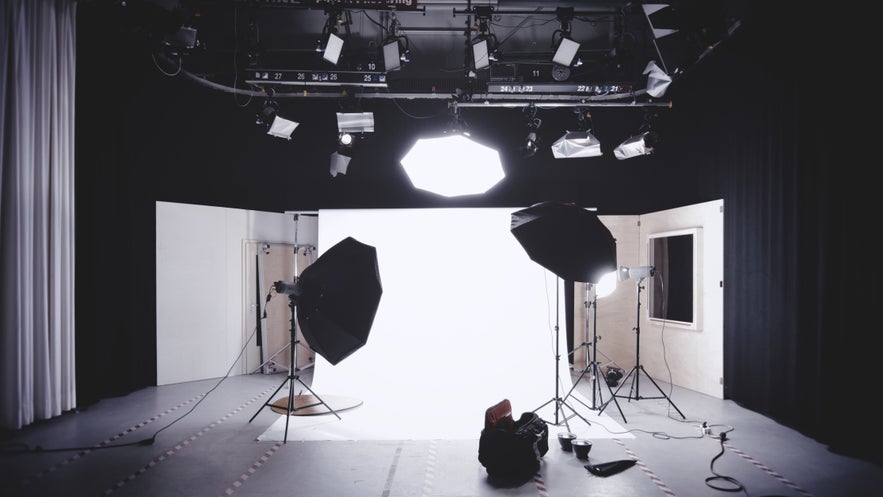 Off-camera flash units set to bounce off umbrellas. Photo by: 'Alexander Dummer'.
Why Use the On-Camera Flash?
Direct light from your camera can be helpful in many ways. First of all, having the flash unit sitting on your camera means that wherever you point your lens, the light will be ready to fire. You won't have to think about moving it, re-metering the light or testing it again and again.
For event photography, such as weddings, the flash can help to add light where it is needed. This will allow you to maintain a lower ISO, resulting in images with better quality.
Apart from adding light, a flash can freeze a moving subject in your scene. For example, if you were to pan your camera to capture a moving cyclist, then a slow shutter speed will blur the background whilst a flash will help to keep the subject sharp.
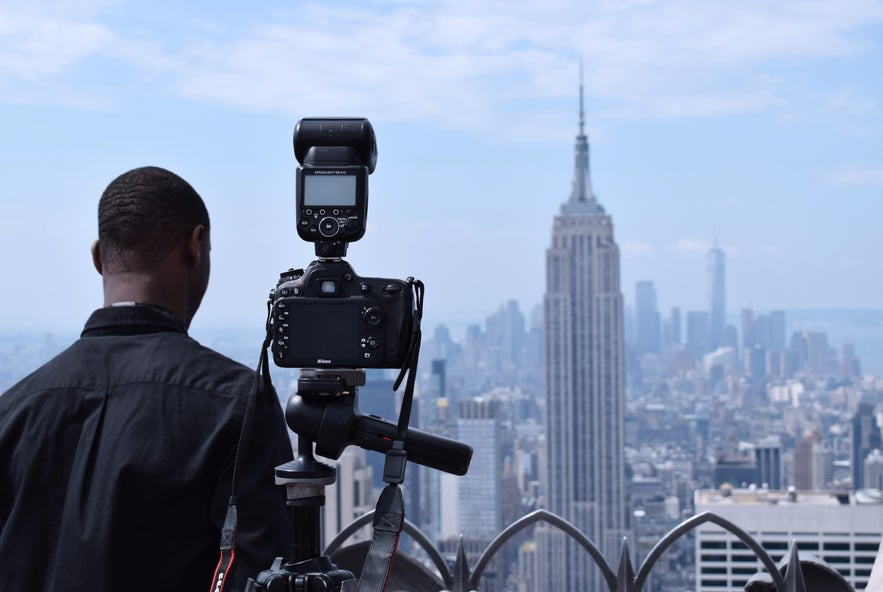 On-camera flashes are not only for portrait photography - they work across most photography genres. Photo by: 'Chris Barbalis, Unsplash'.
On-Camera Flash Range
On-camera flash units have what is called a 'maximum range', referring to the closest and farthest distance at which they can add light to your scene. The guide number of your flash will let you know how much distance the light will cover before it falls off and fails to light the scene or subject.
As an example, the guide number for a Canon Speedlite 430 EX II is 4.6 metres at an output of 1/64 and 141.1 metres at an output of 1/1. By changing the power output, you can shoot a subject at 4.6 metres away, though anything closer will be overly lit. You can also capture a subject at 141.1 metres away though anything further will be not be lit properly.
- See also: Beginner's Guide to Camera Settings
What is ‘Sync Speed’?
When a camera captures a scene, it does so by using two mechanical curtains. The first curtain opens so that light can pass through, while the second one closes it. The speed at which these curtains open is set by your camera’s shutter speed.
A faster shutter speed, such as 1/2000th sec, means that the second curtain will begin to close before the first curtain has fully opened the shutter. This results in a small amount of the scene being visible at any given time while the camera is capturing a scene.
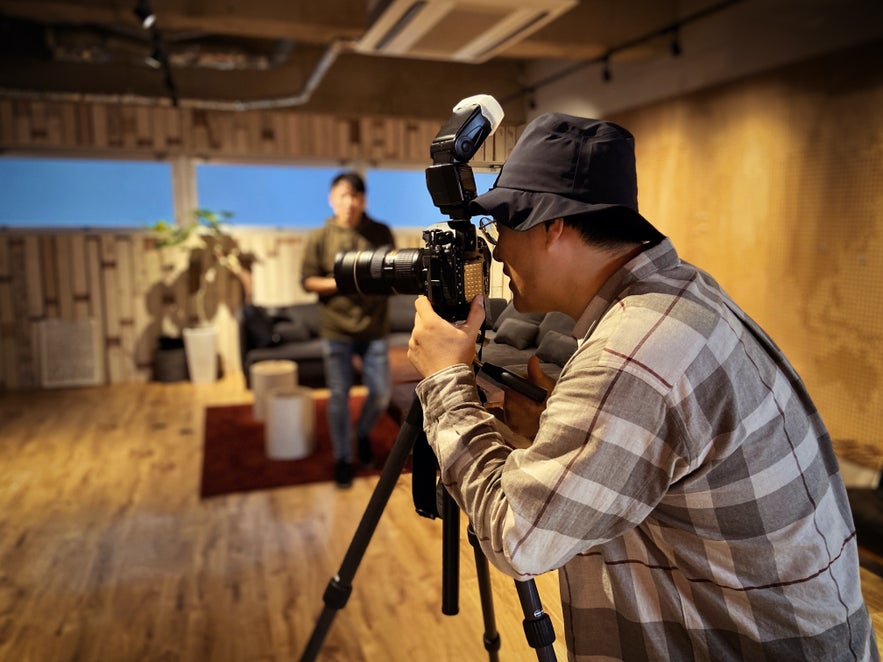 Bouncing the flash allows you to spread out where the light falls, while lowering its strength. Photo by: 'Xtra Inc, Unsplash'.
If you use a flash with higher shutter speeds, then only a fraction of the scene will be lit by the flash. This can result in a band of overexposure on the part of the sensor which has caught the light. Due to this, each camera has a maximum sync speed, as anything faster will result in an incorrectly exposed scene.
The Canon 5D Mark IV has a maximum sync speed of 1/200, allowing you to capture a scene at a slower speed but not faster.
- See also: The Best Camera Bags for 2020
What is the Difference Between Manual and TTL Mode?
An on-camera flash can be used manually or with TTL (through the lens) mode. By using it manually, you will be free to raise or lower the power of the flash, based upon the result. In manual mode, the power that you set is regardless of the settings on your camera.
Most flash units or Speedlites will go from full power (1/1) to minimum power (1/64), whereas others can reach 1/128 or even 1/250.
 On-camera flash is a perfect fill-in light solution for a scene with an abundance of natural light. Photo by: 'William Bayreuther, Unsplash'.
The TTL mode will decide the power of the flash unit based upon the camera's metering system. Here, the flash and camera communicate, with the camera telling the flash how much power it needs to release. It is based on where your focal point lies in your scene, as that lets the flash know how far away it is.
Usually, TTL lenses let out a small flash before the main one to see if it is enough to light the subject. With this mode, you need to set your flash to the focal length of the lens you are using for the best possible results.
How to Use the On-Camera Flash
Reuse the Same Settings
By experimenting with using your on-camera flash, you’ll soon realise that due to the sync speed limitations, you’ll have to set your shutter speed first. This ensures that you will be using the settings which allow the flash to light your scene properly.
The next setting that you'll have to choose is the ISO. Pick one that is the lowest possible for the conditions, in order to reduce noise. This means that you'll be able to keep the quality of your images as high as possible.
Last of all, you can set the shutter speed. Together, the result will look like this:
-
Shutter Speed: 1/200
-
ISO: 100
-
Aperture: f/5.6
Now you'll have a great place from which to begin the next time that you use your camera. These settings can be programmed into your DSLR, so you'll be able to get there simply by turning a dial.
FEC
FEC (Flash Exposure Compensation) is a great way to increase or decrease the output power of your on-camera flash. If you find that your camera is underexposing the darker colours present in your scene, then adding an FEC value will bring one stop of light into the frame.
Conversely, if your scene is over-exposed, try dropping the FEC by one value. This will reduce the strength of the light from your flash. There are a total of six increments from a zero position; three levels of increase and three levels of decrease.
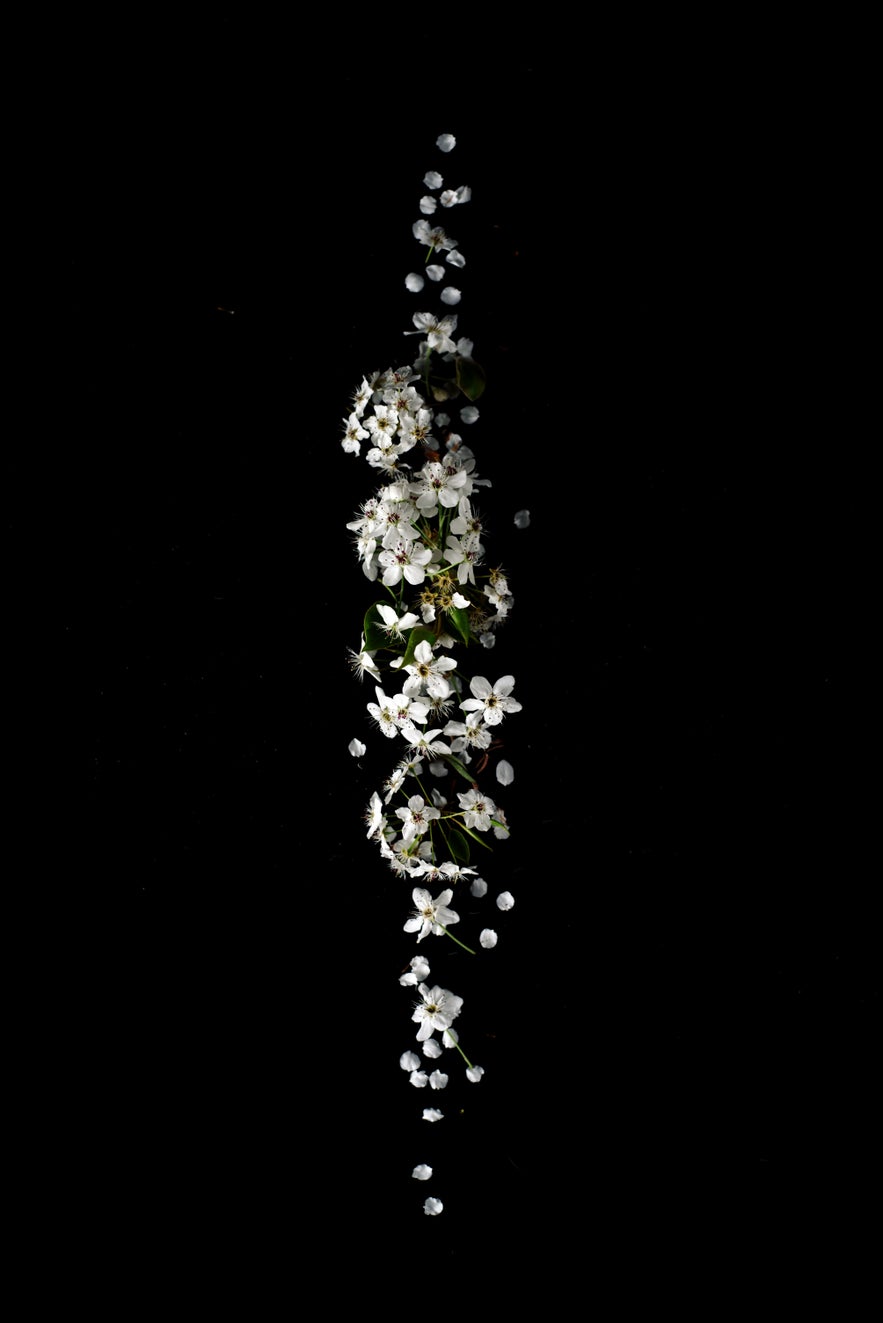 By starting with the same settings each time, you start with a good base to work from. Photo by: 'Zack Marshall, Unsplash'.
The benefit of using FEC rather than your camera settings is that the latter will change how you capture the subject. By raising or lowering a camera setting, you will run the risk of changing the entire scene. Some examples include unintentional blur from the shutter speed, lowering the quality of your image by raising the ISO and altering the depth of field by changing the aperture.
Similarly, if you are looking to change the camera settings intentionally, the FEC value will do nothing to support you except to level out any extreme flash strengths.
The Flash is Too Harsh – What Can I Do?
Bounce the Flash
If the flash is too strong for your scene, then one way to reduce the strength is to bounce the light on the walls or the ceiling. Some photographers even achieve this bounce using a white card. The reason that it works is that bouncing the light forces it to travel further, which reduces its strength by the time it reaches the subject.
Most on-camera flash devices, such as Speedlites, are capable of rotating and pivoting on two different axes. This means that you can swivel and tilt the flash head up to 300° (180° left or right and 120° upwards), so you can bounce the light from almost any wall.
If you find yourself in a situation where you can’t use a wall or ceiling to bounce the light, then using a reflector will give you the same effect.
Diffuse the Flash
To reduce the strength of a flash, try physically taking a step or two backwards. Keep in mind though that there will be a couple of limitations with this option. First of all, you'll end up changing your perspective and the arrangement of objects within the scene. Second of all, you'll need space around you if you want to be able to step away. This technique isn't so great when you don't have time to consider these two variables for every shot that you'll be taking.
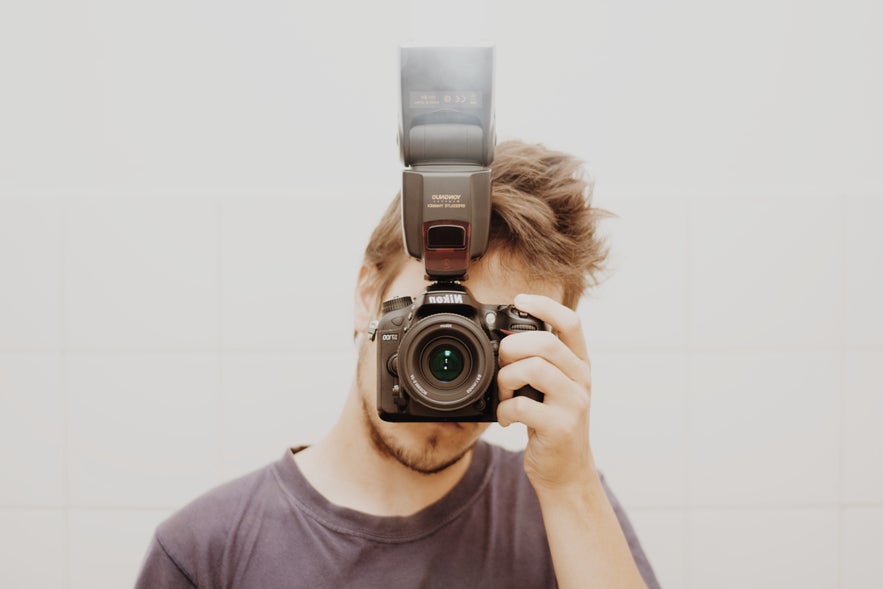 Direct flash light can make your subject look flat - Bounce the light to add some shadows which help make the scene look more realistic. Photo by: 'Luciano Zanollo, Unsplash'.
Diffusing the flash is a much easier option if you are concerned about the amount of light that you will add to your images. An added advantage of using a diffuser with a preset flash power is that you can remove the diffuser quickly, allowing for a stronger flash without the need to change any settings. There are many diffusers that you can buy which will fit over the head of your on-camera flash. They differ in the number of stops of light which they'll reduce, so you can pick which one suits you best.
- See also: Best Lenses for Night Photography
The Flash is Too Spread Out – What Can I Do?
Flag the Flash
Many photographers use on-camera flash units for studio photography. This way, they can limit the gear they need in-studio and for sessions on-the-road. When using on-camera flashes for event and portraiture photography, you may find that the flash illuminates an area that is too wide.
To get around this, try using a flag. I don’t mean a piece of cloth that symbolises your country but rather a piece of cardboard that stops the flash from reaching parts of the scene. If you can imagine horse blinkers, then you’re on the right track. This way, you will have full control over the flash and where it lands.
Use a Snoot
Snoots are very similar to on-camera flags, though they are shaped like a tube. With these, you can stop the on-camera flash from illuminating your entire scene. Instead, the snoot will direct the light exactly where you want it to fall. All you have to do is to attach it to your on-camera flash and you will be ready to go.
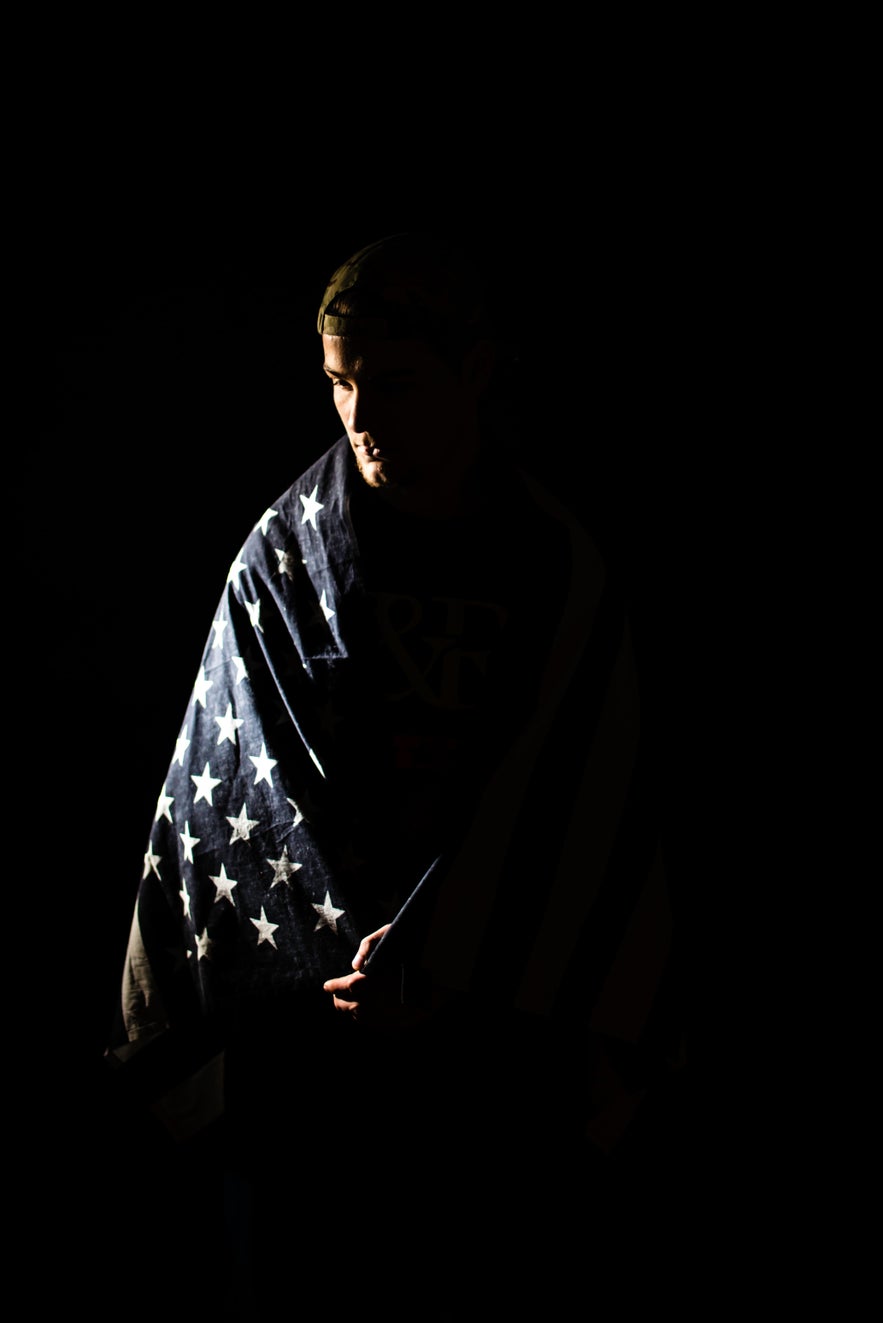 By using a snoot, you can direct the light to a specific area of your subject. Photo by: 'Evie S, Unsplash'.
A snoot can be purchased or made at home with some simple DIY skills and tools.
Other Creative Uses of the On-Camera Flash
High-Speed Sync
We have already discussed sync speed, where the on-camera flash is limited to a maximum speed of 1/200th of a second. Due to this limitation, camera manufacturers have found a way for some cameras to sync at faster shutter speeds. If you are looking for a camera with such a feature, then keep an eye out for ‘High-Speed Sync’.
This feature is very useful for photography fields such as wildlife, sports and those who use telephoto lenses. These fields usually require higher ISO settings and faster shutter speeds. As such, a regular on-camera flash doesn't cut it.
Unlike the normal sync speed, an on-camera flash fires multiple times in very fast succession while the shutter curtain is open. This allows light to enter the scene evenly and exposes it correctly at a faster shutter speed.
Eliminating Ambient Light
An on-camera flash is useful in fields such as creative or abstract photography. It is used to add just enough light without illuminating the entire scene. You can use a combination of an on-camera flash with camera settings to eliminate any ambient light. This technique works in any situation, at any time of the day.
First, you need to adjust the settings of your camera so as to capture a black image. This may sound counter-intuitive but you will basically be removing any ambient light from the scene. Keep your ISO as low as possible (at ISO 100 or thereabouts) and raise the shutter speed until the image is black.
This is where you will add in your on-camera flash with full control over where the light lands. For a moody image, use a dark background or setting. If you want to add a little ambient light into your scene, lower the shutter speed until you reach your desired effect.
About the author: Craig Hull is a freelance photographer and videographer based in Eastern Europe. You can find more of his work on his website or by following him on Facebook and Twitter.
Do you have any other tips for using an on-camera flash? What are some of the challenges that you've had to overcome with using an in-built flash as opposed to an external flash that you attach to your camera? Share your thoughts by leaving a comment below!

