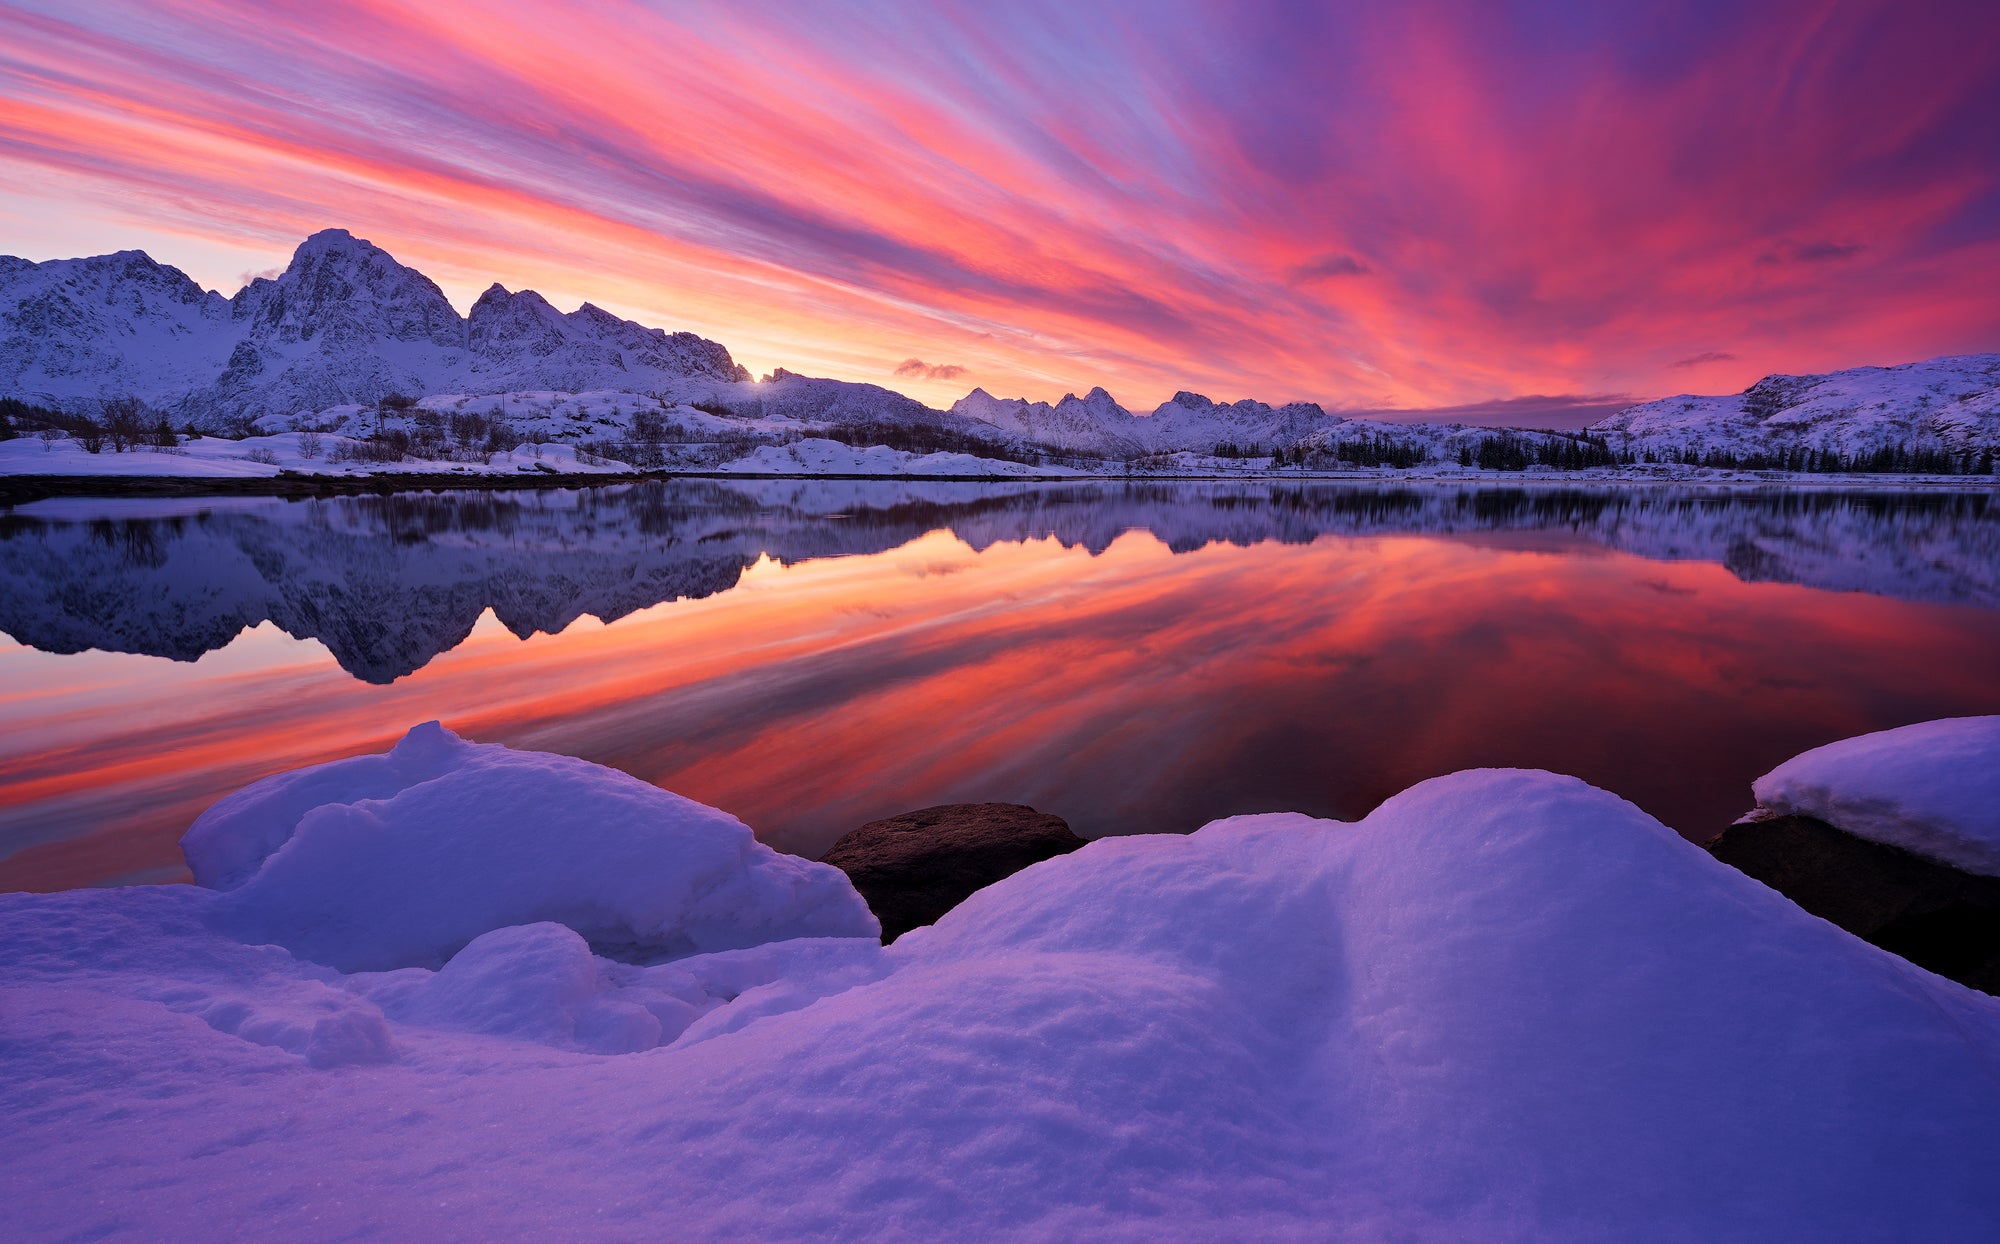
Over the last five years, there has been a big shift in the approach that we have had to take as landscape photographers in order to get as many eyeballs as possible to look at our imagery.
- Discover How to Make Money as a Landscape Photographer
- Learn all about How to Make Mesmerising Minimal Photography
- Join us on this 6 Day American Southwest Photography Workshop
There have been times when other platforms have had a better reach in terms of getting our work seen, though for a while now, it’s definitely been the case that Instagram is the platform with the most active users. If you’re a landscape photographer, then it’s important to have an Instagram account, especially if you want to show your work to the most people that you can actively reach.
In this guide, you will learn some strategies that you can apply during your use of Instagram that will allow you to quickly gain traction in terms of followers. Before you know it, you will be surprised about how many reactions your work receives.
Why You Should Create an Instagram Account
Many landscape photographers avoid entering the Instagram arena. The reason seems to be a belief that the viewer will not be likely to see the details of their photos on the tiny screen of a smartphone.
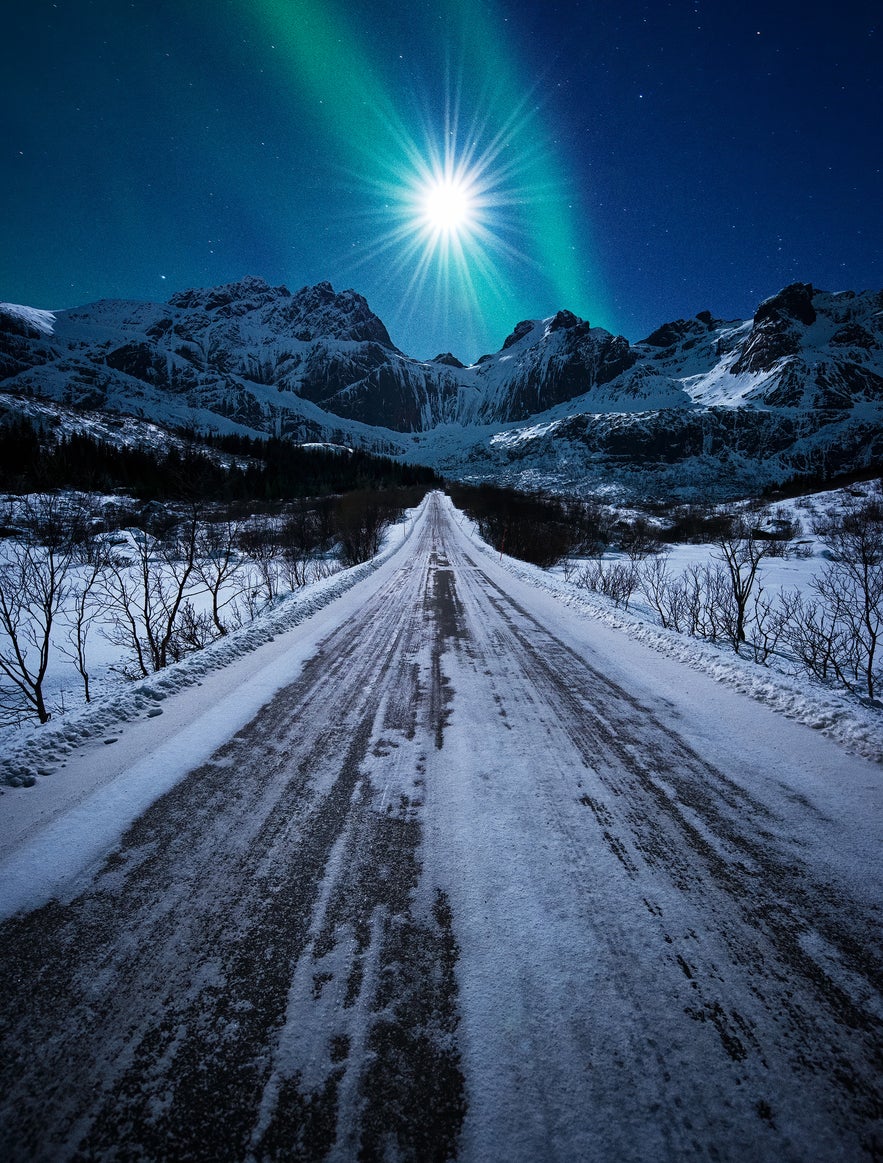 It's a great idea for landscape photographers to make an account on Instagram. Photo by: 'Felix Inden'.
While it is certainly the case that smartphones are not the best tool for viewing landscape photography, there is one significant benefit to making an account on Instagram. That is, no matter how small your image may appear once you post it, it will potentially be seen by many more people than would be the case on any other imaging platform. After all, it’s the year 2019 and most of us spend a significant amount of the day using our smartphones.
This single benefit outweighs all of the cons and is why nowadays, almost every single landscape photographer in the world has a presence on Instagram.
The Science of Instagram
It can be frustrating when you first start posting your work on Instagram. You may feel like it’s difficult to get people to look at your photography, particularly when there are so many amazing pictures posted every second by users all around the world. You might even think that the more users there are on Instagram, the harder it will be for your work to shine through the masses of other images out there.
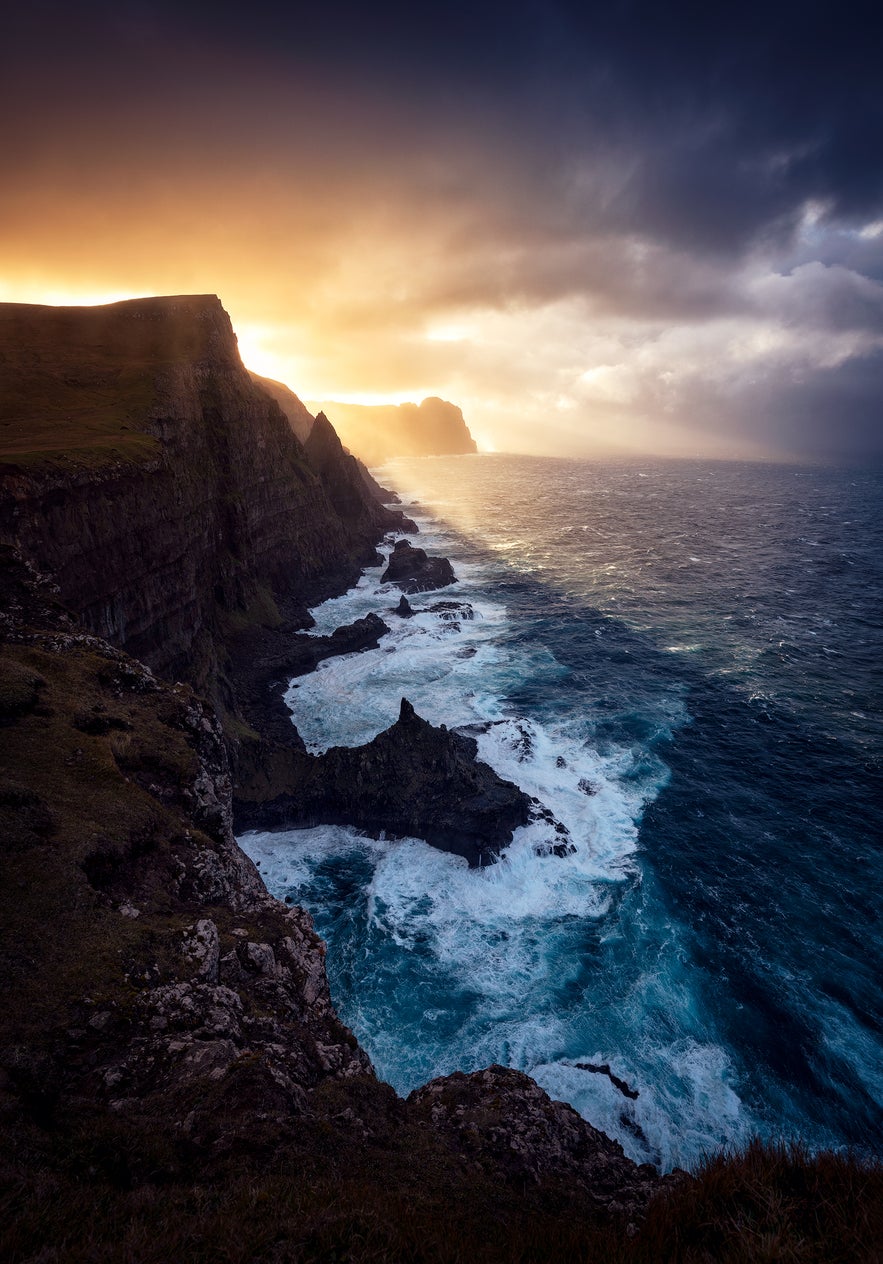 Building up a presence on Instagram is not easy but the rewards can be great. Photo by: 'Felix Inden'.
Building up a presence on Instagram in a time when the platform is controlled by the ominous and legendary “Instagram algorithm” is not as easy as one might hope. You will need to invest your hard-earned time to gain a bit of traction.
So follow these tips, be patient and even more important is to be consistent. Things will align. You gotta be in it to win it!
How to Grow Your Instagram Following
Tip #1. Use the App Productively
There are many myths out there about the Instagram algorithm and countless guides on how to get your work seen or how to increase your reach. I have been watching with interest how things have been changing on Instagram so if there’s one thing that I know for certain, it’s that no one will ever know how to control the algorithm as it is constantly changing.
 Use Instagram productively to get your work seen. Photo by: 'Felix Inden'.
What seems to have remained consistent is the need to spend time using the app productively. This contributes to your account being marked by the Instagram algorithm as one which makes interesting posts – an account which should be shown to others instead of being buried amongst the bazillions of images that are posted every day, hour, minute and second.
By “using the app productively”, I mean that you should be looking for interesting content and then engaging with it. When you find an image that appeals to you, tell the photographer what you think about the image by leaving a comment. The more that you elaborate upon your comments, the more likely it will be to grab the attention of other people.
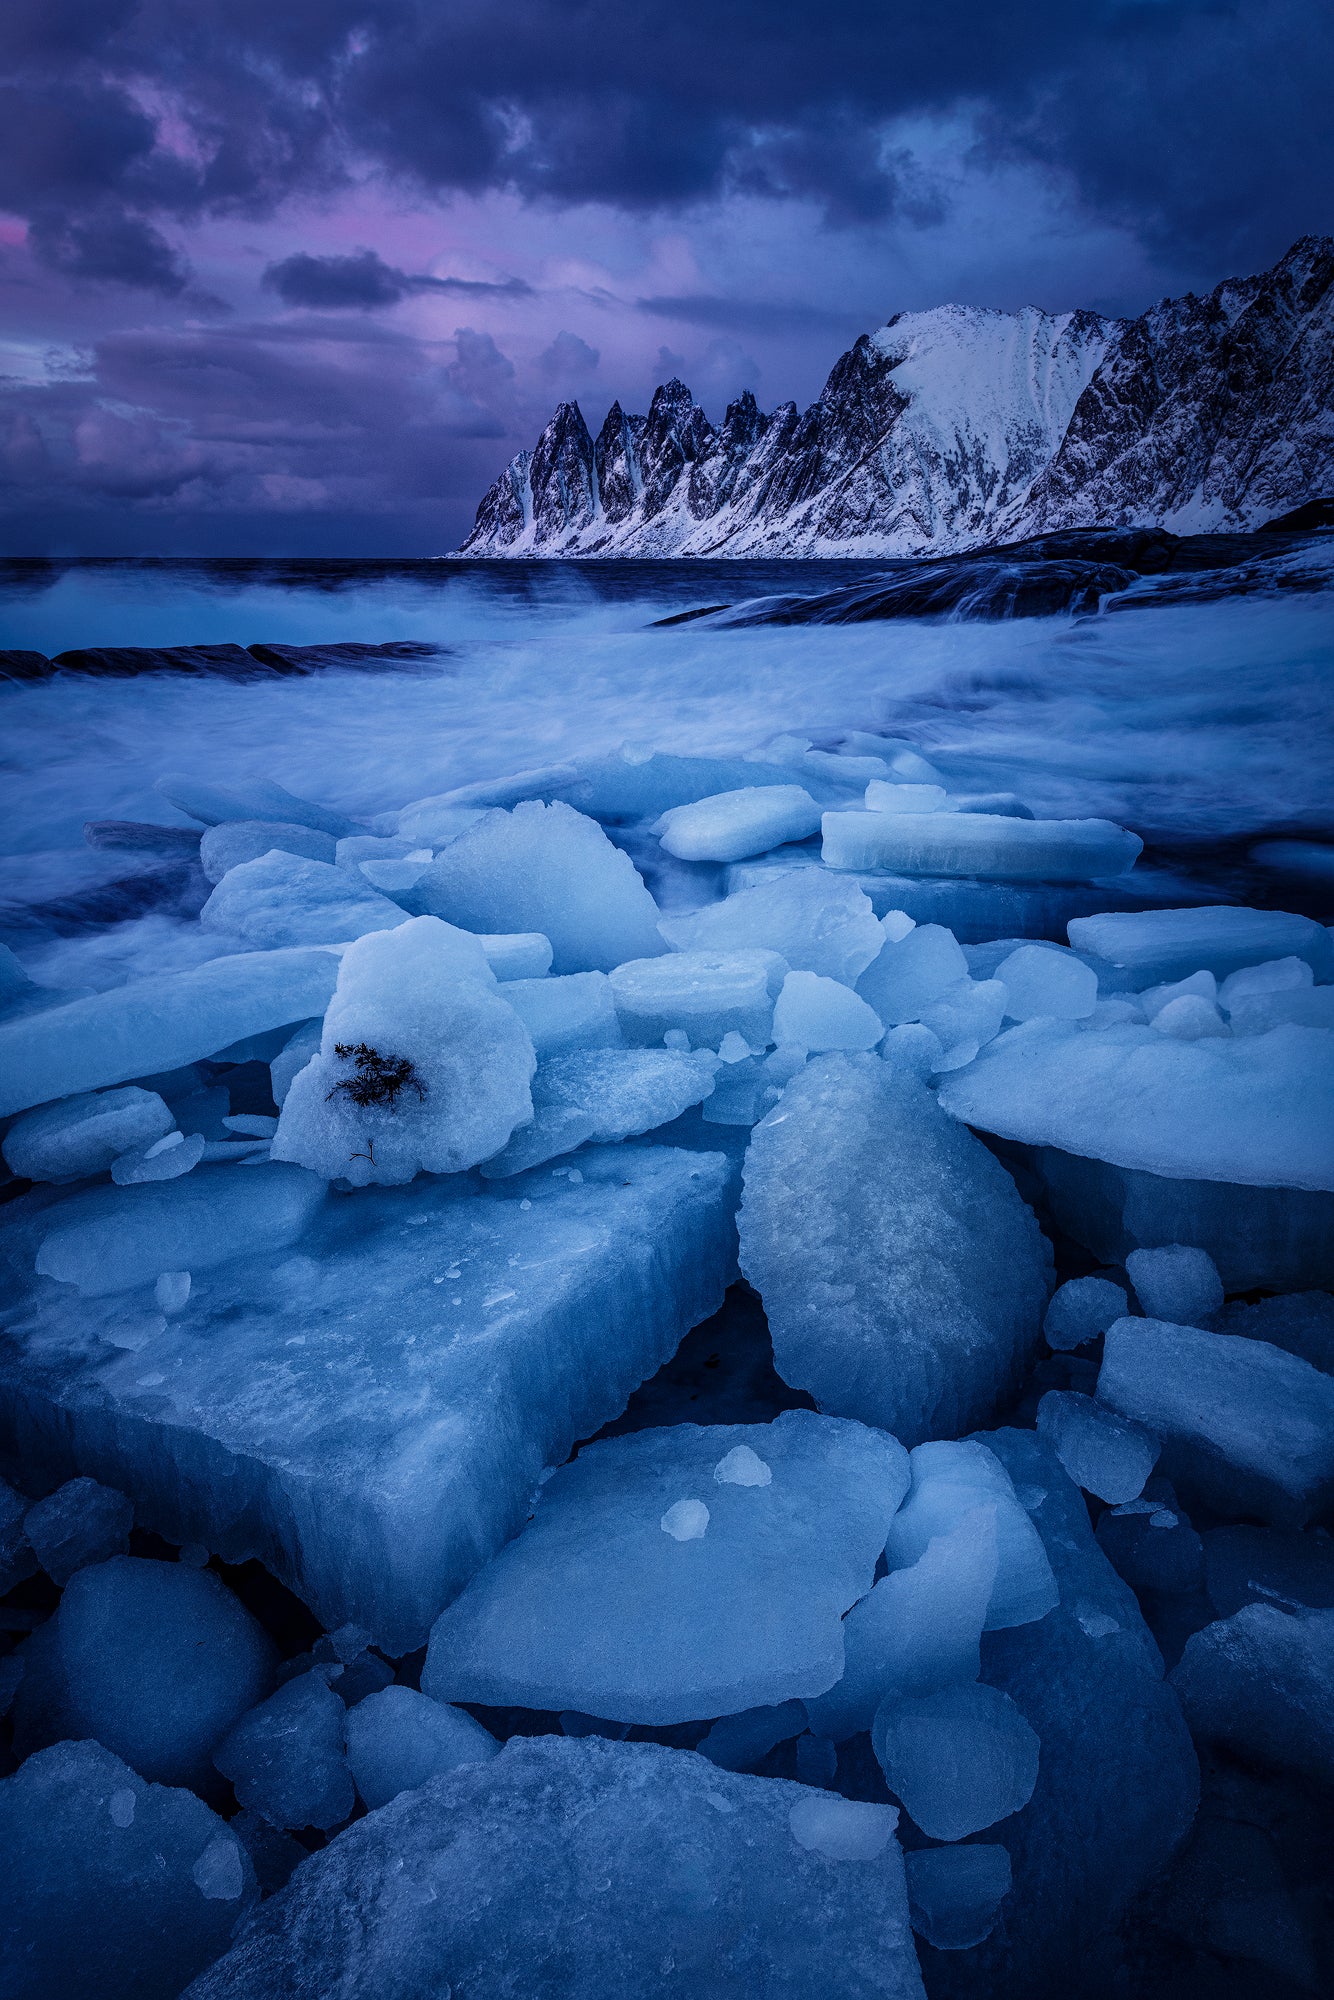 Commenting is a good strategy on Instagram. Photo by: 'Felix Inden'.
While commenting on other people’s work is a great way of catching the attention of the Instagram algorithm, it is also a good strategy to being noticed by others. When they see your name popping up often on their screen, they will be more likely to remember you and your images.
Even though there may be more photos on Instagram that you can look through in your entire lifetime, some people will follow your account to see your work – not only because they like what they see, but because they want to know more about you and they enjoy engaging with you.
Tip #2. Post Regularly
It is important to keep posting frequently on your Instagram account, particularly at the beginning of your Insta-career. The more that you are able to post, the better.
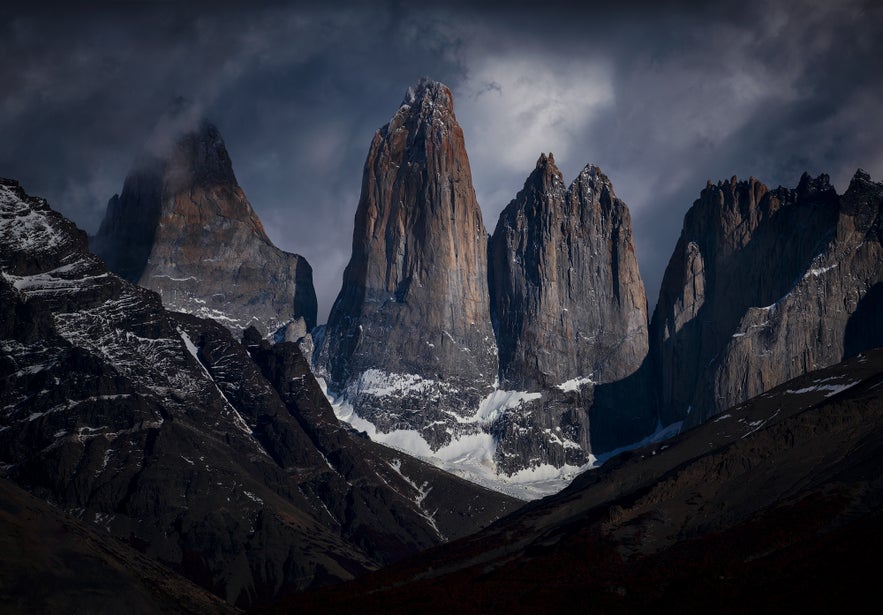 Post often on Instagram to get your work seen. Photo by: 'Felix Inden'.
This may not be easy for landscape photographers, as our work often requires a lot of time spent post-processing. In addition, not many of us have huge amounts of time to set aside for editing images every single day. When we have to add posting on social media into the mix, it can leave us with very little time to spend on ourselves.
To get around this hurdle, develop a plan for posting and prepare the images accordingly. If you have a huge body of work, then posting daily is a great idea. If you don’t, then you should still try to post at least 3 days a week.
Tip #3. Post at Appropriate Times
Although it can feel exciting once you’ve finished working on an image and you’re itching to post it to Instagram straight away, it’s important to be aware of what time it is in other locations around the world. This is because the time that you post can have a significant effect on whether your images will be seen.
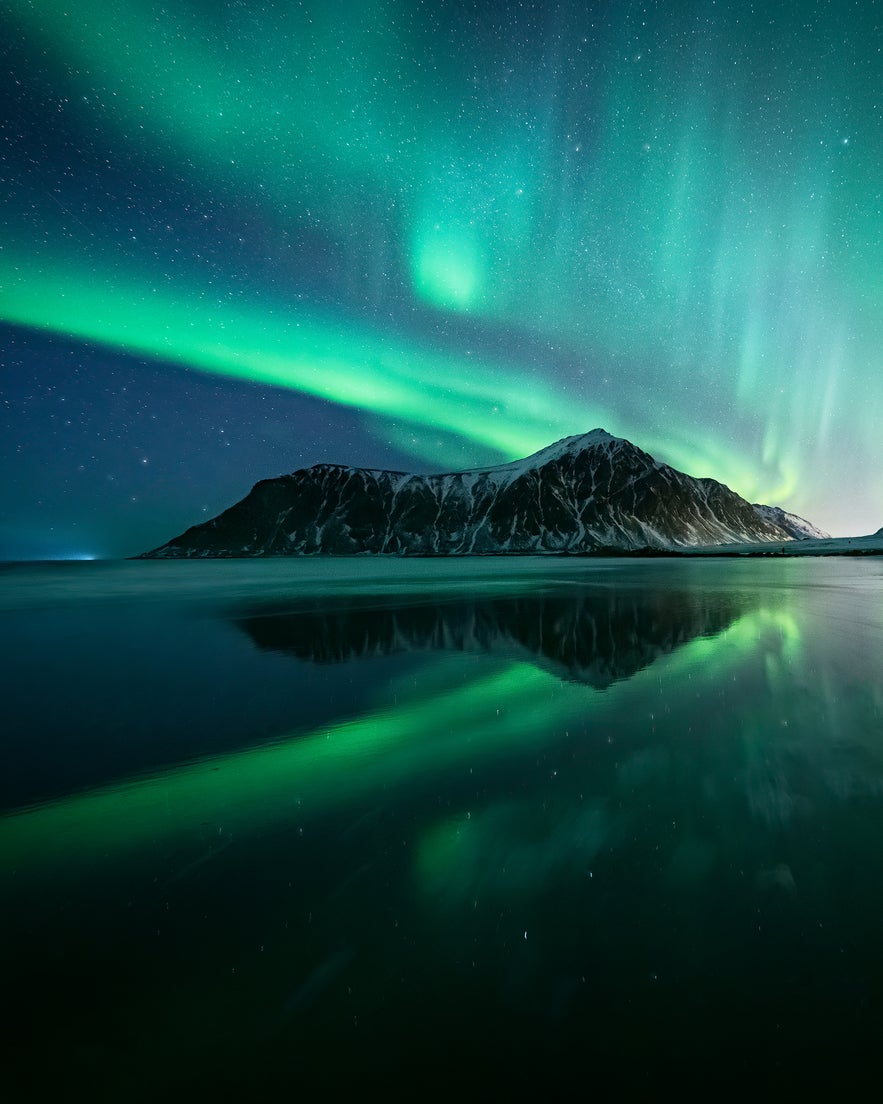 Post at appropriate times to ensure that your work will be seen by others. Photo by: 'Felix Inden'.
If you live in Europe and you post in the middle of the night without having a follower base that is situated somewhere else on the planet, then it’s likely that your image won’t be seen nearly as often as if you would have posted in the morning, around noon or in the evening when your European followers would have been active on Instagram.
It’s also important to note that your images are more likely to gain traction within the first few hours after posting, so if it hasn’t been seen by many people, then it’s likely that it won’t be selected by the algorithm to show up in anyone else’s feed.
Tip #4. Use #Hashtags!
If you’ve already been using Instagram for a while, then you might know the importance of hashtags already. However, if you’re just starting out, then you may not have heard what hashtags are all about.
I still see many people from other photo-sharing networks (who produce amazing work) posting their images on Instagram without using any hashtags. The result is that they don’t gain any traction at all, even months after starting an Instagram account.
Hashtags are essential to getting your work seen by others within an otherwise endless ocean of images. To use them to their full potential, you need to understand how they work.
What is a Hashtag?
A hashtag is a type of metadata tag used on social networks, such as Twitter, Instagram and other microblogging services. They allow users to apply dynamic, user-generated tags which in turn, make it possible for others to easily find messages with a specific theme or content. In this way, you can get your work seen by people who have similar interests as to what you’re posting.
Tags are created by users and involve placing the number sign or pound sign ‘#’ in front of a word or unspaced phrase in a message. The hashtag may contain letters, digits and underscores.
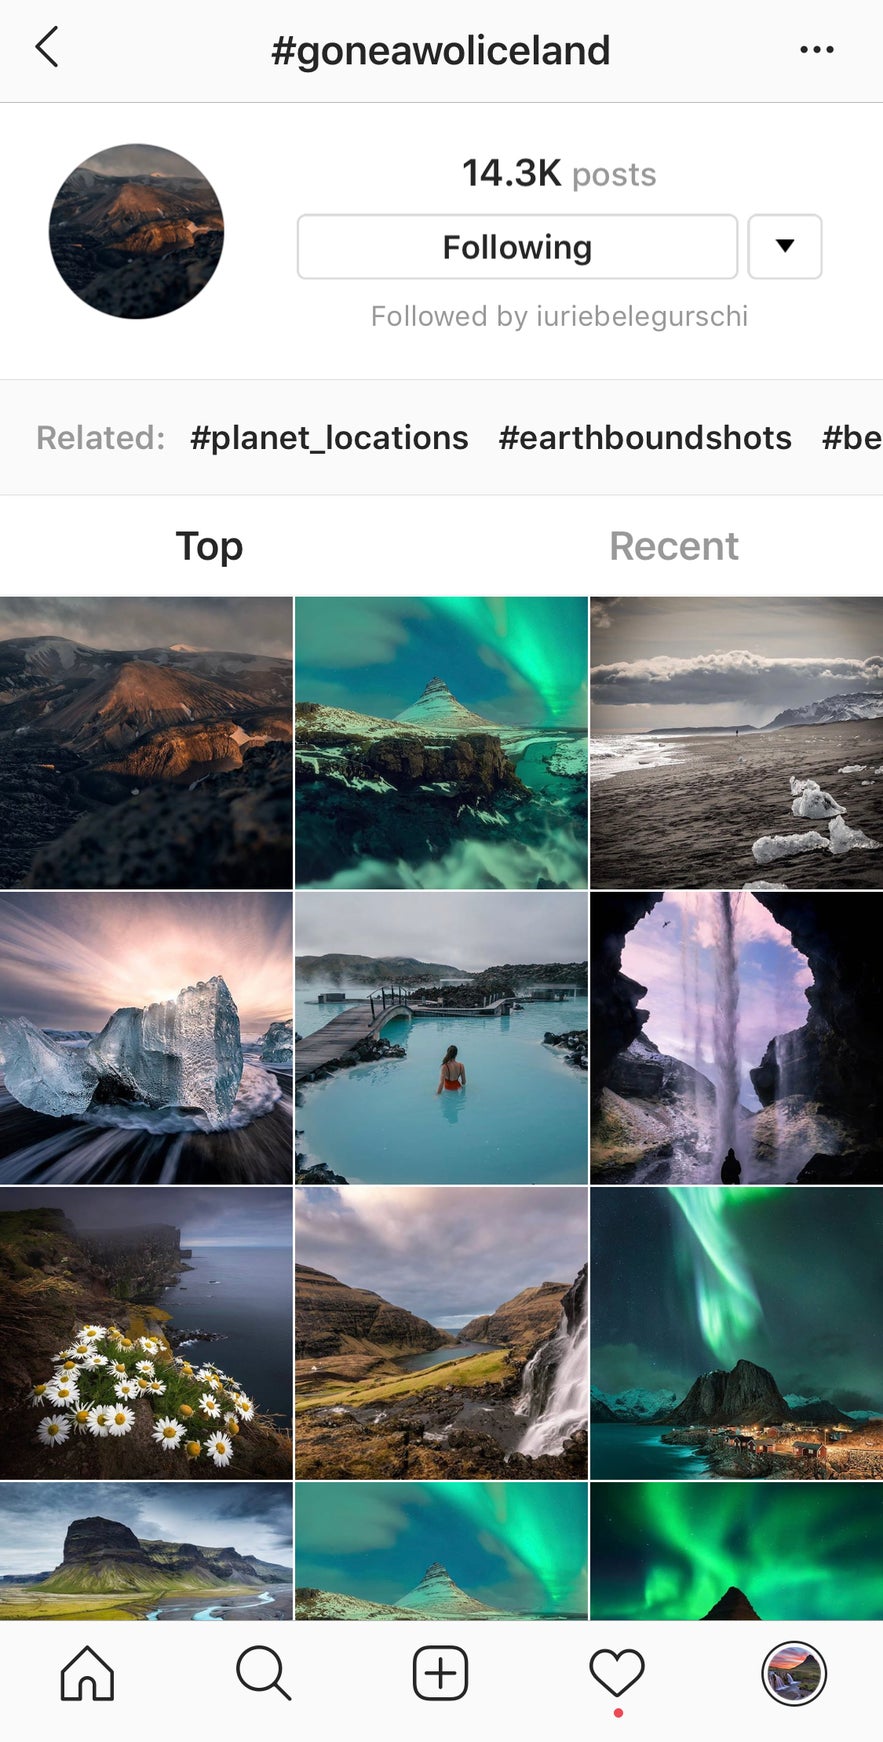 The Iceland Photo Tours hashtag, #goneawoliceland. Photo by: 'Iceland Photo Tours'.
Searching for a particular hashtag will yield each post that uses it. A hashtag archive is consequently collected into a single stream under the same hashtag. For example, on Instagram, typing ‘#bluesky’ into the search field will allow users to find all of the posts that have been filed under this hashtag.
As landscape photographers, we want to use hashtags to get our work seen by people looking for images of a certain niche. One of the biggest potentials of using hashtags is that if your images gets shown to many people looking for interesting things within that niche, then a lot of eyeballs may be directed to your work. This will also bring you more followers.
There are popular hashtags that are used very often and others that don’t get used as much. Using well-known hashtags such as #landscape (which has around 100 million tagged images), #sunset (200 million) or #nature (400 million) will not be effective, unless you are already receiving thousands of likes on your shots in a rather short amount of time. Your hashtagged image will simply disappear from the tag list within seconds, as so many images get posted in these streams.
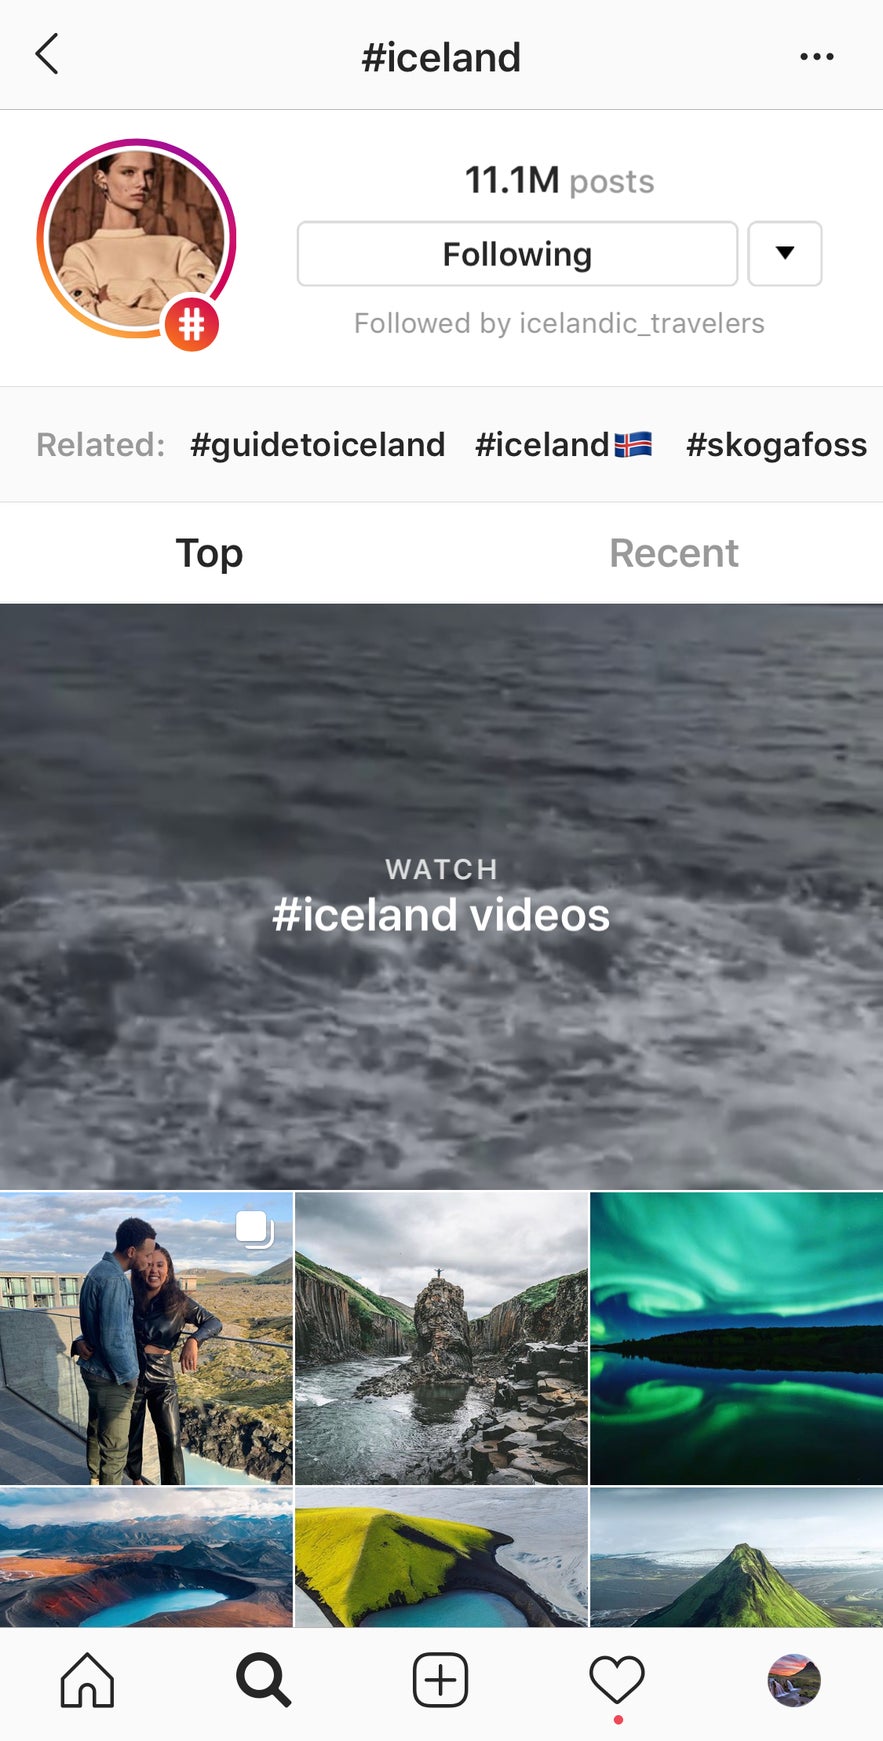 The #iceland hashtag. Photo by: 'Iceland Photo Tours'.
This doesn’t mean that you shouldn’t use these hashtags. You can try using them every now and then but don’t make it a strategy to use them specifically. It’s better to look out for tags that have between 30k and a million tagged images – with these hashtags, you’ll have the biggest chance of getting your image seen.
Having said that, it’s not the smartest thing to use hashtags with a low count of tagged images, as it’s more likely that no one will be interested in them unless the hashtag belongs to a promising new hub or a company that has just invented it.
These days, Instagram allows you to use up to 30 hashtags per post. Lately, it seems that to be noticed by the algorithm, it’s better to use between 10 to 25 hashtags… but don’t ask me why this is the case. It’s just something that I’ve noticed within the last year.
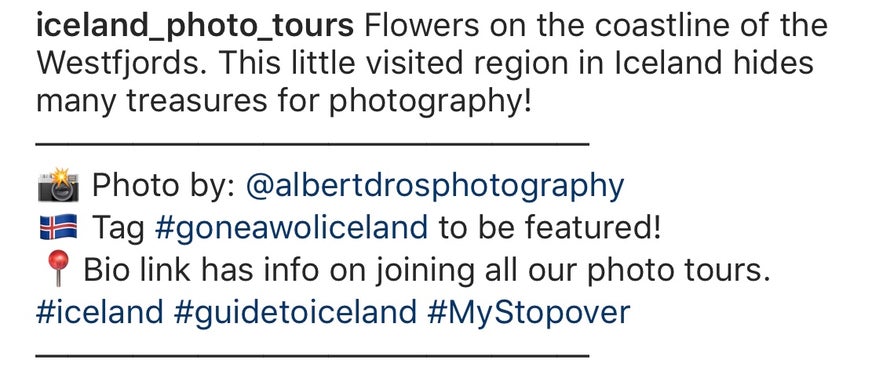 It doesn't matter where you place hashtags, as long as you put them somewhere. Photo by: 'Iceland Photo Tours'.
A question that I’m asked often is whether to place the hashtags in the caption of the image or in a separate comment. Where you choose to place your hashtags doesn’t seem to have an effect on how the mighty Instagram algorithm ranks your image, so as long as you put them somewhere, you’ll be fine!
Image Format for Instagram
So as a landscape photographer, how can you deal with that tiny little smartphone screen? The trick is to make the most of the screen real estate, by taking up the maximum amount of screen that you can use on Instagram.
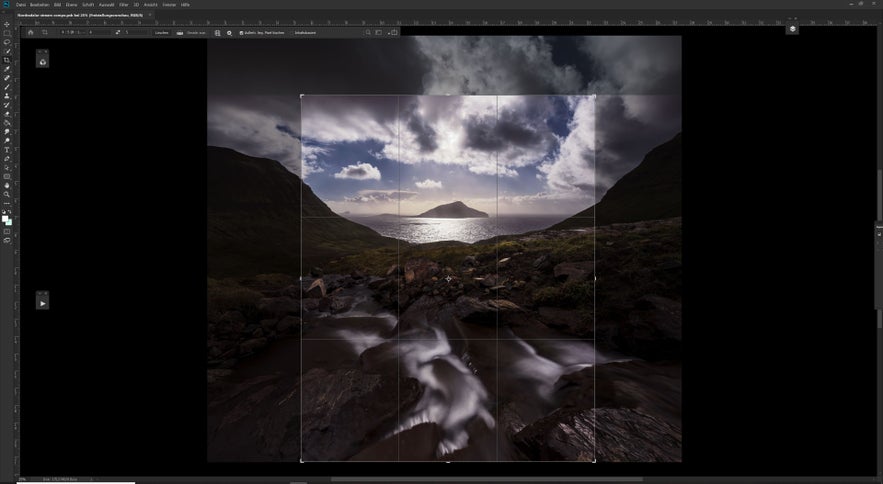 An example of a crop for Instagram. Photo by: 'Felix Inden'.
While landscape photography often involves us composing our images in the wide landscape format, which is perfect for posting on other Internet photo-sharing services, with Instagram you will need to think outside of the box.
From the very beginning, Instagram was built exclusively for use with 1:1 or square crops of images. A while ago, the developers allowed us to begin posting images in vertical portrait or landscape format.
The biggest downfall to posting in landscape format is that an image won’t use as much of the screen space on your phone as an image in the portrait format. Unfortunately, landscape format takes up only a small fraction of the screen. When you post in the vertical portrait format, you take up most of the screen real estate and hence, your images will stand out way more.
At the rate that most people scroll through Instagram, you’ll have only a fraction of a second for your image to stand out, so you’ll want to utilise as much screen space as possible to grab their attention.
Personally, I have always been more drawn towards vertical compositions – they seem to suit my artistic pursuits quite well. This has meant that it’s been much easier for me to post my images on Instagram.
If you always shoot in landscape format with your compositions, then you don’t have to give up on Instagram just yet. Try taking a vertical portrait format of the same composition after you’ve taken the shot that you’re after. This way, you’ll have something that you can post to Instagram that suits the portrait dimensions. It will also give you an entirely different vision in-field which is a great thing, because the more image variations that you can produce without cropping in post-processing, the better.
Another great reason to try taking more vertical shots is that magazine covers will generally require a vertically composed image for print.
If you really dislike vertical imagery, then you can resort to cropping your landscape format images for Instagram. This works well and I have done it myself several times. In my opinion, being able to study your images to produce different crops is also a great way of learning about composition. If you have never done this, then you will be surprised at how many vertical compositions you have shot in your life without ever thinking about it.
Here is an example of how to crop out an effective portrait composition from an image captured in landscape format:
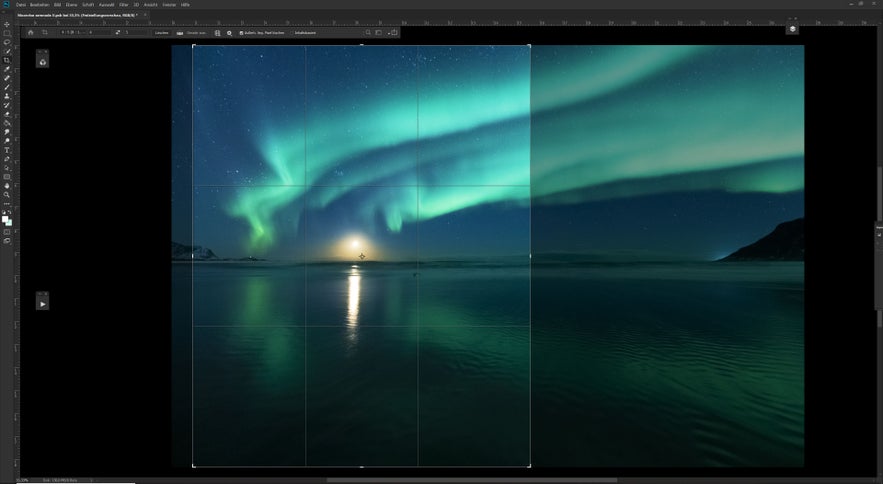 An example of a vertical crop from a landscape image for Instagram. Photo by: 'Felix Inden'.
How to Prepare Your Images for Upload to Instagram
Instagram is all about the first impressions or first impact. Our eyes are drawn from shadows to light, from low contrast to strong contrast and from low saturation to strong saturation. We can make use of this especially when preparing images to post them on Instagram.
I’m not saying that you should change your style to be overly saturated or contrasty. But if you really want to maximise your Insta-experience, it can’t be wrong to push your images a little more. You can still post them without the Instagram changes on your own webpage or other networks.
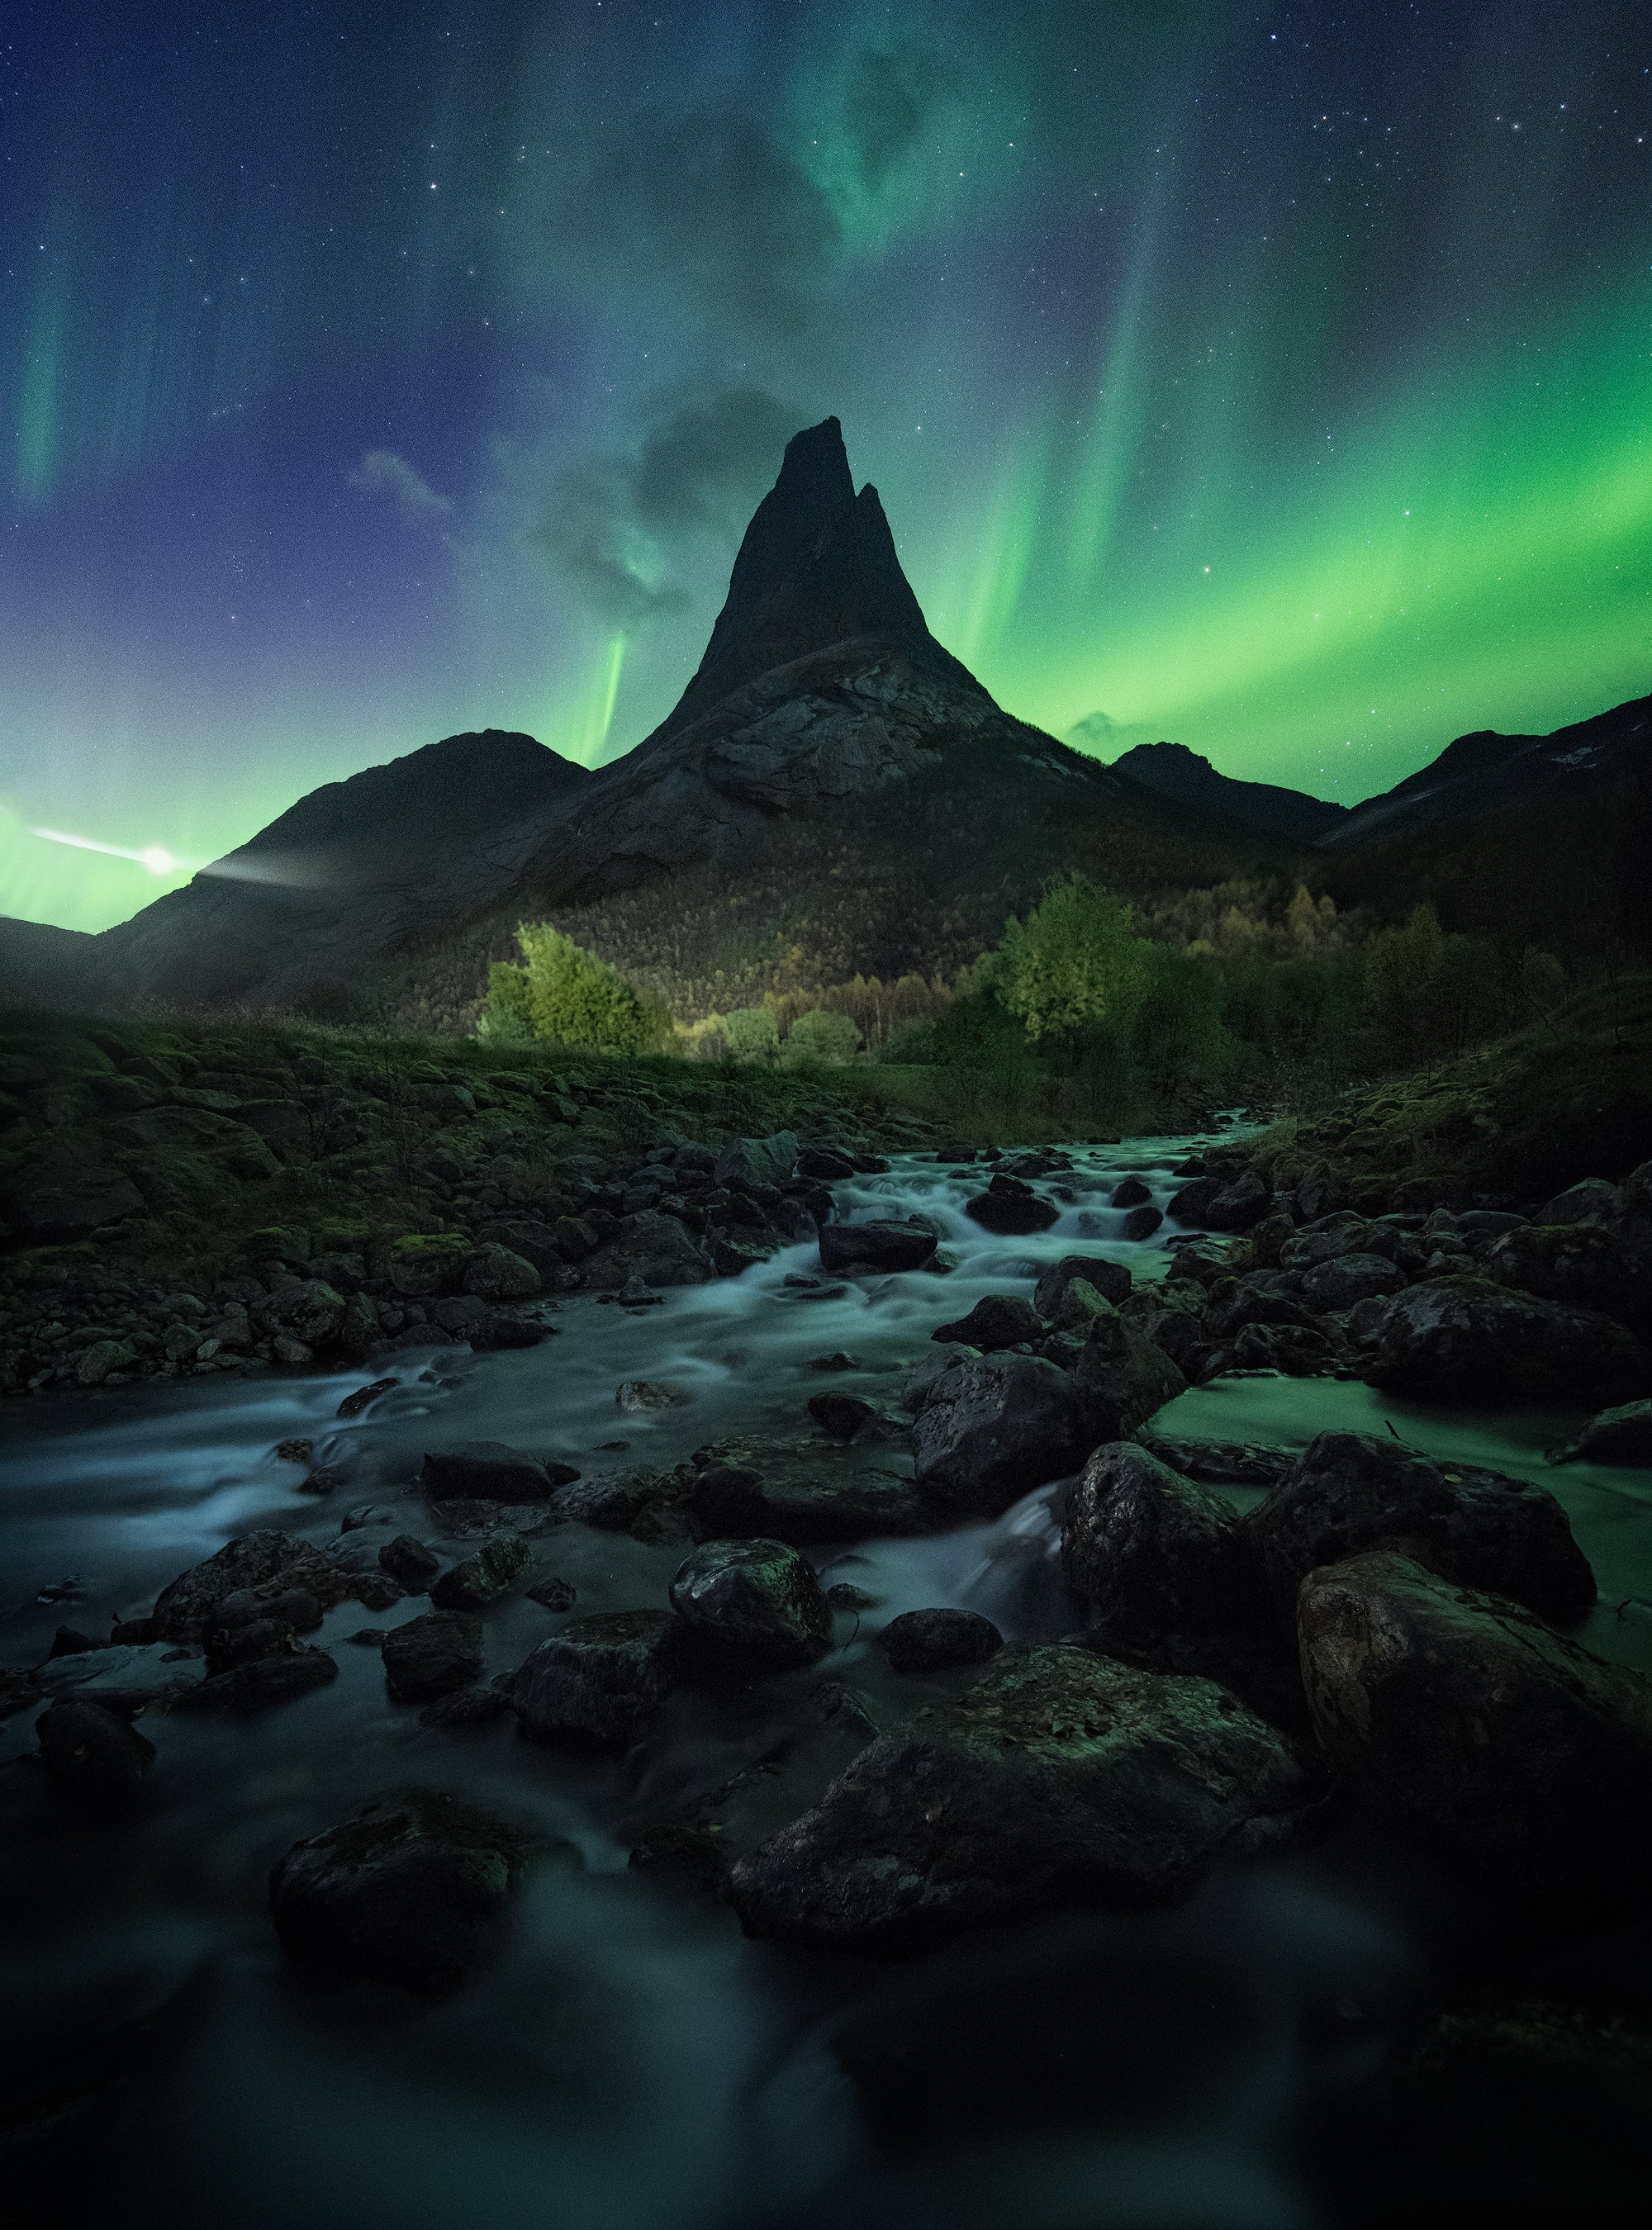 Editing your image in Instagram is as important as editing on your computer. Photo by: 'Felix Inden'.
After you finish editing your image, save a normal version but then also make a copy that will be your Instagram post. In this copy, boost the saturation a little bit and also emphasise the contrast. I’ve found that most smartphone screens show my images to be a tad too dark, even when I have worked on them in a completely calibrated screen setup. Therefore, it’s a good idea to bring the brightness up around 10-20% before you post to Instagram.
My personal favourite workflow is to apply web sharpening using the TK Panel by Tony Kuyper and then to save the image for web to my Dropbox. This way, I can easily access the image on my phone, download it and get posting.
Once you have your image open in Instagram, don’t be shy of boosting the image a little further.
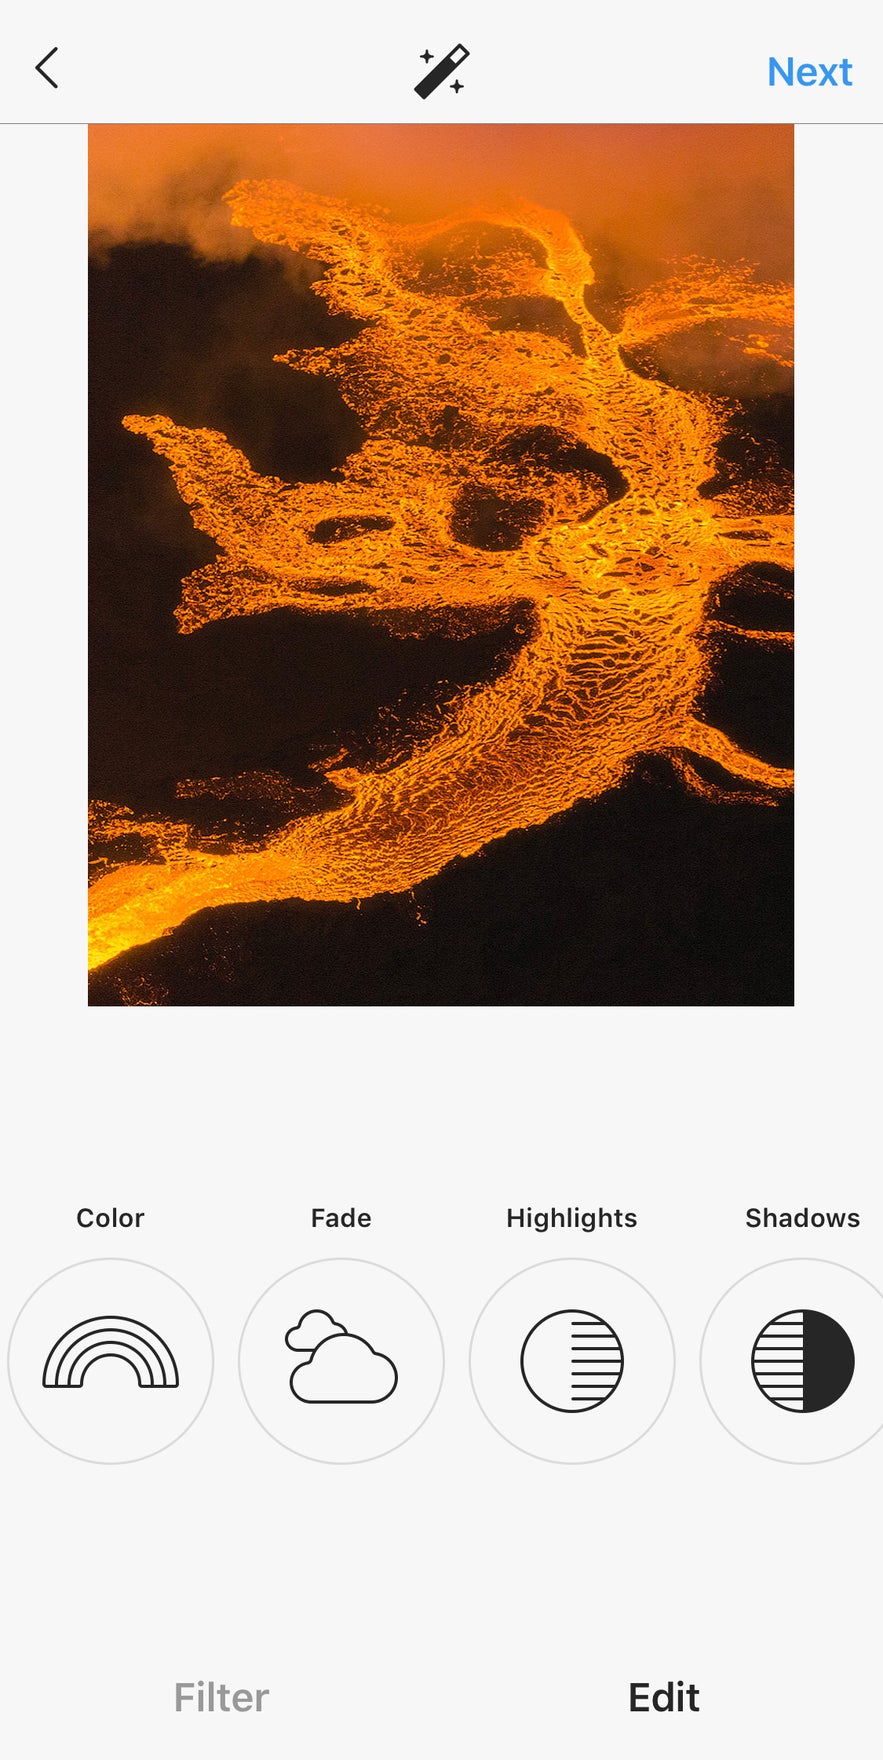 There are lots of settings that you can edit within Instagram. Photo by: 'Iceland Photo Tours'.
My “go to” settings are similar to this:
-
+6 textures
-
+2 saturation
-
+5 warmth
-
+2 shadows
-
+8 sharpness
I play with these settings all the time, as different images may require different changes.
Use Stories as a Tool to Keep Your Audience Interested
Instagram Stories have been around for a while now. Some people think they are just annoying but I believe they are a great tool to give your audience insights into your life, show a little bit of your personality and to keep people engaged.
If you analyse the accounts of people who are actively growing on Instagram, you will realise that they are all using Instagram Stories on a regular basis. Instagram Stories are a great way of showing your audience what is happening when you are on location, by bringing your followers along with you on the journey.
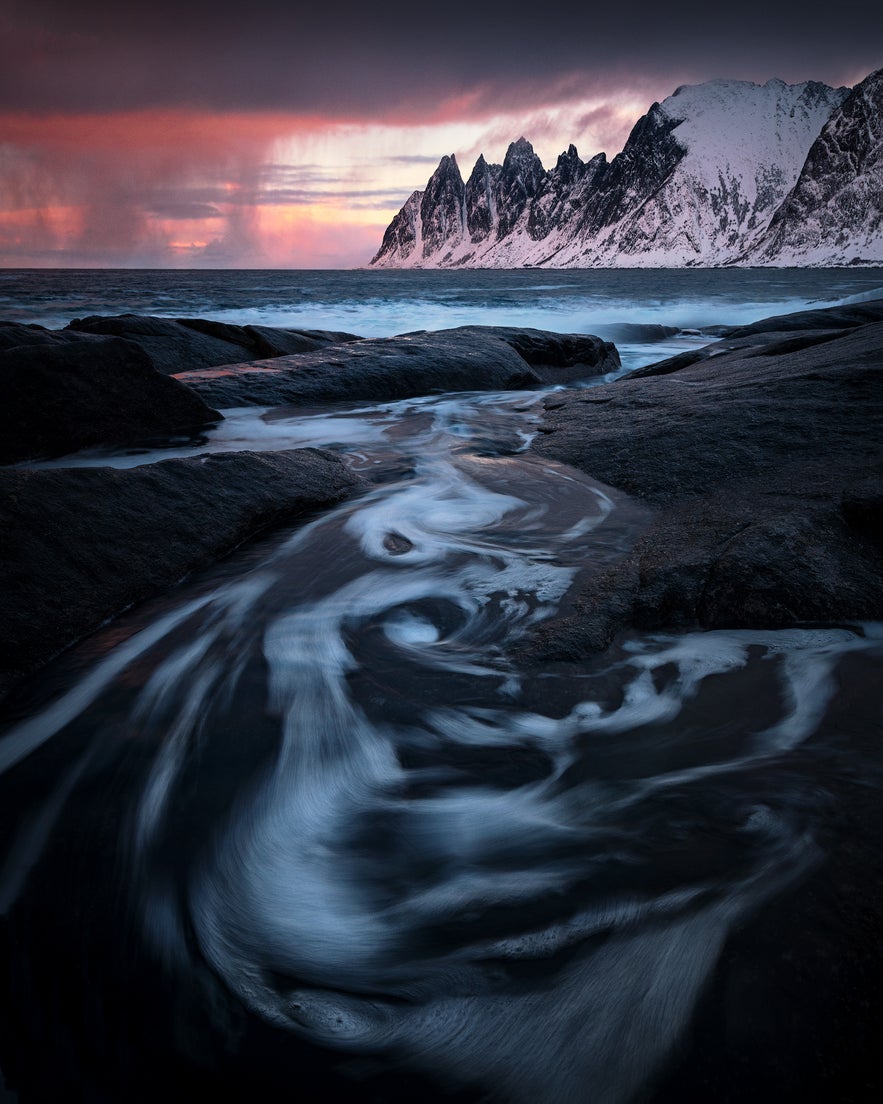 Use Instagram Stories to get your work seen. Photo by: 'Felix Inden'.
It’s also a great idea to engage your audience with Stories when you are editing images. You can reach a different audience to the one that normally engages with you in your normal Instagram posts.
If you haven’t tried posting to Instagram Stories before, then give it a go. But perhaps skip posting your daily meals, as that may make some people mute you straight away.
Don’t Fall in the Numbers Trap
Networks like Instagram are smartly programmed to keep you using the app as much as possible. In this case, a lot of people get caught up in the number of likes that they receive on each post.
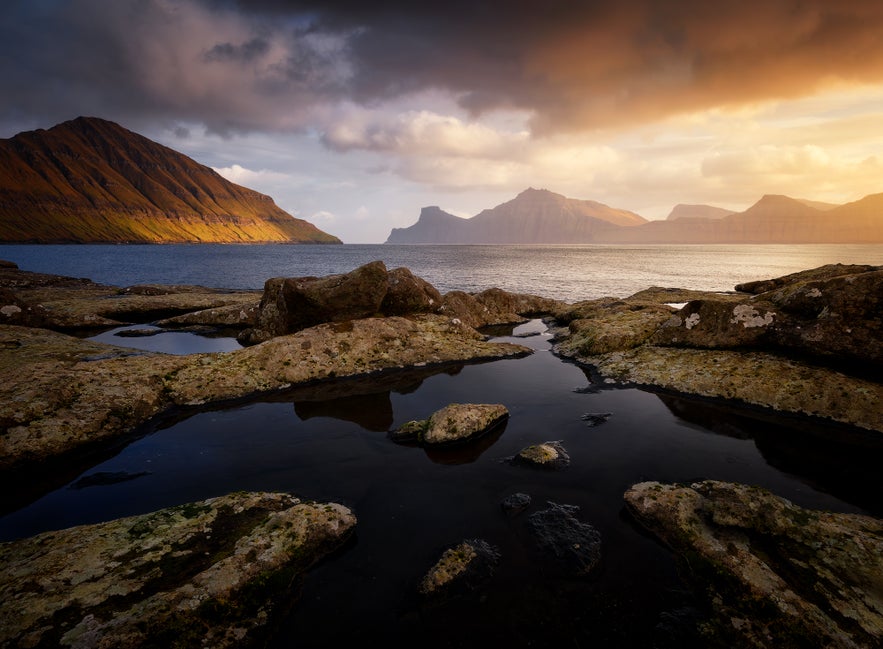 Social media shouldn't interfere with your passion for photography. Photo by: 'Felix Inden'.
Social media has become some kind of race for attention these days; this can be frustrating to the point where people seem to have lost their sense of fun or passion for photography, just because they feel like they are not good enough to keep up with all the algorithms.
This is a dangerous field for creativity, so the moment that you start noticing that you have become jaded by Instagram, then just stop using it for a while. Sometimes, taking a little break from social media is a good idea. Go out and explore some new surroundings instead or just go on a long walk without your phone. Bring your camera or leave it at home – it’s entirely up to you.
Social media is not a game of ‘likes’ and it should not interfere with your passion for photography!
Post Your Best Work
Last but not least, the photographs that you post on Instagram should, without a doubt, be the best that you can show. If you’re not happy with a certain shot, then don’t post it just for the sake of posting.
Your Instagram feed reflects on your landscape photography as a whole, so remember that before you include an image in your portfolio!
About the author: Felix Inden is a landscape photographer based in Germany. You can find more of his work on his website, or by following him on Facebook, YouTube and Instagram.
Did you find these tips for Instagram useful? Have you got your own strategy for posting on Instagram? Share your thoughts with us below in the comments!


